Getting the Character
The first step in animating your character is to import a master template from the library.
| • | Importing a Character from the Library |
| • | Importing Network Templates |
Importing a Character from the Library
To import a character from the library:
| 1. | Create a new Animate Pro project. |
| 2. | In the Library view, select a character master template to animate. |
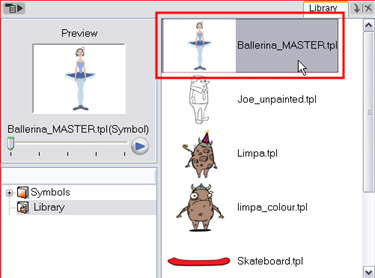
| 3. | Drag the selected template to the Camera or Timeline view’s left side. |
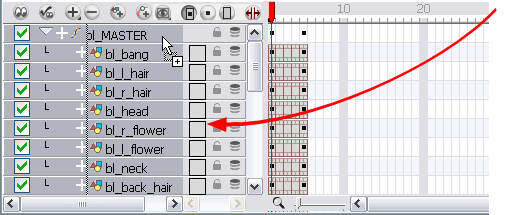
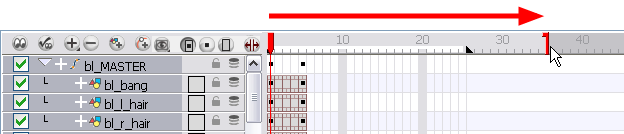
| 4. | In the Timeline view, drag the red scene length bracket to extend or shorten your scene length. |
Importing Network Templates
In Animate Pro you can create your character template from the Network view.
To import a Network template:
| 1. | Create your new Animate Pro project. |
| 2. | In the Library view, select the character's master template you want to animate. |
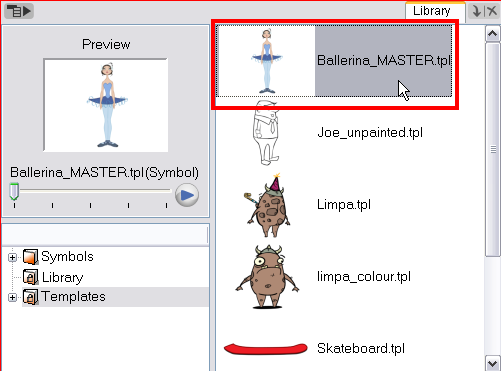
| 3. | Drag the selected template to the Network, Camera or Timeline view's left side. |
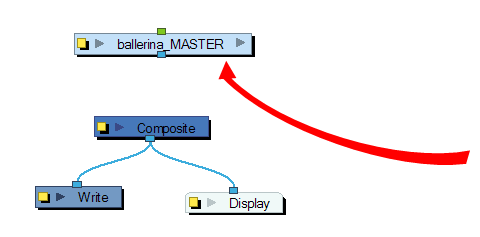
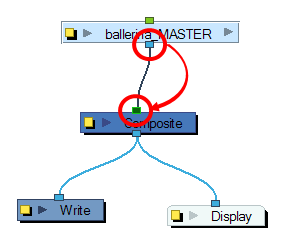
| 4. | In the Network view, connect the template's Group module to the Composite module, by clicking it's out-port and dragging the connection to the Composite module until an in-port appears. |
| 5. | In the Timeline view, extend or shorten the scene length by dragging the scene length bracket. |

Related Topics
| • | Selecting the Pose |
| • | Extending the Exposure |