Colour Model
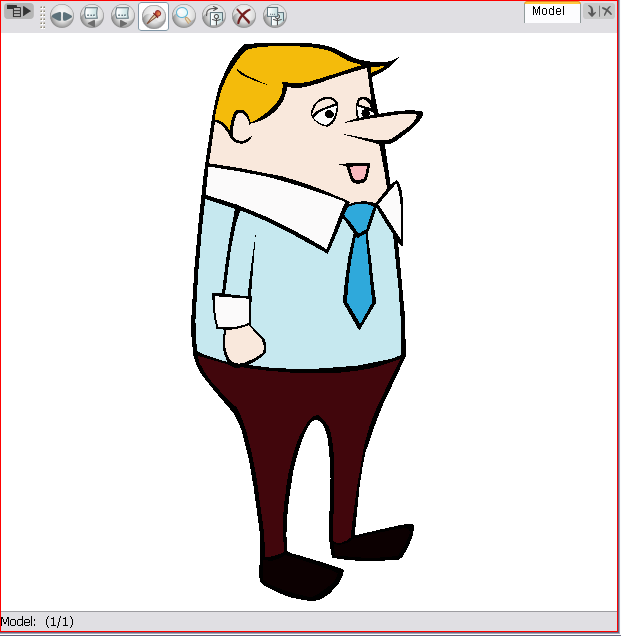
Once you have a fully painted drawing, you can use it as a colour model and load it in the Model view. That drawing can be used and loaded in any of your Animate Pro scenes.
Once a drawing is loaded in the Model view, you can click on the Dropper  , select a colour from the model and use it to paint in your Camera or Drawing view without having to pick the colour from the colour palette.
Loading a Colour Model
To load a colour model from your Timeline or Xsheet view:
|
1.
|
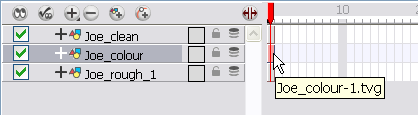
In the Timeline or Xsheet view, select the desired drawing (*.tvg). |
|
2.
|
Bring the model into the Model view by doing one of the following: |
|
‣
|
In the Timeline view, click and drag the selected drawing and drop it directly in the Model view. |
|
‣
|
In the Model View menu, select Use Current Drawing as Model. |
|
‣
|
Use Current Drawing  button in the Model View toolbar’s extra buttons. button in the Model View toolbar’s extra buttons. |
The model appears in the Model view.
To browse for a colour model drawing on your hard drive:
|
1.
|
Do one of the following: |
|
‣
|
In the Model View menu, select Import Model. |
|
‣
|
Click the Import Model  button or from the Model View’s toolbar. button or from the Model View’s toolbar. |
|
‣
|
Select File > Import > Colour Model. |
|
2.
|
In the Browser window, browse for any *.tvg drawing file on your hard drive. |
The model appears in the Model view.
To load the Default models:
|
1.
|
In your scene’s folder, create a new folder and name it models. |
|
2.
|
On your hard drive copy the *.tvg drawing file you want to use as colour models in your scene. |
|
3.
|
In the Model View menu, select Load Default Model. You can also click on the Load Default Model  button available in the Model View toolbar’s extra buttons. button available in the Model View toolbar’s extra buttons. |
To load a single drawing from the Library view:
|
1.
|
In the Library view, click the template containing the drawing to import in the Model view. |
|
2.
|
Right-click on the template and select Open As Folder. |
|
3.
|
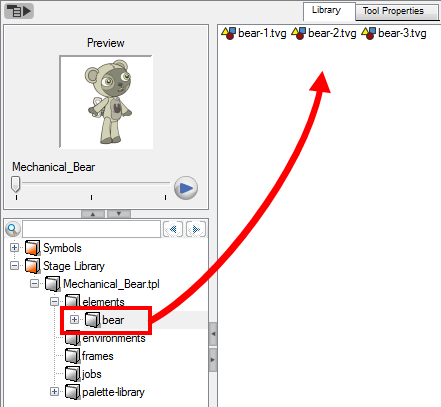
In the Library view’s left side, select the template’s folder and continuing expanding its sub-folders until *.tvg files appear on the right side. |
|
4.
|
In the Library view’s right side, select the TVG drawing to import and drag it into the Model view. |
To load a template with multiple drawings from the Library view:
|
1.
|
In the Library view, find the template you want to import in the Model view. |
|
2.
|
In the Library view’s right side, click and drag the template (*.tpl file) and drop it directly in the Model view. |
|
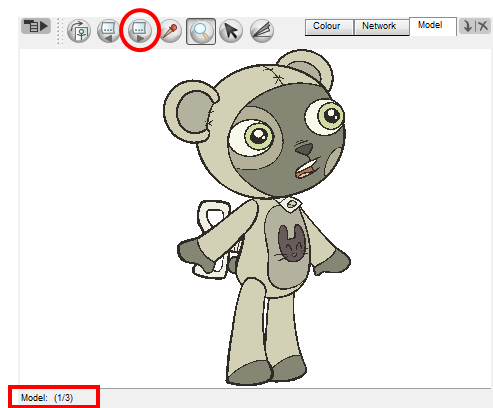
3.
|
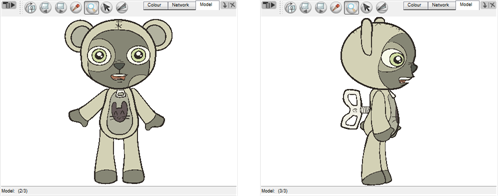
Use the Scroll Backward  and Scroll Forward and Scroll Forward  buttons, found in the Model view’s toolbar, to view all the drawings contained in the template. This can often be the front, profile and 3/4 views of a character. buttons, found in the Model view’s toolbar, to view all the drawings contained in the template. This can often be the front, profile and 3/4 views of a character. |
To load a symbol from the Library view:
|
1.
|
In the Library view’s left side, click on the Symbols folder. |
|
2.
|
In the Library view’s right side, select the symbol that you would like to use as a model and drag and drop it directly into the Model view. |

|
3.
|
Use the Scroll Backward and Scroll Forward buttons, found in the Model view’s toolbar, to view all the drawings contained in the symbol. This can often be the front, profile and 3/4 views of a character. |
To clear a colour model:
|
1.
|
In the Model View menu, select Clear Model or press [Delete]. |
Cutting, Copying and Pasting from a Colour Model
You can do more than just copy colours from a colour model. Animate Pro gives you the ability to copy parts of the character directly from its colour model and paste these elements into the Drawing or Camera views.
To copy the entire model from the Model view:
|
1.
|
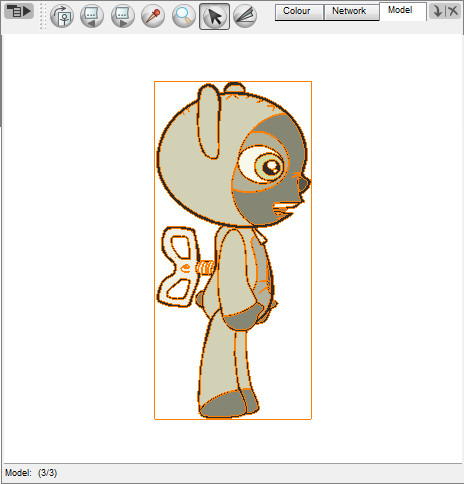
In the Model view’s toolbar, select the Select  tool. tool. |
|
2.
|
In the Model view, select your model. |
|
3.
|
In the top menu, select Edit > Copy Drawing Object or press [Ctrl] + [C] (Windows) or [⌘] + [C] (Mac OS X). |
|
4.
|
In the Timeline view, make sure that you have the correct layer and frame selected. |
|
5.
|
Select either the Drawing or Camera views then go to the top menu and select Edit > Paste Drawing Object, or select the Timeline view and from the top men select Edit > Paste cells in the Timeline or press [Ctrl] + [V] (Windows) or [⌘] + [V] (Mac OS X). |
The model now appears in the selected view.
To copy part of the model from the Model view:
|
1.
|
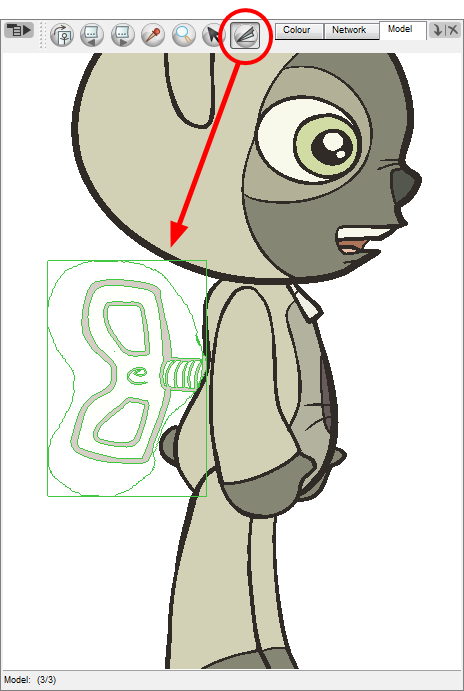
In the Model view’s toolbar, select the Cutter  tool or press [Alt] + [T]. tool or press [Alt] + [T]. |
|
2.
|
In the Model view, use the Cutter tool to create a selection around the part of your model that you would like to copy. |
|
3.
|
In the top menu, select Edit > Copy Drawing Object or press [Ctrl] + [C] (Windows) or [⌘] + [C] (Mac OS X). |
|
4.
|
In the Timeline view, make sure you have the correct layer and frame selected. |
|
5.
|
Do one of the following: |
|
‣
|
Select the Drawing or Camera view and select Edit > Paste Drawing Object. |
|
‣
|
Select the Timeline view and select Edit > Paste cells in the Timeline or press [Ctrl] + [V] (Windows) or [⌘] + [V] (Mac OS X). |
The model appears in the selected view.