Storing the Character in the Library
To be able to reuse your character in different scenes, you have to store a template in the Library view. You can create different kinds of templates. You can create templates with all layers are included, a template for a body key pose or even some containing only the head.
Animate Pro has a Timeline and a Network view. The Timeline view represents the layers in a linear and simple way. The Network view allows you to create all sorts of complex connections that the Timeline view cannot display.
The result of this is that:
| • | Any template created from the Timeline view has to be imported in the Timeline view. |
| • | Any template created from the Network view has to be imported in the Network view. |
This topic is divided as follows:
| • | Network Template |
| • | Key Pose Template |
Network Template
To create a template from the Network view:
| 1. | In the Library view,right-click on the desired library folder and select Right To Modify. |
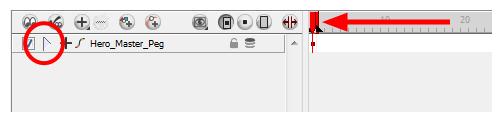
| 2. | In the Timeline view, collapse the master peg layer. |
| 3. | If your scene has a series of blank cells, they must also be included in the template if you drag the layer to the Library view. Reduce the scene length so there are no empty cells before creating your template. |
| 4. | Add a keyframe on the collapsed character. |
| 5. | In the Network view, select your character's group and in the top menu, select Edit > Copy. In the Library view, select the folder where you want to store the template and in the top menu, select Edit > Paste. |

The Rename dialog box opens.
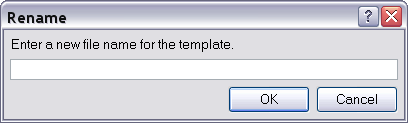
| 6. | In the Name field, name the new template. |
| 7. | Click on the OK button. |
Key Pose Template
To create a key pose template:
| 1. | In the Library view,right-click on the desired library folder and select Right To Modify. |
| 2. | In the Timeline view, collapse the master peg layer. |
| 3. | Select the cell containing the desired view and drag it into the desired library folder. |
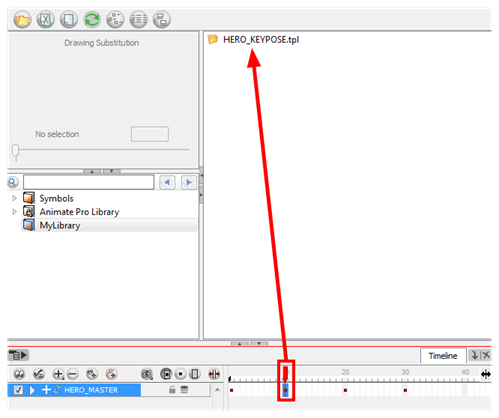
The Rename dialog box opens.
| 4. | In the Name field, name the new template. |
| 5. | Click on the OK button. |
When you create a template from the Timeline view, for everything to work properly when you re import it into a scene, you must first import your master template. Once the master template is imported, you can import the key pose template's content into the right hand side of the Timeline view.
When you create a template from a keyframe in the Timeline view's right side, it only copies the drawings and keyframes. It does not copy all of the network advanced connections and composites. If you import your Timeline template in the Network view or in the Timeline view's left side, your layers will be in the wrong order and will not be connected to a composite.
Related Topics
| • | Library |