Animating a Layer
This section describes the basics of animating a layer.
Animate Pro’s wide range of features let you produce accurate trajectories. However, before doing this, you must learn the basics of animating a layer by creating a simple motion, and practice everything you learn in this lesson.
In this topic, you will find out about the two key elements in creating a motion:
| • | Animate Mode |
| • | Animating a Layer |
| • | Enabling Playback |
Animate Mode
When you enable this mode when you animate layers, Animate Pro will apply a transformation to the current frame. Otherwise, a transformation is applied on the entire layer instead of only the current frame.
To enable the Animate Mode:
| 1. | In the Tools toolbar, click the Animate Mode |

Animating a Layer
Follow these steps to perform a basic layer animation.
To animate a layer:
| 1. | In the Tools toolbar, select the Transform |
| 2. | In the Transform Tool Properties view, make sure that the Peg Selection Mode |
| 3. | In the Tools toolbar, click the Animate Mode |
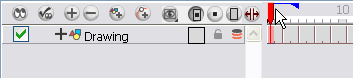
| 4. | In the Timeline view, go to the first frame. |
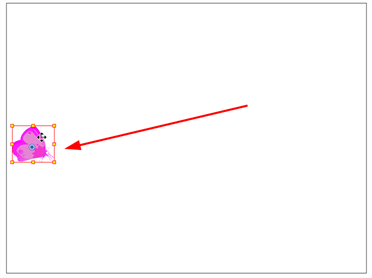
| 5. | In the Camera view, select the element to animate and move it to its first position. |
| 6. | In the Timeline view, go to the frame on which you want to set the second position. |

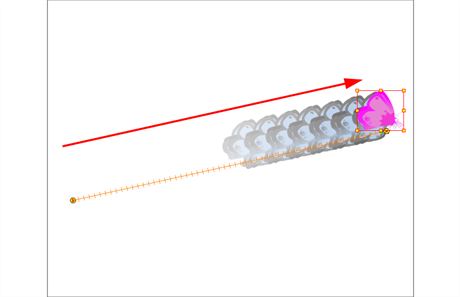
| 7. | Play back |
Enabling Playback
To see your motion animations in the Top, Side or Perspective views while you play back, you must turn on the Playback option.
To enable the Playback option:
| ‣ | From the top menu, select Play > Enable Playback > Top View, or Side View or Perspective View. |
Related Topics
| • | Motion and Stop-motion Keyframes |