Creating a Simple Cut-out Animation

To create a simple cut-out animation, follow these steps so you can try out the animation tools you will learn in the next topics.
To create a simple cut-out animation:
|
1.
|
In the Tools toolbar, select the Transform  tool. You can also press [Shift] + [T]. tool. You can also press [Shift] + [T]. |
|
2.
|
In the Tools toolbar, enable the Animate  mode so that everything you move will be keyframed automatically. mode so that everything you move will be keyframed automatically. |
|
3.
|
In the top menu, select Animation > Stop-Motion Keyframe so that the interpolation is not created automatically between your keyframes. |
|
4.
|
In the Timeline view, collapse your character. |

|
5.
|
In the Timeline view, go to the frame where you want to set your first pose. |

|
6.
|
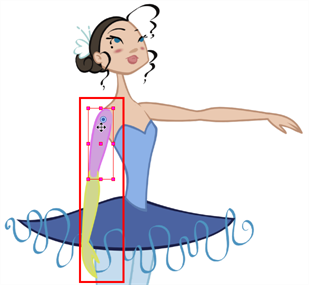
In the Camera view, select the parts to animate. |

|
7.
|
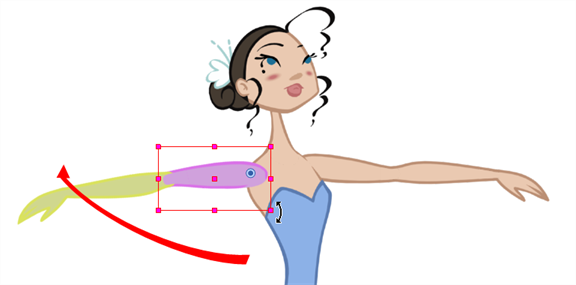
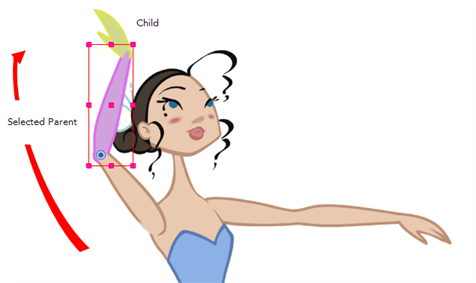
Using the Transform  tool, rotate, skew, scale or translate the selection to its new position. tool, rotate, skew, scale or translate the selection to its new position. |

A new keyframe appears in the Timeline view.
|
8.
|
If you want to make sure that nothing will move on your new pose, in the Timeline view, select the frame corresponding to the pose,right-click and select Add Keyframe. You can also press [F6]. |
|
9.
|
In the Tools toolbar, enable the Onion Skin feature. feature. |
|
10.
|
In the Timeline view, go to the frame where you want to set your second keyframe. |

|
11.
|
In the Camera view, animate your character. |

|
12.
|
Repeat this process until all your poses are done. |
Related Topics


