Morphing Layers
Morphing layers simplify the morphing animation. Complex shapes are often too difficult to control and may not work properly, by dividing the drawings into Morphing layers, the task becomes much easier.
The major points used in controlling a morphing sequence are the intersections. If there are many lines intersecting within a drawing, the system will require more control. (Refer to the Morphing Hints section.)
An important aspect of morphing is to identify possible problem zones in order to fix them and avoid potentially frustrating situations.
This topic is divided as follows:
| • | Identifying Problem Zones |
| • | Morphing Layer Properties |
| • | Creating a Morph with Morphing Layers |
Identifying Problem Zones
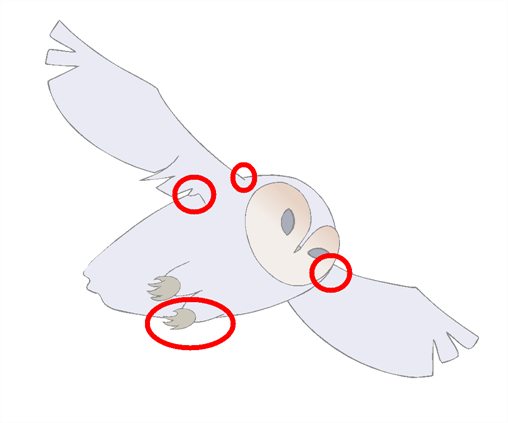
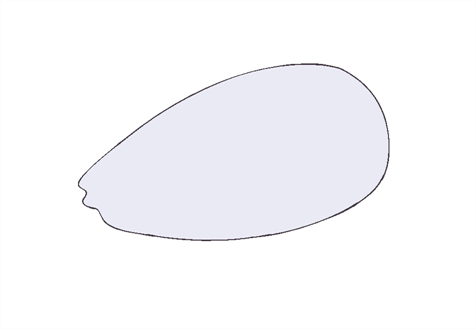
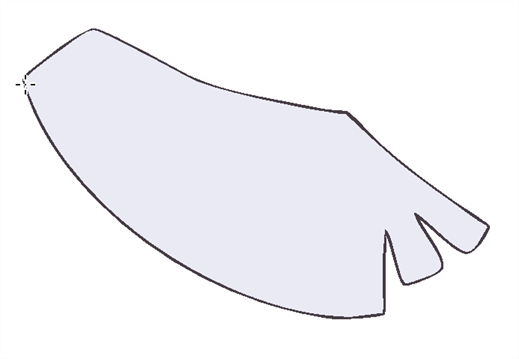
Simple details that look easy to morph can sometimes be more difficult than they may initially appear to be. For example, you may find that the nose becomes problem when performing a head rotation. As explained earlier, the drawings need to be similar in their number of shapes. Generally, on a head rotation, the source nose is in the centre of the face, but on the destination, the nose line is part of the face outline. This means that on the source drawing, the nose and the face outline are two separate shapes, whereas they are combined into one shape on the destination drawing.
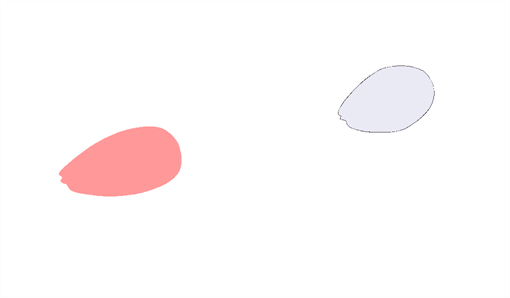
Morphing a full face as demonstrated on the figure below will cause the source nose to slowly vanish as the destination nose grows from the character's cheek.
Any shape that is contained inside another one and has to morph out of that shape will be a problem for the same reasons as the nose is. At some point during the morphing sequence, the shape contained inside the face will merge with the face outline, and then become a separate shape again.
Morphing Layer Properties
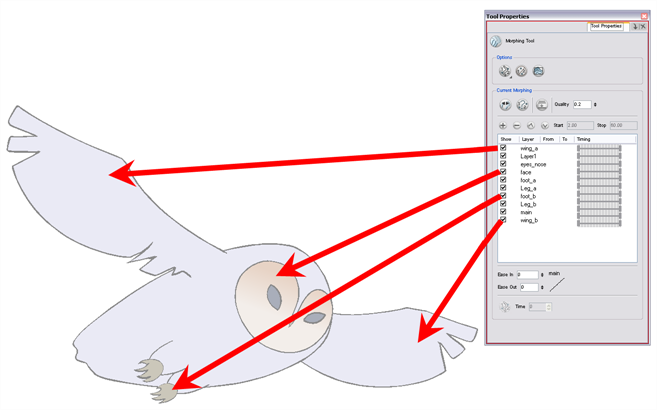
It is because of these reasons, explained in the Identifying Problem Zones section, that morphing layers exist. Morphing layers are all contained in the same drawing layer. It is like having a mini Timeline within a Timeline layer, or a mini Xsheet within an Xsheet column.
Each morphing layer can have its own duration and velocity. Also, because you only have a single element to handle in your Timeline or Xsheet view, it will be treated as one element for the Compositing process, making the compositors work easier.
You could separate all of your elements into different actual drawing elements and have many layers, but you would have to create a large number of morphing sequences and make sure that you modify all of their timings properly.
Creating a Morph with Morphing Layers
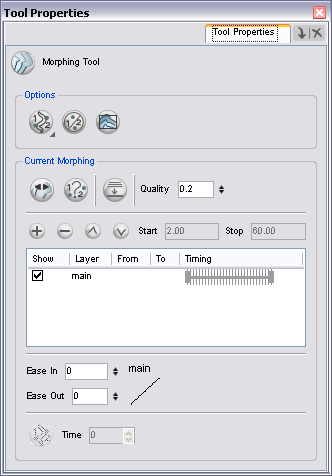
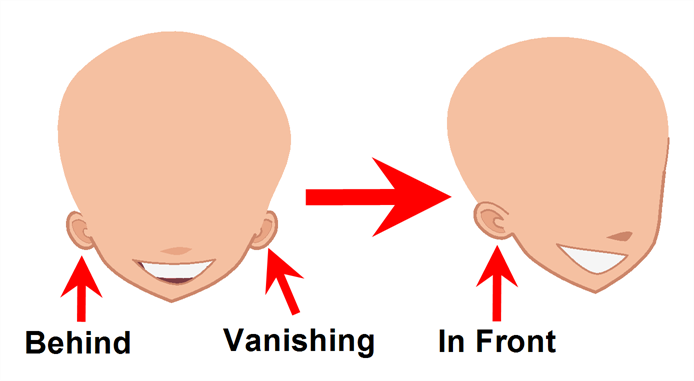
When you click on a Morphing layer drawing, it automatically appears on top of the other ones. If you want it to stay in place, for example the wing behind the body, enable the Show Morphing in Place ![]() option in the Morphing tool Properties view.
option in the Morphing tool Properties view.
To create a morph with morphing layers:
| 1. | In the Timeline view, add a new drawing element and name it properly. |
| 2. | In the first cell, draw the main source shape such as the head shape or body shape. Do not add details like eyes. |
| 3. | In the Timeline View, select the destination cell, then enable and extend the Onion Skin. |

| 4. | In the destination cell, draw the second drawing. |
| 5. | In the Timeline view, select the in-between cells, right-click and select Morphing > Create Morphing or press [Alt] + [M], |
| 6. | In the Tools toolbar, select the Morphing |
| 7. | In the Morphing Tools Properties view, click on the Add Layer |
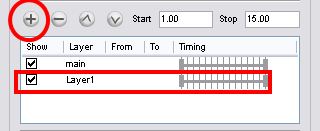
| 8. | Double-click on the new layer's name and name it appropriately. |
| 9. | Press [Enter/Return]. |
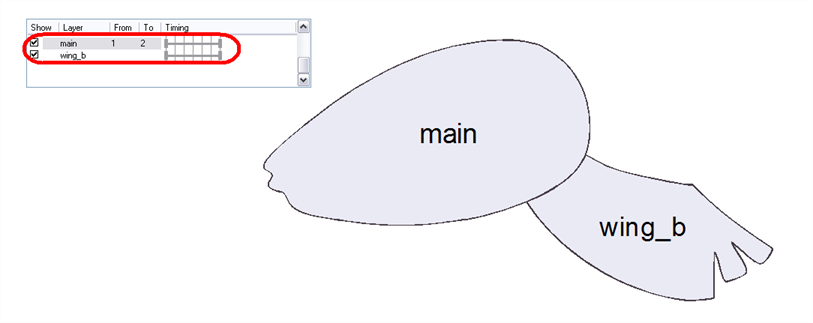
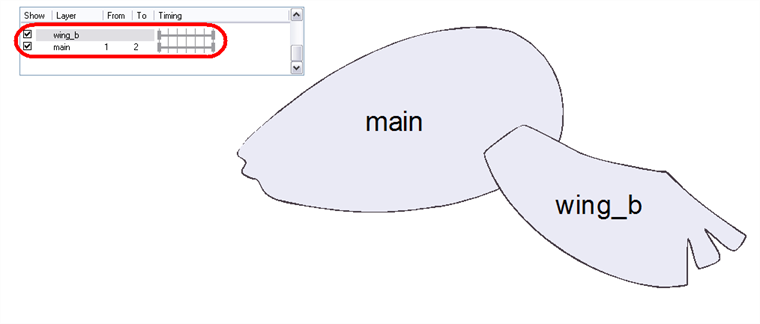
| 10. | Use the Up Main layer. |
| ‣ | If placed above the Main layer, it will be displayed in front. If it is placed below, it will be displayed behind. |
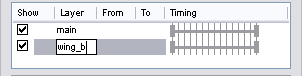
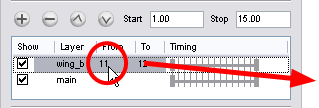
| 11. | To create new drawings, double-click on the blank area under the From section to create the source drawing and the To section for the destination drawing and type a value different than the ones used for the main layer. |
| 12. | Press [Enter/Return]. |
| ‣ | You do not need to type any value for the Main layer as it uses the one from the Xsheet column. |
| 13. | Click on the new source drawing to start drawing the new part. (Make sure that you are working on the proper drawing by verifying the name in the Camera or Drawing view's bottom left corner.) |
| 14. | In the Camera or Drawing view, draw the source drawing. |
| 15. | Once the source drawing is done, use the Morphing Tool Properties view and click on the destination drawing's name and draw it in the Camera or Drawing View. |
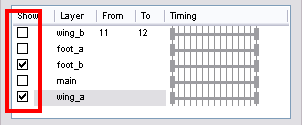
| 16. | Repeat steps Step 7 to Step 13 for each layer needed. You can add as many layers as you want. |
| 17. | Enable or disable the layers that you want to display or hide while drawing. |
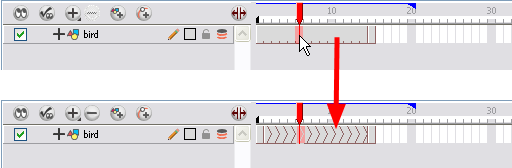
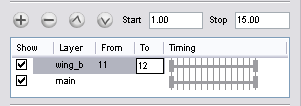
| 18. | If you want to change the layer duration, click on the layer and change the start and stop numbers. |
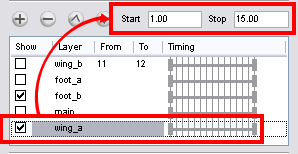
The length indicator changes according to the new values.