Skeleton Optimization
In the Network view, you can add extra modules, such as a Display, and group all of your modules to keep your work organized.
There are four steps to make sure your puppet can be reused efficiently:
| • | Deleting the Write Module |
| • | Renaming the Display Module |
| • | Changing the Composite Type |
| • | Grouping your Modules |
Deleting the Write Module
The first step in optimizing your network is to delete the Write module. The Write module is used to render certain portions of your Network view.
When you render your scene, if you have three or four characters in your scene and they each have a Write module in their skeleton a render is created for each one of them and they overwrite each other.
To delete your Write module:
| 1. | In the Network view, select your Write module. |
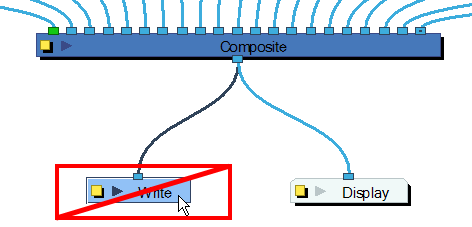
| 2. | In the top menu, select Edit > Delete or press [Delete]. |
Renaming the Display Module

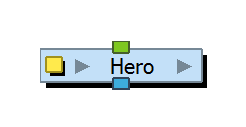
A Display module allows you to see a section of your Network in your Camera view. By renaming your Display module with your character's name, you will be able to quickly identify its Display in the Global Display toolbar and isolate your character to see it better while working on it.
To rename your Display module:
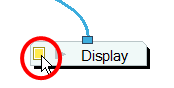
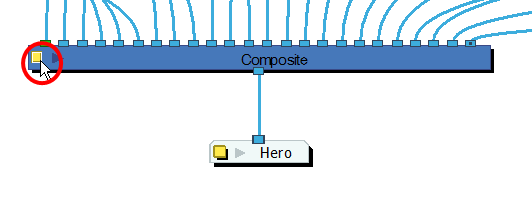
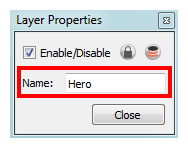
| 1. | In the Network view, click on the Display module's Properties button to open the editor. |
| 2. | In the Layer Properties window, rename the Display module with your character's name. |
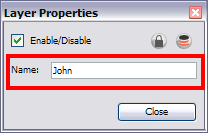
| 3. | Click on the Close button. |
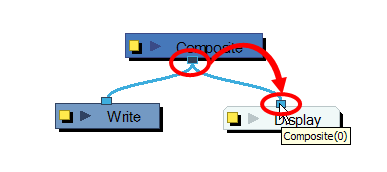
To add a Display module:
| 1. | If you do not have a Module Library view opened, in the top menu, select Window > Module Library. |
| 2. | In the Module Library view, go to the IO tab and select the Display module. |
| 3. | Drag the module to your Network view. |
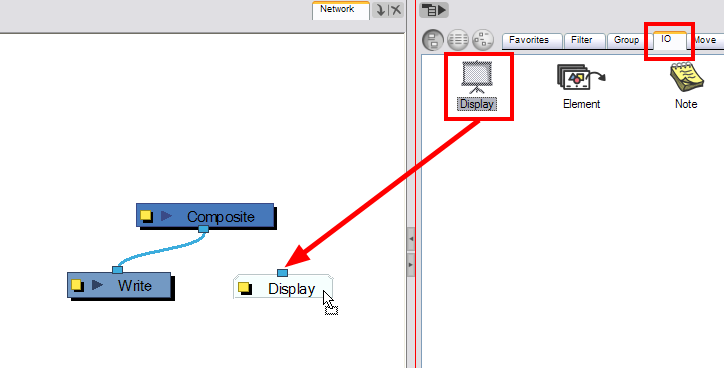
| 4. | Connect the Composite module's output port into the Display module's input port. |
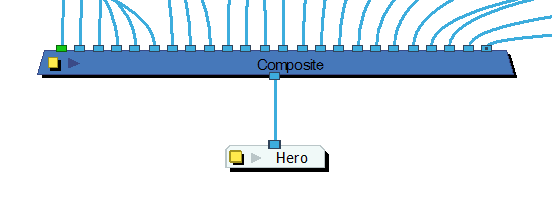
Changing the Composite Type
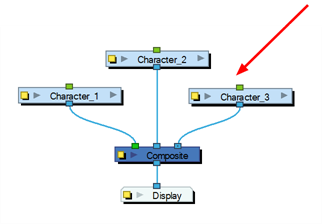
When you create a character with Animate Pro, you have to connect all your modules in the Composite module. The Composite module takes all the different images coming out of your drawing modules and flattens them into one single image.
This is useful when it is time to apply an effect to your entire character or group your layers for a more organized network.
The regular Composite module will flatten all the pieces into one image preventing interaction with props or characters connected to a different Composite module. That is why you have to change the Composite module's type to a special one that will still output one single image but will not flatten the drawings together. This will allow you to nudge your drawings on the Z-axis so that parts of you characters can pass in front and behind other characters and objects. This Composite type is called Pass Through.
To change your Composite module to a Pass Through type:
| 1. | In the Network view, click on your Composite module's Properties button. |
The Composite Layer Properties dialog box opens.
| 2. | Select the Pass Through type. |
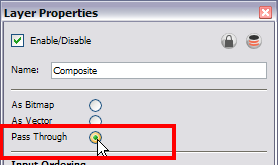
| 3. | Click on the Close button. |
Grouping your Modules
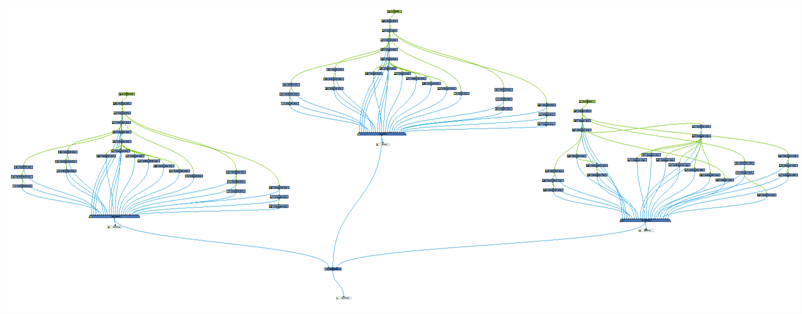
Once your rigging is completed, you must group the puppet's skeleton. This helps you to organize large and complex networks. This way, once you have imported two or three characters into the scene, three Group modules will be displayed instead of all of the rigging connections of three puppets.
To group your modules:
| 1. | In the Network view, select all your modules. |
| 2. | In the top menu, select Edit > Group > Group or press [Ctrl] + [G] (Windows) or [⌘] + [G] (Mac OS X). |
Your modules are now grouped.
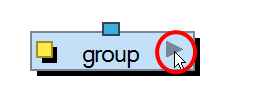
| 3. | Click on the Group module's right arrow to enter the group. |
| 4. | If you do not have a Multi-Port Out module inside your group, in the Module Library view, go to the Group tab and select a Multi-Port Out module. |
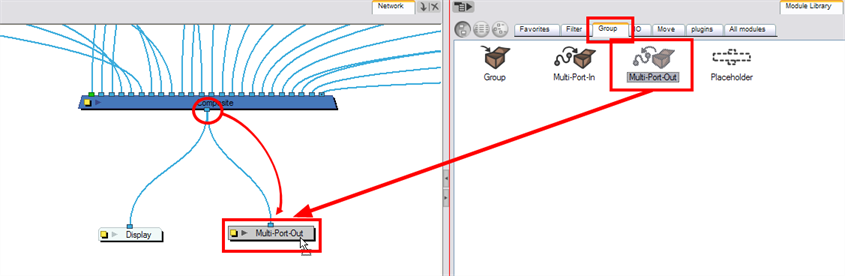
| 5. | Drag the Multi-Port-Out module to the Network view. |
| 6. | Connect the Composite module's output port into the Multi-Port Out module. This creates an output port on your Group module. |
| 7. | In the bottom left corner of the Network view, click on the Top word to go back to your network's root. You should now see an output port on your Group module. |

| 8. | Click on the Group's Properties button to open the Layer Properties dialog box. |
| 9. | In the Layer Properties window, rename your Group module with your character's name. |
| 10. | Click on the Close button. |
Related Topics
| • | Network Navigation and Basic Rules |