Naming Conventions
When working on a production, it is critical to keep work well organized. It is important to create a naming convention chart before starting the project. It is crucial that everyone follows the criteria laid out in the naming convention chart. When dealing with thousands of characters, pieces and puppets, it is easy to get lost.
This topic is divided as follows:
| • | Adding a Prefix or Suffix to a Layer |
| • | Naming the Drawings |
Adding a Prefix or Suffix to a Layer
It is highly recommended that you incorporate a naming convention for the layers. This will be very convenient in later steps. We suggest that you add one or two letters for the character/prop name before the part name and a "R" or a "L" for right and left to identify the corresponding character/prop:
| • | Character Abby's right arm = ab_r_arm. |
If you plan to work with different angles for your characters (front, side, three-quarter, back), you can add one or two letters to identify the angle:
| • | Character Abby's right arm, front view = ab_r_arm_f. |
To add a prefix to a series of layers:
| 1. | In the Network or Timeline view, select all the modules or layers to rename or press [Ctrl] + [A] (Windows) or [⌘] + [A] (Mac OS X). |
| 2. | In the Scripting toolbar, click on the Add Prefix or Suffix Script |
The Add Prefix or Suffix dialog box opens.
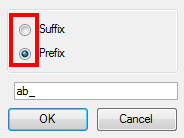
| 3. | Enable the Prefix or Suffix option, depending on what you want to add to the layer's name. |
| 4. | Type the prefix or suffix information to be added to the layer's name. |
| 5. | Click on the OK button. |
Naming the Drawings
We recommend that you use a naming convention for your drawings. If you combine all of the angles of a character in the same breakdown scene, it is a good idea to identify each angle used.
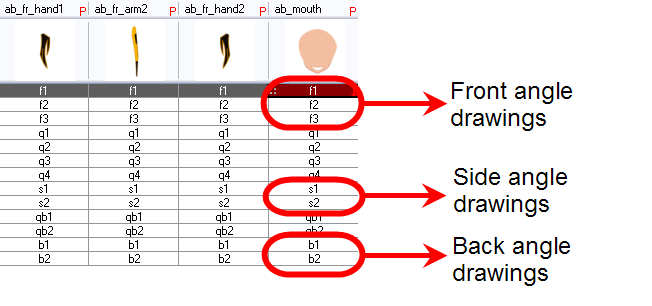
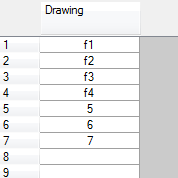
Before breaking down the characters for your production, we recommend that you create a drawing name convention that represents the angle used. For example, use "f" for front, "s" for side, "q" for three-quarter so that the drawing name looks like: f1, f2, f3, s1, s2, etc. This will be quite useful during animation and drawing substitution. Drawings are displayed in alphabetical and numerical order. This way, all the drawings for the front view will be together, then all the drawings for the three quarter view, etc.
To add a prefix to one or more drawings:
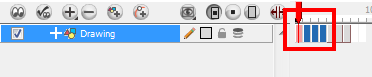
| 1. | In the Timeline view, select the drawing range to rename. |
| 2. | Right-click on the selection and select Drawings > Rename Drawing with Prefix. |
The Rename Drawing with Prefix dialog box opens.

| 3. | In the Prefix to Add field, type the characters you want to add before the current drawing name. |
| 4. | Click on the OK button. |
Related Topics
| • | Breaking Down the Character |
| • | Rigging |