Creating a Template
You can create a template from both the Timeline and the Network views:
| • | Master Template |
| • | Creating a Template from the Network View |
| • | Action Templates |
| • | Creating a Template from the Timeline View |
Master Template
You can create a master template out of a cut-out puppet you created so that you can reuse it throughout a single project or a full production. A cut-out character's master template stores the entire rig, structure, drawings and keyframes of the different poses of your puppet into a single asset.
Master templates are created from the Network view. Refer to the next topic to learn how to create a template from the Network view.
Creating a Template from the Network View
The Timeline and the Network views have different ways to display the scene; each view displays different information.
A main character's template,
To create a template from the Network view:
| 1. | In the Library view, select the folder in which you want to store the template. |
| 2. | If the library folder is locked, right-click and select Right to Modify. |
| 3. | In the Network view, select the modules you want to create a template with and group them. |
| 4. | Select Edit > Group > Group Selected Layers or press [Ctrl] + [G] (Windows) or [⌘] + [G] (Mac OS X). |
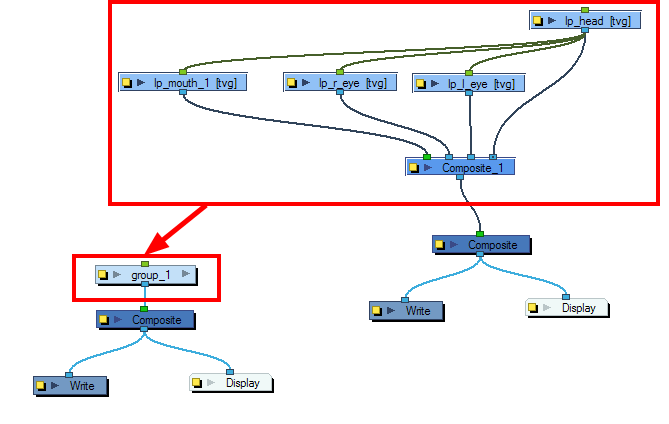
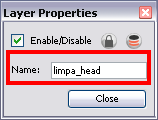
| 5. | In the Network view, click on the group module's yellow button to rename it. |
The Layer Properties dialog box opens.
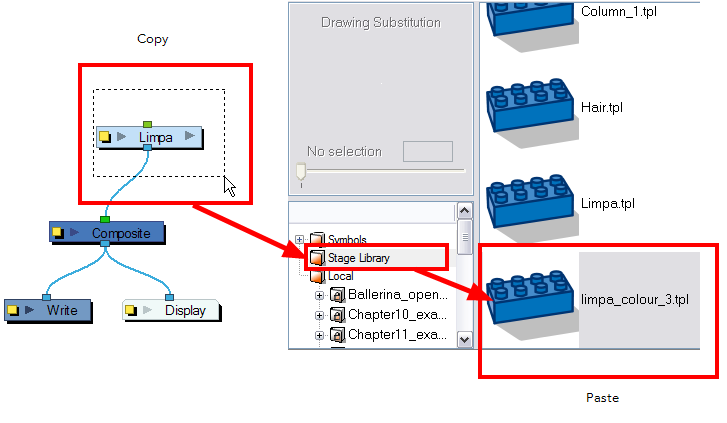
| 6. | In the Network view, select your group module and copy and paste it inside the template folder in the Library view or press [Ctrl] + [C] and [Ctrl] + [V] (Windows) or [⌘] + [C] and [⌘] + [V] (Mac OS X). |
| 7. | In the Rename dialog box, rename the new template. |
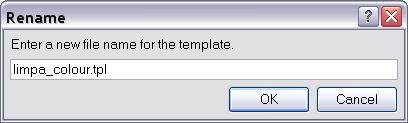
| ‣ | To rename a template, right-click on it and select Rename. |
| 8. | Click OK. |
Action Templates
An action template, also known as animation template, is created from the Timeline view. This template mainly contains keyframes and drawing exposures. When it is extracted from the Timeline view, it loses the extra connections, effects and groupings from the Network View.
Action templates are designed to allow you to reuse animations, key poses and part of an animation. For example, you can reuse head positions or a leg animation from a walk-cycle and place them inside other animations. An animation template, also known as an action template, is created from the Timeline view. This template mainly contains keyframes and drawing exposures.
An action template is used with a master template. It cannot be used on its own since it does not contain all of the information required to rebuild the puppet skeleton and advanced connections. The standard process is to first import the master template to the Network view or Timeline’s left window and then slide the action template into the Timeline’s right window. This method allows you to first build the skeleton and then give it the right pose.
The combination of master and action templates will function as long as the layer order and connections are the same.
When you create an action template, be sure to name it so that you can easily identify it as an animation.
Refer to the next topic to learn how to create a template from the Timeline view.
Creating a Template from the Timeline View
You can create a template out of a layer or cells. You can store anything available in the Timeline view as a template.
To create a template from the Timeline view:
| 1. | In the Timeline view, select some cells or layers. |
| 2. | In the Library view, select the folder in which you want to store the template. |
| 3. | If the library folder is locked,right-click and select Right to Modify. |
| 4. | Drag the selection to the Animate Pro Library folder or to any other library folder. |
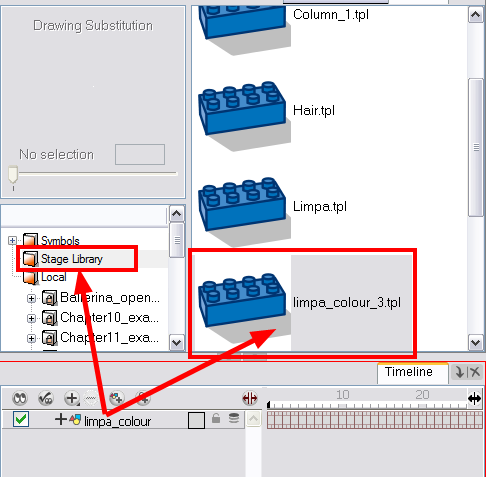
| 5. | In the Rename dialog box, rename the new template. |
If you want to rename a template once it is created,right-click on it and select Rename.
| 6. | Click OK. |
Related Topics
| • | Importing a Network Template |
| • | Importing Symbols and Templates |