Break Down: Cutting the Character in Pieces

If you do not want to redraw all the artwork for your character, you can use the cut away technique where, with the Cutter tool, you select and send pieces of the model on a new layer.
The first step in breaking down your character is to do a rough cut down of the main parts such as the body, arms, legs and head. Use the Create Drawing from Drawing Selection feature to automatically create your layers and copy your selection in it.
This section is divided as follows:
| • | Breaking Down the Main Parts |
| • | Breaking Down the Secondary Parts |
| • | Selecting and Incorporating to an Existing Layer |
| • | Breaking Down the Extra View Main Parts |
| • | Breaking Down Secondary Parts in the Extra Views |
Breaking Down the Main Parts
To break down the main body parts, you will use the Create Drawing From Drawing Selection feature. There is no need to create any layers prior to this process, you need to have your model well centred and sized in the Camera view.
You do not need to make clean cuts around your parts; a rough one is quite sufficient as long as it includes all of the artwork of the part you want to break down. You will clean the extra bits and pieces later.
You will use the Cutter ![]() tool to roughly cut the main sections. You can also use the Select
tool to roughly cut the main sections. You can also use the Select ![]() tool to select precise lines and colour zones.
tool to select precise lines and colour zones.
To break down the main parts:
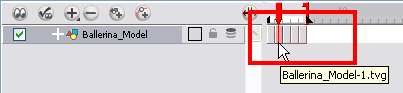
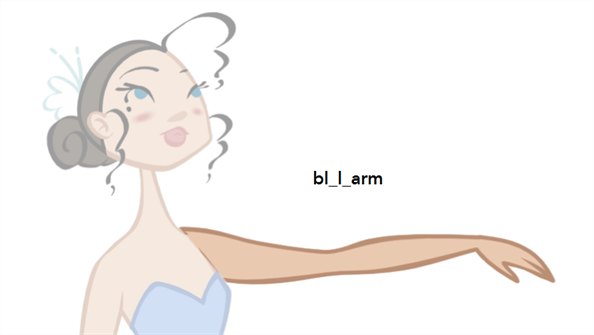
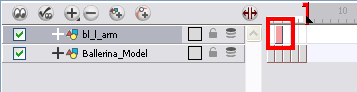
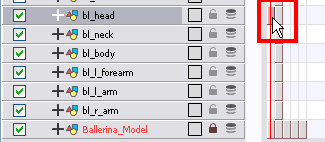
| 1. | In the Timeline view, select the model's cell that corresponds to the first view to break down. |
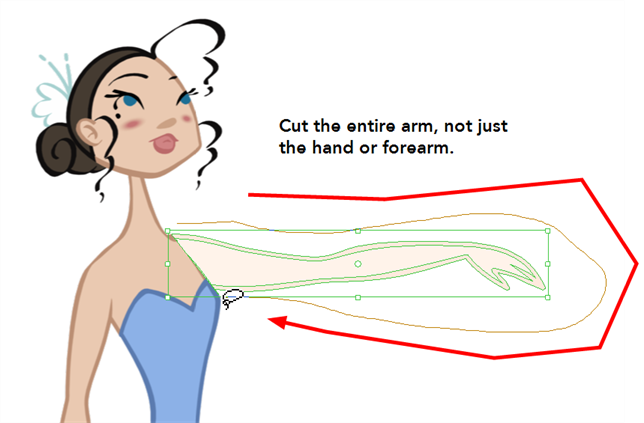
| 2. | In the Tools toolbar, select the Cutter |
| ‣ | If you prefer to use the Select tool, choose the Select |
| ‣ | In the Tool Properties view, you can switch to the Lasso |
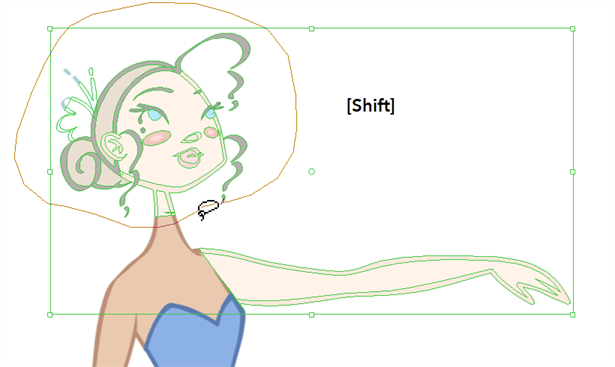
| ‣ | If you hold down [Shift], you can create a new lasso selection around another zone and add it to your previous selection. |
| 4. | In the top menu, select Edit > Create Drawing From Drawing Selection or press [F9]. |
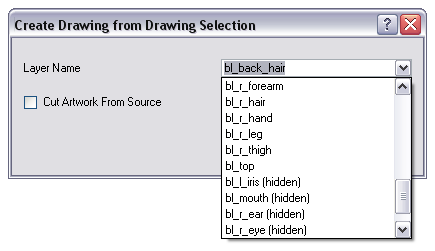
The Create Drawing From Drawing Selection dialog box opens.
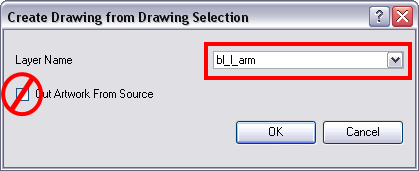
| 5. | In the Layer Name field, type the name of the layer you want to create following the naming convention you established previously. |
| 6. | Make sure to disable the Cut Artwork From Source option in order to keep the selected artwork on your original drawing. You do not want to cut the artwork from your colour model. |
| 7. | Click on the OK button to complete the operation. |
The new layer is created and your selection is copied in it. The drawing is created in the same frame number as the cell it was taken from.
| 8. | Repeat Step 1 to Step 7 for each main body part. |

Breaking Down the Secondary Parts
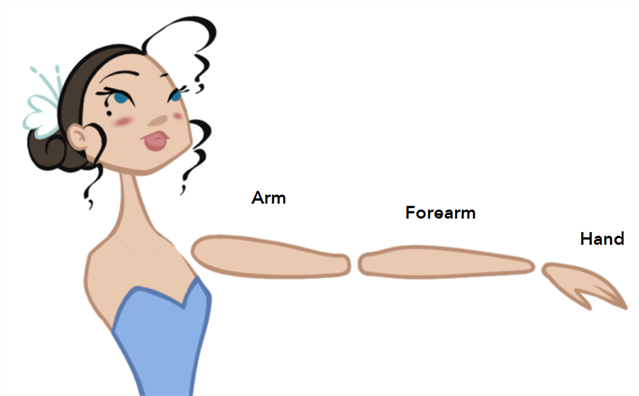
You should now have a layer for each main part of the character for the first view to break down. You are now ready to break down those main pieces into smaller ones.
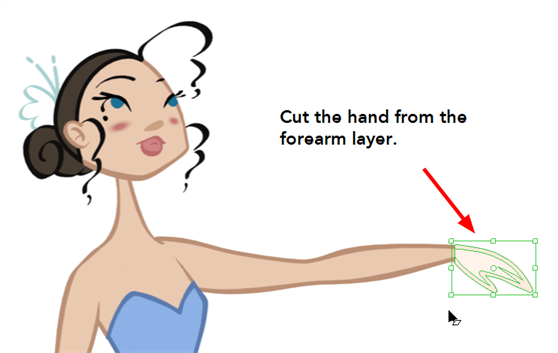
Breaking down the secondary parts is similar to the main part break down process except that this time you will cut away the artwork from the layer it has been selected from.
To break down the secondary parts:
| 1. | In the Timeline view, lock your model layer by clicking its Lock |

| 2. | In the Timeline view, select the cell that corresponds to the main part you want to break down. |
| 3. | In the Tools toolbar, select the Cutter |
| ‣ | If you prefer to use the Select tool, choose the Select |
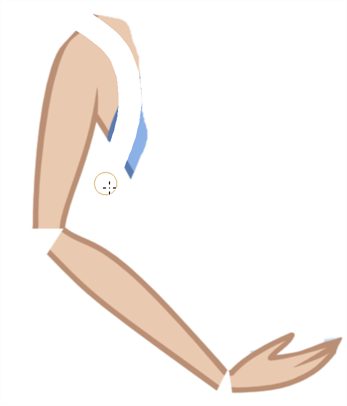
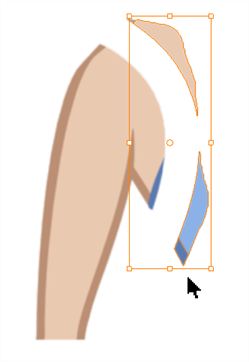
| 4. | In the Camera view, create a selection around the part to break down. |
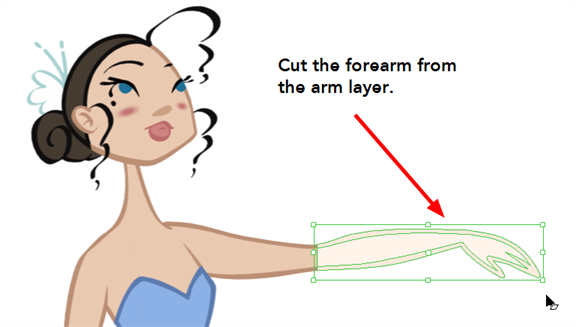
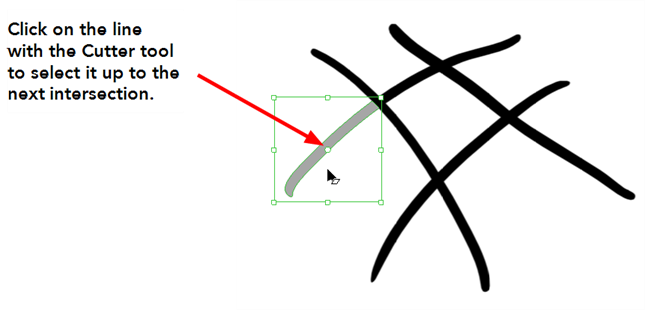
| ‣ | If you click on a zone, the Cutter |
| 5. | In the top menu, select Edit > Create Drawing From Drawing Selection or press [F9]. |
The Create Drawing From Drawing Selection dialog box opens.
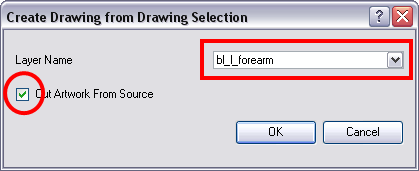
| 6. | In the Layer Name field, enter the name of the layer you want to create, following the naming convention you established previously. |
| 7. | Enable the Cut Artwork From Source option in order to remove the selected artwork from your original drawing. In this case, you want to cut the artwork from your colour model. |
| 8. | Click on the OK button to complete the operation. |
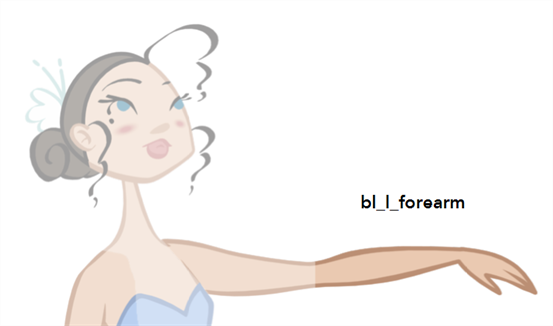
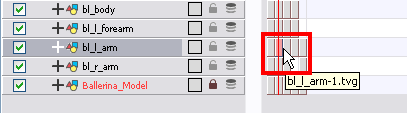
The new layer is created and your selection is copied in it. The drawing is created in the same frame number as the cell it was taken from.

| 9. | Repeat Step 2 to Step 8 for each body part. |
If you forgot to add some artwork to a layer you previously created, you can always add it later.
In the Camera view, select the artwork to send to the existing layer. Open the Create Drawing from Drawing Selection dialog box. The [F9]. In the dialog box, select an existing layer from the drop-down list instead of typing a new name. When you click on the OK button, the artwork will be added to the existing drawing in the layer you selected.
Selecting and Incorporating to an Existing Layer
Your first view should now be completely broken down. If your articulations are still rough and bits and pieces are missing you will fix those in the next step.
If your character model has more than one view, now is the time to break them down.
The process is very similar to breaking down the first view. You have two choices:
| • | Breaking down the new view in a net set of layers |
| • | Braking down the new views in the same existing layers If your layers are not in the correct order, you can reorder them later. Simply add the part that you are breaking down to the layer you previously created for the same body part. |
Start by breaking down the main pieces, as you did before. The secondary parts will be broken down later on.
Breaking Down the Extra View Main Parts
Repeat the following steps for each extra view you have to break down.
To break down the other views:
| 1. | In the Timeline view, selected the model's cell corresponding to the view to break down. |
| 2. | In the Tools toolbar, select the Cutter |
| ‣ | If you prefer to use the Select tool, in the Tools toolbar select the Select |
| 3. | In the Camera view, create a selection around the first part to break down. |
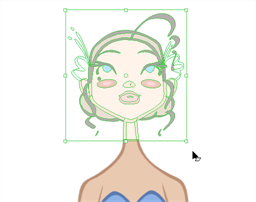
| 4. | In the top menu, select Edit > Create Drawing From Drawing Selection or press [F9]. |
The Create Drawing From Drawing Selection dialog box opens.

| 5. | In the Layer Name field, select the corresponding layer from the drop-down list if you want to use the same layers or type a new name if you want to create a new layer. |
| 6. | Make sure to disable the Cut Artwork From Source option in order to keep the selected artwork on your original drawing. You do not want to cut the artwork from your colour model. |
| 7. | Click on the OK button to complete the operation. |
The artwork is inserted into the existing layer. The drawing is created in the same frame number as the cell it was taken from. It is not incorporated in the other view's drawings.

| 8. | Repeat Step 1 to Step 7 for each main body part. |
Breaking Down Secondary Parts in the Extra Views
To break down the secondary parts for your extra views you will follow the exact same process as you did for the first view you broke down, but you will incorporate the new parts in the already existing layers—see Breaking Down the Secondary Parts.
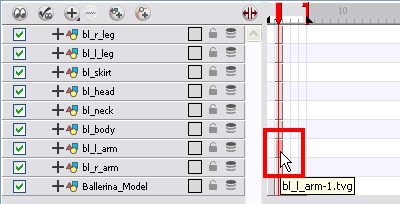
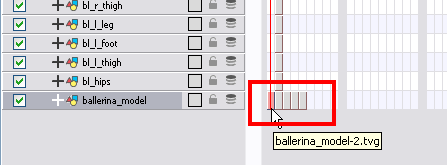
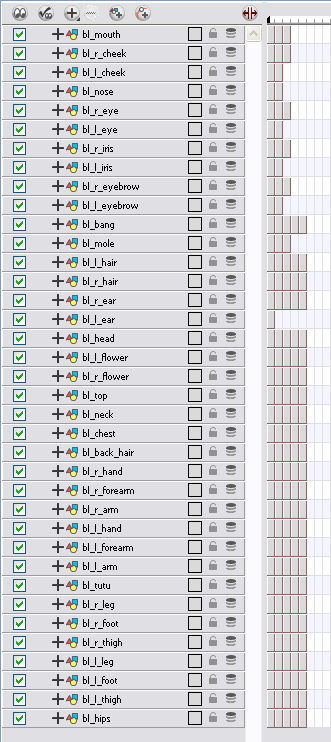
Each view can have its own set of layers in the Timeline, so that each view does not necessarily need to have the same layer structure.
This is an example of how your timeline should look at this stage:
Completing the Parts and Articulation
Now that all of your layers are created and your parts are basically broken down, it is time to clean up your parts and complete the articulation.
Cleaning the Parts
You will need to use a series of drawing tools to clean the parts:
| • |
|
| • |
|
| • |
|
| • |
|
| • |
|
| • |
|
| • |
|
To clean your drawings:
| 1. | In the Tools toolbar, select the drawing tool you need to fix your drawings. |

| 2. | In the Timeline view, select the cell containing the drawing to fix. |
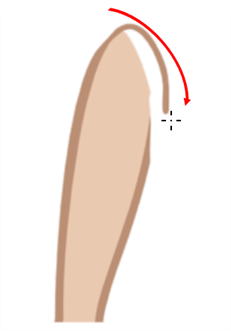
| 3. | In the Camera view, delete the extra bits using the Select |
| 4. | Draw the missing lines using the Brush |
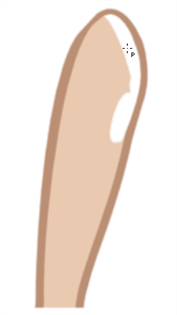
| 5. | Using the Paint |
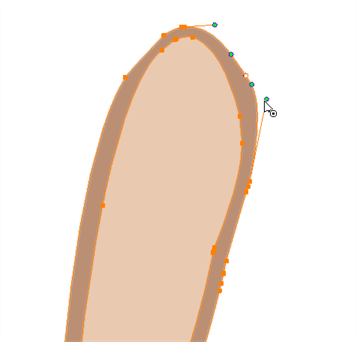
| 6. | Reshape your lines using the Contour Editor |
| 7. | Using the Select tool, select your entire drawing and click on the Flatten |
| 8. | In the top menu, select View > Show > Show Strokes to display the invisible lines that could be present in your drawing or press [K]. |
| 9. | In the top menu, select Drawing > Optimize > Remove Extra Strokes. This operation will remove any unnecessary invisible lines in your drawing. |
| 10. | Repeat this entire process for each drawing to fix. |
Related Topics
| • | Drawing Using the Pencil Tool |
| • | Drawing with the Brush Tool |
| • | Erasing Parts of a Drawing |
| • | Drawing with Shapes |
| • | Cutting Drawing Parts |
| • | Reshaping a Drawing Using the Contour Editor Tool |
| • | Painting Using the Paint Tool |