How to Vectorize With Bubbles
Vectorizing with bubbles allows the user to modify the original LineArt of a drawing by randomly inserting bubble shapes.
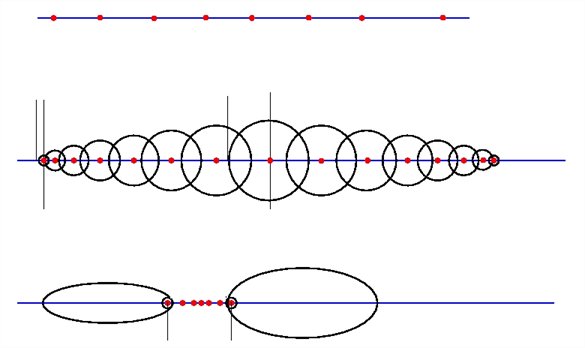
The command inserts bubbles starts from the circle with the smallest radius (min_radius), with the centre on one colour art point. The command then adds subsequent circles on the remaining colour art points, increasing their radius each time. The command adds new circles in ascending order of radius until the bubbles reach the maximum size specified by the max_radius parameter.
The command inserts the first and last circle at the minimum radius (specified by the min_radius parameter) and randomly assigns the height of the middle circle based on the bubble_length parameter.
For each bubble that appears, the command selects a random number of colour art points to set the distance between bubbles. The bubble_gap specifies the maximum number of such points, with the minimum being zero.
Examples
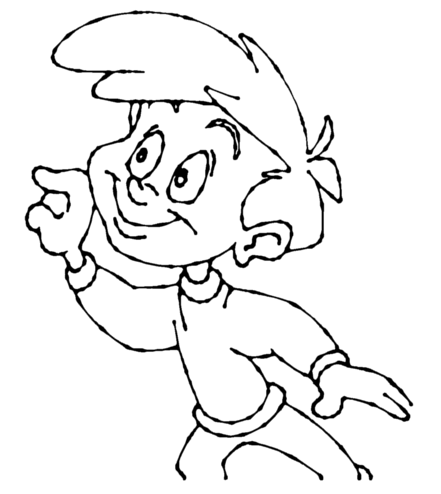
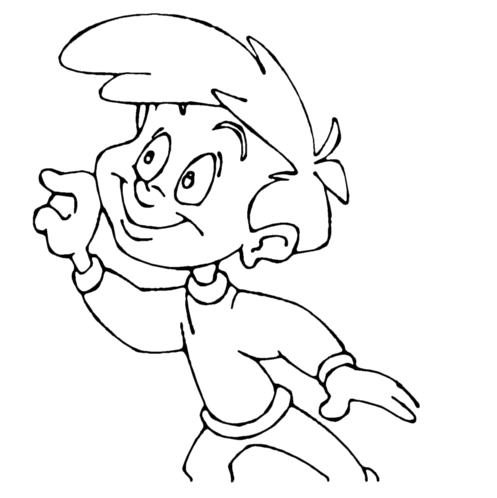
Drawing With Uniform Line Thickness
The initial drawing has a uniform thickness. Use it to view and compare the results of the following bubbles options.
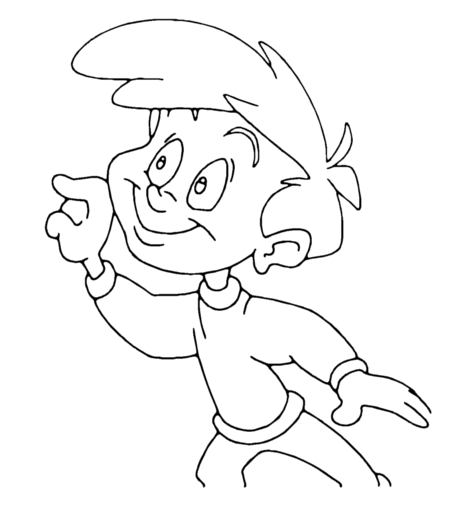
| • | Example 1 |
The drawing has been vectorized using the command options:
-create_bubbles -bubble_gap 3 -bubble_length 16 -max_radius

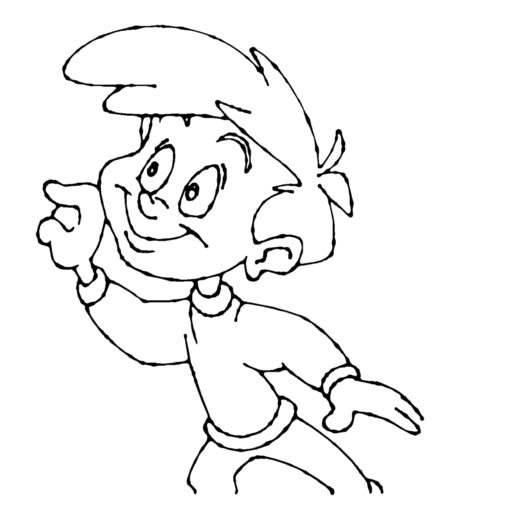
| • | Example 2 |
The drawing has been vectorized using the command options:
-create_bubbles -bubble_gap 3 -bubble_length 4 -max_radius 3.5
| • | Example 3 |
The drawing has been vectorized using the command options:
-create_bubbles -bubble_gap 3 -bubble_length 16 -max_radius 3.5
| • | Example 4 |
The drawing has been vectorized using the options:
-create_bubbles -bubble_gap 3 -bubble_length 4 -max_radius 3.0 -uniform_gap -uniform_height