Ordering the Layers
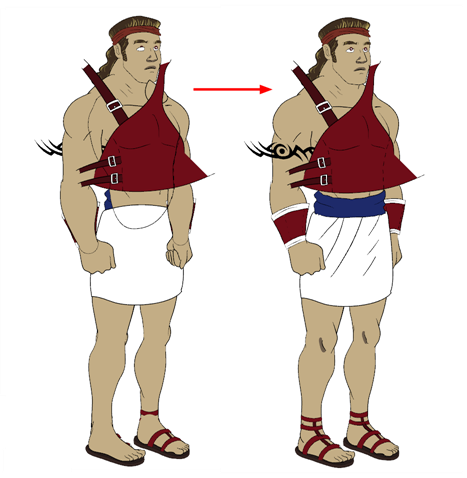
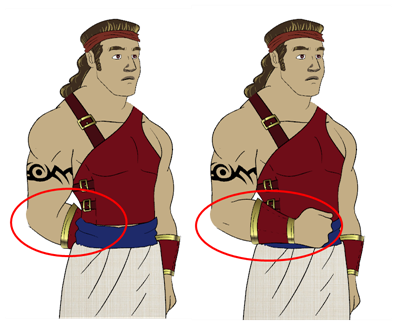
At this point, it is possible that your character's pieces may show up in the wrong order.
There are several ways to fix this. First, you can reorder your layers by dragging them to a higher or lower level in the Timeline view. The top layer is displayed in front of the others and the bottom one is displayed behind. Second, you can use the Z-axis nudging (forward and backward) if you have extra views included in the same layers (front, three-quarter, back, etc.).
This topic is divided as follows:
| • | Ordering the Timeline Layers |
| • | Nudging Parts Backwards and Forwards |
Ordering the Timeline Layers
In the Timeline view, the layer positioned at the top will be displayed in front and the ones below will be displayed behind. If you have multiple views, you should order your layers based on the most common view, which is generally the three-quarter front.
To order the layers:
| ‣ | In the Timeline view, drag a layer to reorder it and drop it between the other layers. |
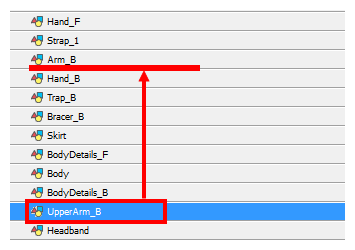
If you drop it on a layer, it will create a parent hierarchy, so make sure to drop it between layers.
Nudging Parts Backwards and Forwards
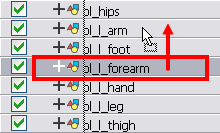
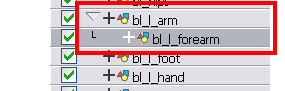
If you created a hierarchy on your arms, legs or other body parts, it is possible that you will want a part, such as the hand, to appear in front of its parent. Yet, if you move the hand layer above the arm layer, you will break the hierarchy. To reorder a layer rigged in a hierarchy, nudge it backwards or forwards on the z-axis.
Animate allows you to move your elements in three dimensions:
| • | Up and Down (Y-axis) |
| • | Left and Right (X-axis) |
| • | Backwards and Forwards (Z-axis) |
In the same way you create multiplane backgrounds (depth), you can do a micro nudge of the part to be reordered and see it in front of the other elements, even if its layer is actually behind the other ones in the Timeline view. The Forward-Backward position can also be animated over time.
Repeat the following instructions for all the views.
To nudge your parts backward and forward:
| 1. | In the Tools toolbar, select the Transform |
| 2. | In the Camera view, select the element that you want to reorder. Make sure that the focus (red outline) is around the Camera view before selecting the element. |
| 3. | To move the element forward, press [Alt] + [Down Arrow] and to move the element backward, press [Alt] + [Up Arrow]. |
Related Topics
| • | Adding the Master Peg |
| • | Creating a Hierarchy |