Adding Pegs
Now that you have your puppet on your stage, you probably need to resize and reposition it to fit your scene. When you need to scale down or move your character it's a good idea to hook (attach) the whole puppet to a trajectory.
In Animate, there is a type of layer you can add to your timeline allowing you to create a motion path or reposition drawings. This trajectory layer is called a Peg. Any drawing or layer you hook to a peg will follow the defined motion path, rotation, scaling and skewing information.
Attaching your puppet to a peg will allow you to scale it and reposition it without having to do it on all of your different parts and pieces. Only one layer will contain the position information, this makes your animation easier to modify and control.
To add a repositioning peg:
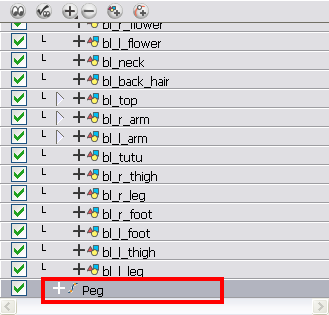
| 1. | In the Timeline view, click on the Add Peg |
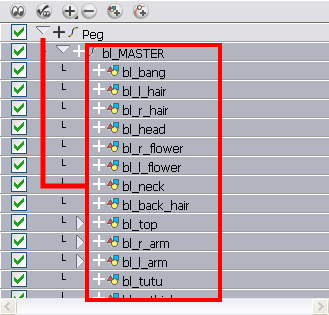
| 2. | In the Timeline view, select all of the layers you want to attach to your new peg. |
| 3. | Drag your selection right on the peg layer to parent all your character's pieces to the peg. |
Next, you need to position your character on the stage by moving it and scaling it to the correct size. You will not scale each layer individually. You either want to do it on the top symbol or top peg layer.
To reposition the character:
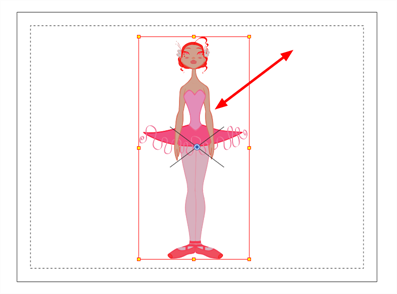
| 1. | In the Timeline view, select the top peg layer (master peg). |
| 2. | In the Tools toolbar, select the Transform |
| 3. | In the Camera view, position the character. |
Related Topics
| • | Creating a Simple Cut-out Animation |
| • | Selecting Layers to Animate or Position |
| • | Navigating the Hierarchy |