Managing the Views
The Toon Boom Animate user interface is composed of different views, each one designed for a specific purpose. This section explains how you can modify the location and accessibility of the views by adding a new view as a tab or as a window, you can also swap the view locations around.
| • | Adding a New View |
| • | Closing a View |
| • | Swapping Views |
| • | Resizing a View |
Adding a New View
To add a view:
| 1. | Select the view you want to add from Windows > The desired view. |
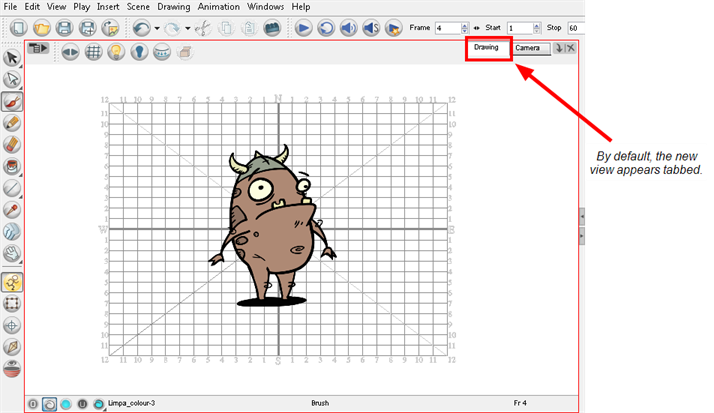
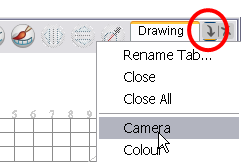
You can also use the Window drop-down menu button included in each view already available in the workspace. Click on the button and select a view from the list. You can only open one instance of the same view. In other words, you cannot have two Camera views open at the same time.
You can open several instances of the same view except for the Timeline, Tool Properties, Colour and Drawing views.
| 2. | To dock a floating window in your workspace, drag the window’s tab onto one of the workspace’s views. |
Closing a View
To close a view:
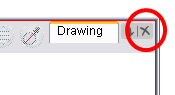
| 1. | In the view to close, click on the Close View |
| ‣ | If you have several tabs in the same window, hold [Shift] down and click on the Close View |
Swapping Views
With Animate, you can easily swap views around.
To swap views around:
| 1. | Select the view tab and drag it onto one of the view’s separators, top area or onto another view’s tab. |
| 2. | When a rectangle outline appears showing an available location for the view, release the mouse button and drop the view tab into position. One of three things will happen: |
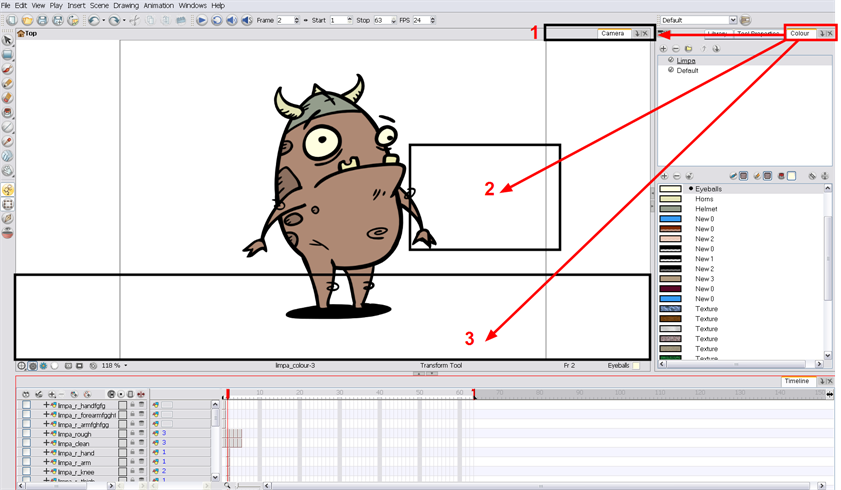
| • | 1. The view becomes a tabbed window. |
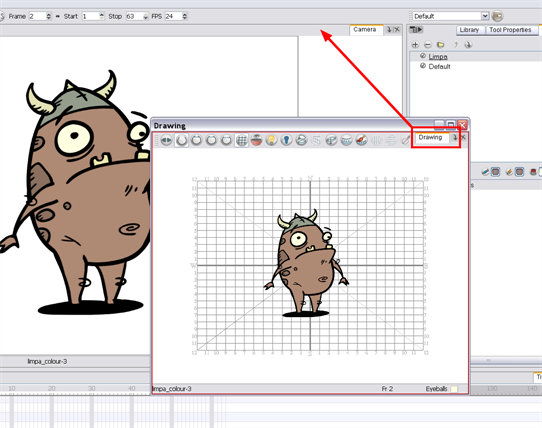
| • | 2. The view becomes a floating window. |
| • | 3. The view becomes a new docked window. |
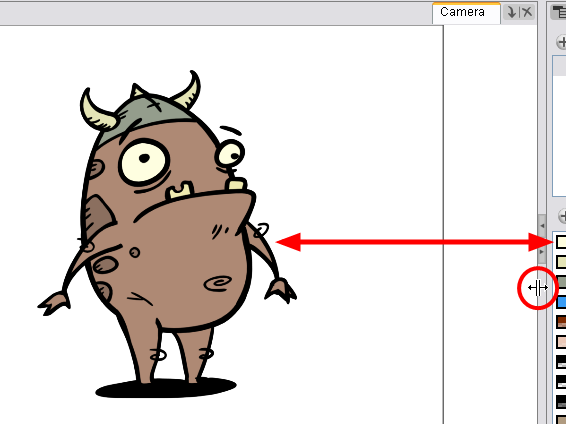
Resizing a View
To change the width and height of the views in the workspace, drag the side of the view.
To resize a view:
| 1. | In the interface, position your cursor on the edge of the view you want to resize. |
| 2. | When you see the Resizing  cursor, click and drag the side of the window to the desired width or height. cursor, click and drag the side of the window to the desired width or height. |
You can also temporarily hide a view to get more working space.
To temporarily hide a view:
| 1. | On the edge of the window you want to hide click on the Collapse/Expand button. The view is compressed and only the Collapse/Expand button is visible. |
| 2. | Click on the same Collapse/Expand button to display the view again. |
Related Topics
| • | Managing the Toolbars |
| • | Managing the Workspace |