How to Add Effects to your Scene
Once your animation is completed, you can add effects such as blurs and glows to make your project look even better! Animate provides you with a series of essential effects that you can add to your layers.
This chapter is divided as follows:
About Effects
An effect always needs a drawing connection and sometime a matte or shape connection. A matte provides drawing information that will be used to determine the area where the effect will be applied on the drawing. The details and colours within the matte drawing do not matter, as the system will only use the shape and transparencies in it. A matte is also known as mask.
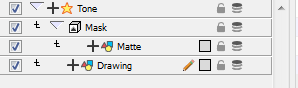
The matte principle can be demonstrated on the Tone effect.
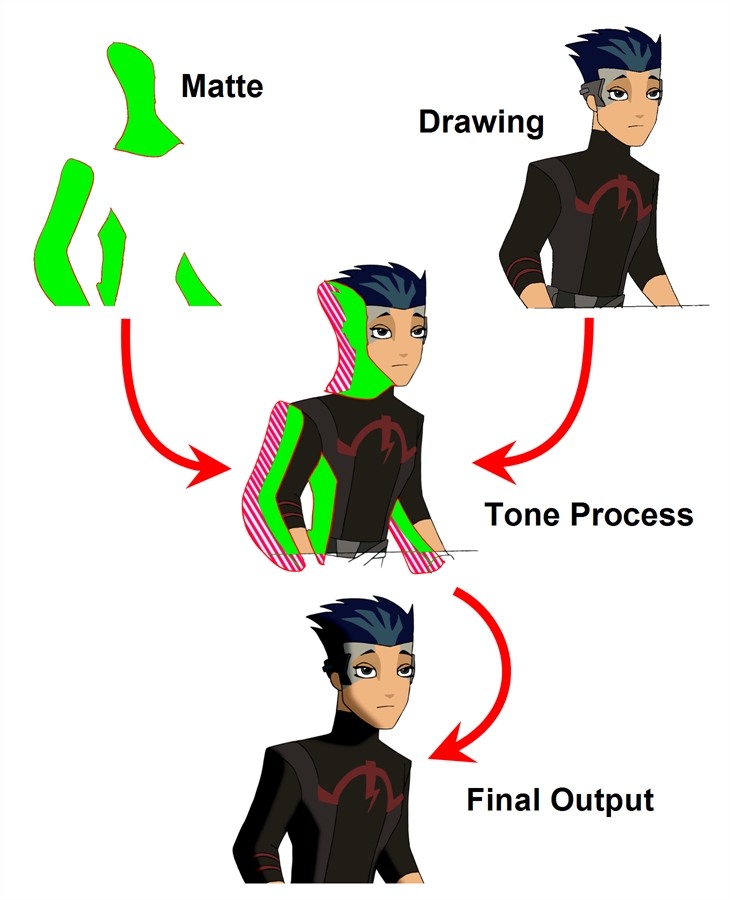
The drawing layer is connected in the right port of the effect and the matte (mask) in the left port. The Tone effect then applies darker colours where the matte overlaps the image, blurs the tone edge, and finally clips out the extra tone zone outside of the drawing before outputting a final drawing with a tone.
The tone's parameters can be adjusted in the Layer Properties view and any of them can be linked to a function column to be animated over time. This means that all of the effects can be customized.
Adding Effects
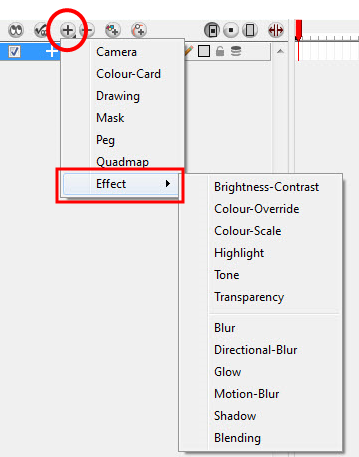
To add effect in the Timeline view:
|
1.
|
In the Timeline view, click on the Add Layers button and from the Layers drop-down menu, select Effects > the desired effect. You can also select Insert > Effects > the desired effect from the top menu. |
|
2.
|
The effect appears in the Timeline view. |
|
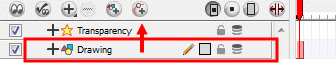
3.
|
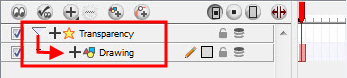
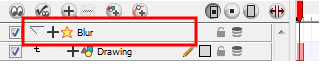
Drag the drawing layer on the new effect layer to parent them. |
|
4.
|
In the Camera view, click on the Render View Mode  button to see the result of rendering the scene's current frame and the effect . button to see the result of rendering the scene's current frame and the effect . |
|
5.
|
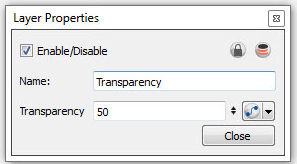
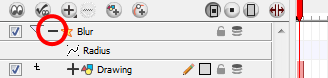
In the Timeline view, double-click on the effect layer to open the Layer Properties view. |
The Layer Properties view opens, displaying the parameters available for the selected effect.
|
6.
|
In the Layer Properties view, adjust the effect’s parameters. |
|
7.
|
In the Camera view, click on the Update Preview button to update the rendered preview. button to update the rendered preview. |
|
8.
|
To play back your scene with the final effects, in the Playback toolbar, click on the Render and Play button. button. |
Tone Effect

Use a Tone effect to add a dark-coloured region to your drawing and simulate the shaded area away from a light source. To produce the tone effect, create a drawing to control where the tone will appear. The Tone effect uses a matte to determine the shape and position of the tone on your drawing and can be blurred at the edges to create a softer effect.
For information on all effects, check out the
Online Help. The Tone Effect is shown here as an example.
Use the Tone editor to control the type and amount of blur, as well as the colour of the tone.

|
•
|
Truck Factor: Activated by default, this option readjusts the blur when the elements undergo a change of depth or scale. When this option is disabled, the effect's values will remain unchanged regardless of depth or scale changes. It is recommended that this option be disabled when multiple drawings are composited and attached this effect. |
|
•
|
Blur Type (Directional or Radial): |
|
•
|
If Directional is selected, Animate will blur the matte in the direction you select. |
|
•
|
If Radial is selected, Animate will blur the edges of the matte evenly around points that make up the edge of the matte. |
|
•
|
Radius: Enter a value for the size of the blur. The larger the value, the greater the blur effect. The blur radius is affected by the drawing scale and camera position. |
|
•
|
Directional Angle: If you select a Directional Blur Type, you can select the direction of the blur by entering a value from 0 to 360 in this field. |
|
•
|
0: Blurs the image to the west. |
|
•
|
90: Blurs the image to the south. |
|
•
|
180: Blurs the image to the east. |
|
•
|
270: Blurs the image to the north. |
|
•
|
Directional Fall-off Rate: The distance where the blur fades from the edge of the image. Select a value between 0 and 1. |
|
•
|
A fall-off rate of 0 causes the blur to fade out slowly, distributing the blur evenly from the edge of the character to the farthest edge of the blur. |
|
•
|
A fall-off rate of 1 causes the blur to fade out quickly so that the blur is heaviest closer to the edge of the image. |
|
•
|
Invert Matte: Activate this option to invert the matte used to create the tone. |
|
•
|
Use Matte Colour: Uses the matte shape colour to create the tone. |
|
•
|
Multiplicative: Multiplies the tone colours with the background. |
|
•
|
Red/Green/Blue/Alpha: In the RGBA fields, you can enter the value you want added to or subtracted from the colour channels in the drawings or you can attach these values to function curves. |
Animating an Effect Over Time
In Animate, to animate an effect over time, create a function curve by adding keyframes to the parameters you want to animate. To do this, you will use the Layer Properties view and the Timeline view. You can fine tune your animation using the Function view.
To animate an effect over time:

|
10.
|
Select the Effect layer. |
|
11.
|
To create the function curve: |
|
‣
|
In the Layer Properties view, click on the Function  button you want to animate to create a function curve. button you want to animate to create a function curve. |

OR
|
‣
|
You can also expand the effect layer's parameters in the Timeline view by clicking on the Expand  Function button and add a keyframe using the [F6] key to the parameter you want to animate. Function button and add a keyframe using the [F6] key to the parameter you want to animate. |
|
12.
|
In the Timeline view, click on the Show Data View  button. button. |
|
13.
|
In the Timeline view, go to the frame where you want to start animating the effect. |

|
14.
|
In the Data view, click on the Add Keyframe button. |
|
15.
|
In the Value field scroll to the keyframe value or type the value in the field. |

|
‣
|
If your keyframes are stop-motion keyframes, in the Timeline view, select the new keyframes. Right-click on the selection and select Set Motion Keyframe. |
|
16.
|
Repeat this process for each keyframe to be added. |