User Guide > Animation Paths > Modifying a Path in the Function View > Adding and Deleting Keyframes in the Function View
Adding and Deleting Keyframes in the Function View
If you want to change a parameter between two motion keyframes in the Timeline view, such as the scale, you can do so by adding keyframes in the Scale editor.
To add or remove keyframes in the parameter editor:
| 1. | Open the layer parameters by clicking the Expand Function |

| 2. | Select the parameter that you wish to create a function curve for: Path, Velocity, Scale: x or y, Angle or Skew. For this example we will use Scale: x. |
| 3. | Double-click on the parameter layer name to open the Function editor window or click once on the parameter layer to display it in the Function view. |

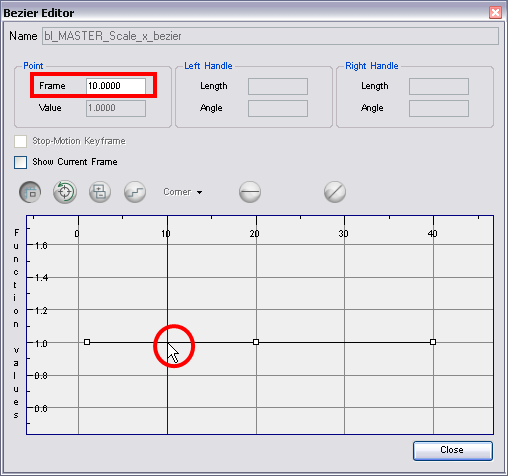
| 4. | In the graph section, click on the frame number where you would like to make changes or in the Point section, enter the frame number directly into the Frame field. |
In the graph section, a vertical blue line will indicate the frame number selected.
| 5. | Click the Add/Remove Keyframes |

| 6. | Click on the newly created keyframe and drag it up (to decrease the width of the object) or down (to increase the width of the object) or pull on the handles to create a smooth fluctuation of the drawing object's width. |
| 7. | If you do not like the changes made, you can delete the new keyframe by selecting the keyframe, if it is not already selected, and press the [Delete] key, or by clicking on the Add/Remove Keyframes |
You can delete an already existing keyframe by using the same process.
Related Topics
| • | Modifying a Path in the Function View |