Masking
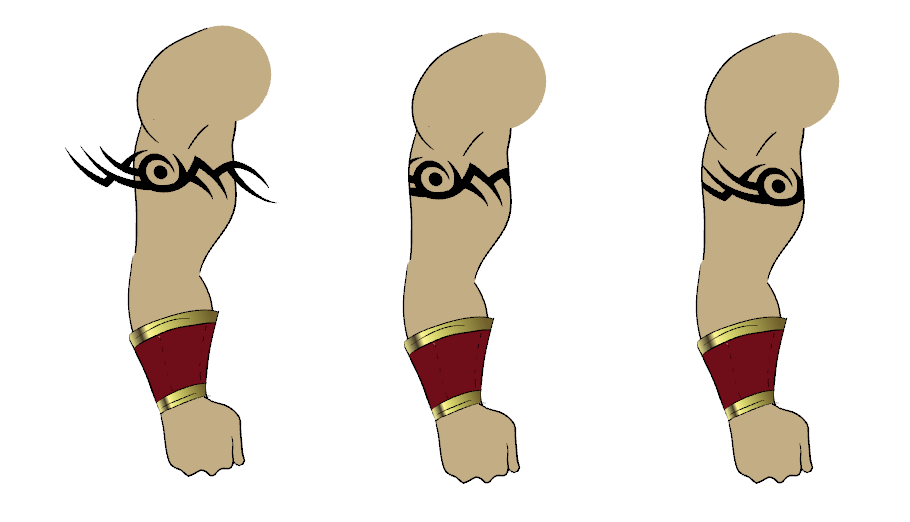
When rigging a character, there will be cases where you will want to be able to move some pieces to give the illusion of a rotation or move the pupil within the white of the eye without having the extra bit of the drawing sticking out of the character or eyeball. To do so, you can use masks to cut anything you do not want to be visible.
To mask an object:
| 1. | In the Timeline view, make sure the keyframe is added on the object that will be masking the piece to cut. |

| 2. | Select the layer that will be masking the piece you want to cut. |
| 3. | In the Timeline view, right-click on the layer and select Clone Selected Layers. |

| 4. | In the Timeline Layer toolbar, click on the Add Layer button and from the drop-down menu, click on Mask. |

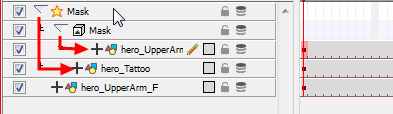
| 5. | Drag the object to be masked ONTO the Mask effect layer to connect it to the effect and drag the cloned layer ONTO the masking group layer to cut the object. |
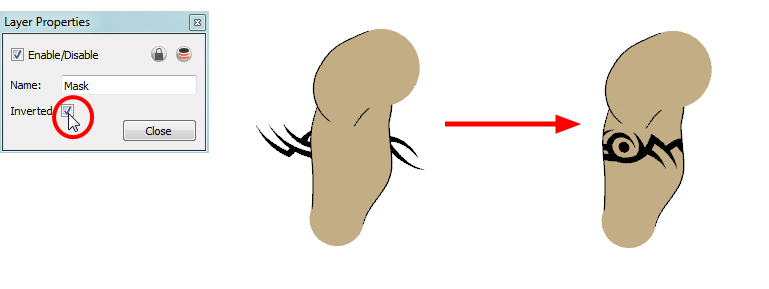
| 6. | Your masking effect is most likely inverted and what you want to cut is probably showing. Double-click on the Mask layer to open the Layer Properties window. In the Layer Properties window, enable the Inverted option. |
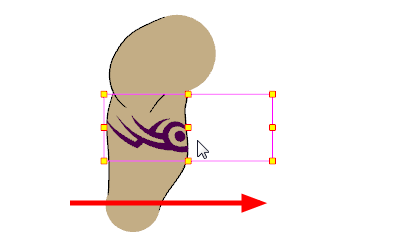
| 7. | Using the Transform tool, you can now move the cut object within the masking zone. |
Related Topics
| • | Adding the Master Peg |