Pencil Line Texture
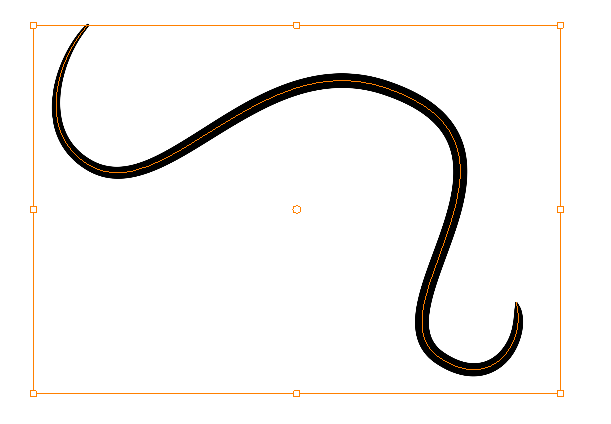
You can apply a texture on a pencil line.
Applying Texture to a Pencil Line
Pencil lines support texture. Before drawing, you can select or import a texture and apply it to your lines. You can also change it afterwards using the Select tool. Textures are independent from pencil templates.
To apply a preset texture to a pencil line:
|
1.
|
In the Tools toolbar, select the Pencil  tool. tool. |
|
2.
|
In the Tool Properties view, the preview area displays the stroke that will be produced after you customize the different parameters in the Tool Properties view. Click the arrow button. |

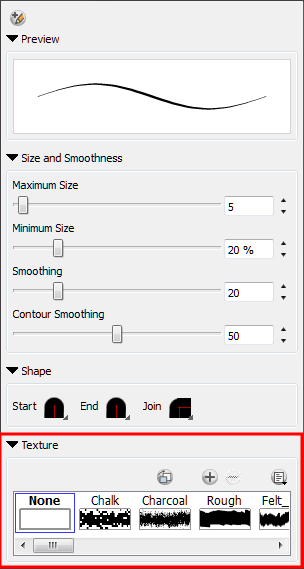
In the Pencil Properties property editor displays.
|
3.
|
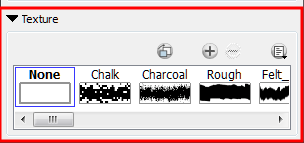
In the Texture section, select a texture for your pencil. |
|
4.
|
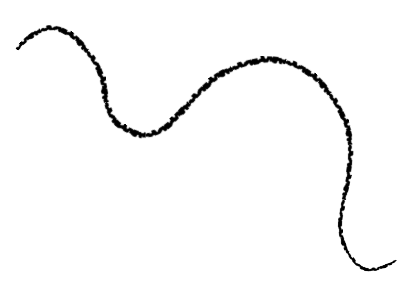
In the Camera or Drawing view, draw your pencil line. |

Creating a Pencil Texture Template with the Pencil Tool
To create a pencil texture template with the Pencil tool:
|
1.
|
In the Tools toolbar, select the Pencil tool. |
|
2.
|
In the Tool Properties view, click the arrow button beside the stroke preview area. |
|
3.
|
In the Pencil Properties property editor, click the New Texture  button or select New Texture from the Texture menu. button or select New Texture from the Texture menu. |
|
‣
|
To delete a preset style, click the Delete Texture  button. button. |
|
4.
|
Browse for your bitmap texture file. |
The file must be a TGA or PSD. Your texture MUST HAVE an alpha channel.
The imported texture is saved in your scene texture list.

|
6.
|
In the Pencil Properties property editor, select your new texture. |
|
7.
|
In the Tool Properties view, click the Texture menu and select Rename Texture.
|
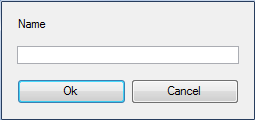
The Rename Opacity Texture dialog box opens.
|
8.
|
In the Name field, type the template name and click OK. |
|
9.
|
In the Camera or Drawing view, draw your pencil lines. |
Creating a Pencil Texture Template with the Select Tool
To create a pencil texture template with the Select tool:
|
1.
|
In the Tools toolbar, select the Select  tool. tool. |
|
2.
|
In the Camera view, select a pencil line on which to apply a texture. |
|
3.
|
In the Pencil Properties property editor, click the New Texture button or select New Texture from the Texture menu. |
|
‣
|
To delete a preset style, click on the Delete Texture button. Note that you cannot delete the textures stored in your preferences. |
|
4.
|
Browse for a bitmap texture file. |
The file must be a TGA or PSD. Your texture MUST HAVE an alpha channel.
The imported texture is saved in your scene texture list.
|
6.
|
In the Pencil Properties property editor, select your new texture template. |
|
7.
|
In the Tool Properties view, click the Texture menu and select Rename Texture.
|
The Rename Opacity Texture dialog box opens.
|
8.
|
In the Name field, type the template name and click OK. |
Adding a Texture to the Preferences
When you import a texture in your pencil styles, it is saved in your scene. If you want to add that texture to a bank that you will be able to reuse in different scenes, you can add that texture to your preferences.
To add a texture to your preferences:
|
1.
|
In the Tools toolbar, select the Pencil tool. |
|
2.
|
In the Tool Properties view, click the arrow button beside the stroke preview area. |
|
3.
|
In the Pencil Properties property editor, select a texture from the Textures area to add to your preferences. |
|
4.
|
Click the Copy to Preference  button. button. |
Applying a Preset Texture to a Pencil Line
To apply a preset texture to a pencil line:
|
1.
|
In the Tools toolbar, select the Select tool. |
|
2.
|
In the Camera view, select a pencil line. |
|
3.
|
In the Tool Properties view, select a texture from the Textures area to apply to the selected stroke. |
Related Topics