Understanding the Timeline View
To set your animation timing, you will mostly work with the Timeline and Xsheet views. This section will help you become familiar with these views, how they work and the differences between them.
| • | Timeline View |
| • | Layer Section |
| • | Timing Selection |
| • | Data View Section |
Timeline View
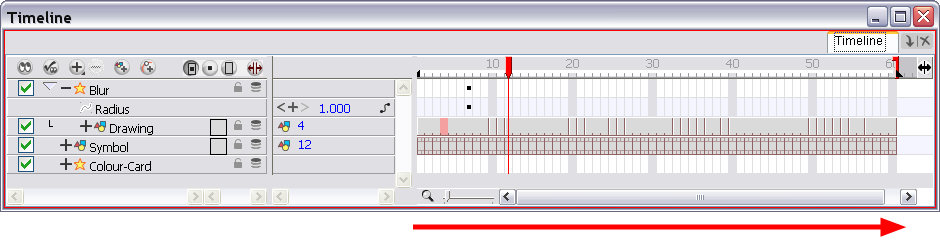
The Timeline view allows you to read your timing from left to right. It represents the scene’s elements in their simplest form.
In the Timeline view you can see your layers and their names as well as the drawing’s exposure. The drawing name is displayed when you place your cursor above the drawing’s exposure.

You can also see the drawing name when you display the Data view. The name of the drawing folder to which the layer is linked is displayed in the Data view.

Layer Section
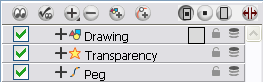
The Layer section is located to the left of the Timeline view. This is where you add, delete, rename, reorder, and parent layers. Any operation you do that affects the layer globally is done here.
Timing Selection
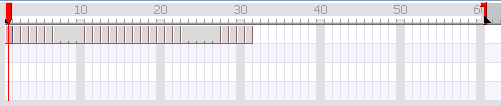
The Timing section is located on the right side of the Timeline view. This is where you can increase and decrease a drawing’s exposure, duplicate drawings, add blank cells, etc. Any operation you do that affects a drawing or its timing is done in this section.
Data View Section
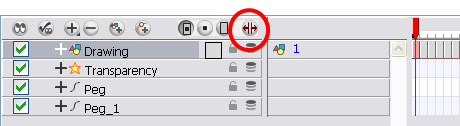
The Data view section is part of the Layer section. By default, the Data view is hidden.
The Data view allows you create new drawings by typing a new name in the Drawing Substitution field. You can also swap between existing drawings by sliding your cursor ![]() to the left or right.
to the left or right.
To display the Data view:
| ‣ | Click the Show Data View |
Related Topics
| • | Swapping Images |