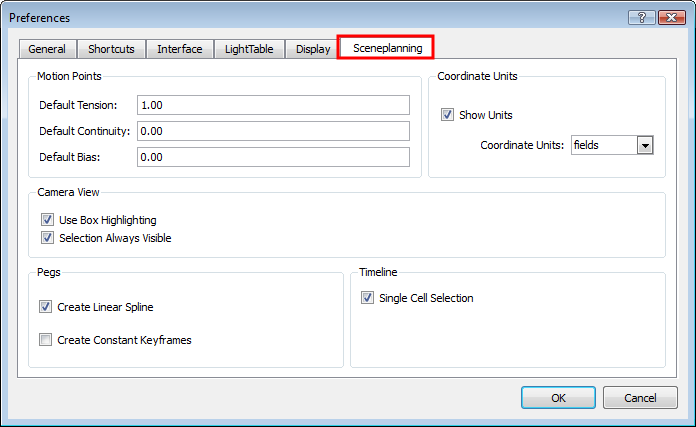
You can set preferences that can help you be more efficient and comfortable when you work on your scene setup:
In Studio, you can set your own preferences to fit your work style and needs when setting up your scene and creating motion paths.
To open the preferences panel:
| ‣ | Windows: Select Edit > Preferences. |
| ‣ | Mac OS X: Select Toon Boom Studio 8 8.0 > Preferences. |
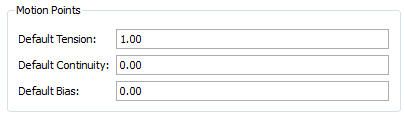
In the Motion Points section, you can set the default Tension, Continuity and Bias values when adding motion points to your motion paths—see Switching between Keyframes and Control Points.
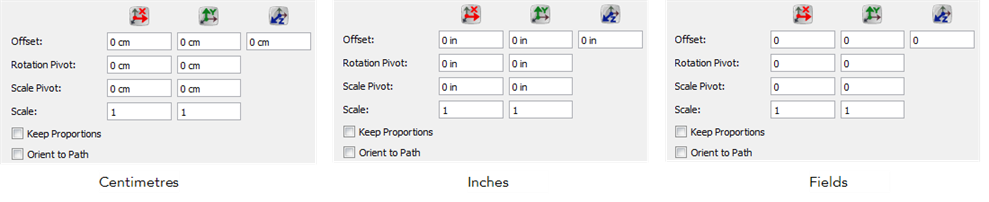
You can choose the coordinate units used in the scene's Properties view.
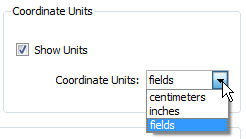
This option lets you show or hide the unit type in the Properties view. Note that the unit type can only be hidden when the unit type is set to Fields.
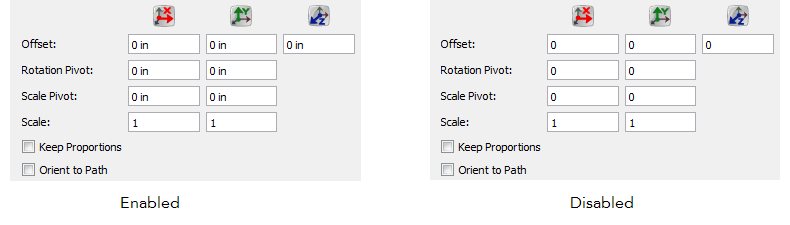
This drop-down menu lets you choose between the three available unit types.
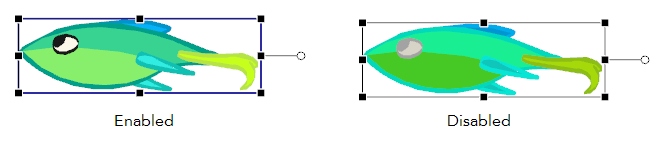
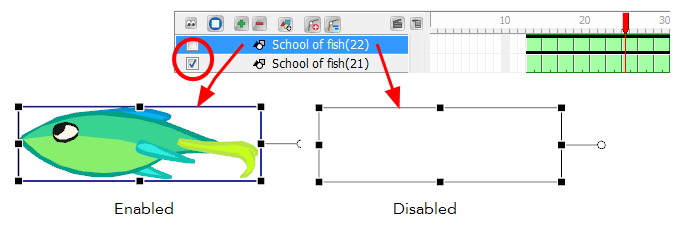
This section lets you set the selection display preferences for the Camera view.

When this option is enabled, the bounding box of a selected item in the Camera view is highlighted. When it is disabled, the bounding box is a regular thin grey line box and the element itself is highlighted.
When this option is enabled, even when a layer is hidden in the Timeline view, it will remain visible in the Camera view when it is selected. When the option is disabled, a hidden layer in the Timeline view will remain hidden in the Camera view when it is selected.
Use the Pegs section options to set your preferences related to motion paths creation.
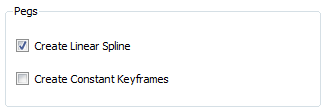
By default, the Create Linear Spline option is enabled, so when you animate an element with a motion, rotation or scaling, the velocity will be set to Linear. This means that the motion tweening executed by Studio will be straight with no variation in the speed. You can disable this option so that every time you create a motion, rotation or scaling, the velocity will be set to the default ease-in, ease-out curve—see Adjusting the Velocity.
By default, the Create Constant Keyframes is disabled so every time you create a motion, a non-constant segment is created between every two keyframes and the motion tweening is automatically calculated by Studio.
You can enable the Create Constant Keyframes so that every time you create a motion, the segments between the keyframes will automatically be constant. No motion tweening is calculated and the position jumps from one to another at each keyframe—see Animating a Puppet to learn more about constant and non-constant segments.
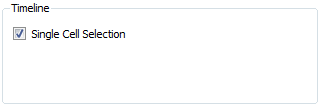
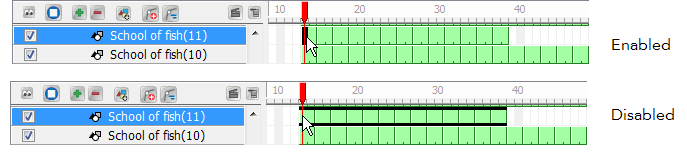
This option is enabled by default. This means that when you select a cell in the Timeline view, only this cell is selected. You can disable this option so that when you select a cell in the Timeline view, the entire exposure block of this layer is selected at once.