Scenes are not only composed of characters moving around in a static camera field, they are also composed of camera movements. Although it is not always something that we think about, often it is the exact opposite, the character is static while the camera moves through elements on the stage. Camera pans, jumps, cuts and zooms are as important to storytelling as the story itself.
Studio has a camera that can move along the X, Y and Z axes. Having the camera move on the Z-axis allows you to create truck in and truck out, as well as multiplane camera moves.
This topic is divided as follow:
| • | Adding a Peg to Your Camera |
| • | Making a Basic Camera Move |
To add a parent peg to your camera:
| 1. | In the Timeline view, select the Camera layer. |
| 2. | From the top menu, select Element > Add > Parent Peg. |
A Peg layer appears directly above the Camera layer and the Camera layer is automatically attached to it.
The Peg layer automatically takes the name of the camera and adds the suffix -P to indicate that it is a peg layer, for example Camera-P.
To animate your camera:
| 1. | In the  tool. tool. |
| 2. | In the Timeline view, select the camera peg layer on the first frame of the scene. |

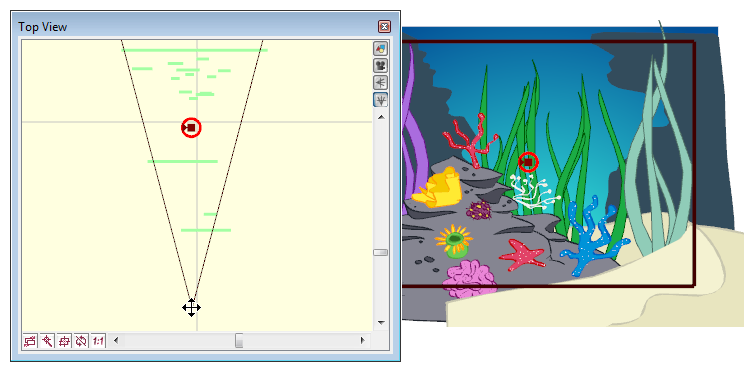
| 3. | In the Top view, select the camera and move it to the desired position. You can refer back to the Camera view to see how this camera moves the frames in your scene. |
| 4. | In the Timeline view, click on a cell in the Camera Peg layer where you want the camera move to begin. |

| 5. | Right-click and select Add Keyframe or press [l]. |
A keyframe appears in that cell. Any frames preceding this keyframe cell have the same camera position as this keyframe.

| 6. | Click on another cell where you want the camera move to end. |

| 7. | In the Top view, select the camera and move it to the desired position. |
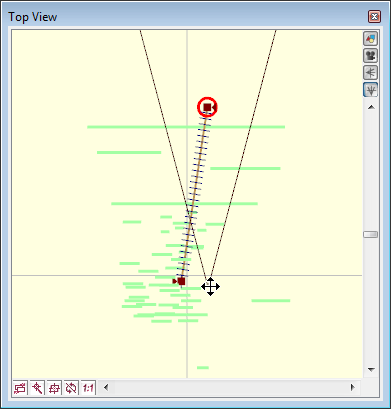
A second keyframe appears and a line is created between the two frames to indicate that Studio created a non-constant segment, meaning that it will automatically interpolate the movement.

Related Topics
| • | Setting the Camera Frame |
| • | Creating a Basic Motion Path |