Creating a Port Filtering system
There are a number of ways to apply Port Filtering. The following are the three locations that can be used to implement a Port Filtering system:
-
The Node view.
Applying Port Filtering in the Node View
The Node View provides a quick and convenient way to label ports and apply Port Filters.
-
Right+Click a node and then select Port Names > Add Named Out Port.
TIP You can use a keyboard shortcut by selecting a node output and pressing Shift + =. -
Enter a name for the port and hit Enter.
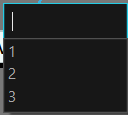
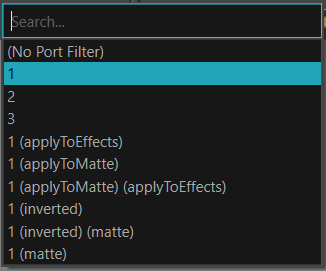
Already existing Port Names will be shown in the drop down menu.
-
Right-click the input of an image port.
-
Select Port Names > Add Filter to In Port(s).
-
Select an existing Port Name from the drop-down or enter a new name.
You can make a selection with the dropper tool in the Node view or Camera view.
If the node has a Port Name, a Port Filter will be generated with the same name.
If the node does not have a Port Name, the Port Filter and Port Name will be named with the name of the selected node.
Applying Port Filtering in the Port Names View
The Port Names View gives a global and in depth view of all ports contained in a scene. Amongst the many tools available within the Port Names View window is the ability to apply both Port Names and Port Filters.
-
Do one of the following:
-
From the top menu, select Windows > Port Names.
-
From any of the other views, click the Add View
 button and select Port Names.
-
-
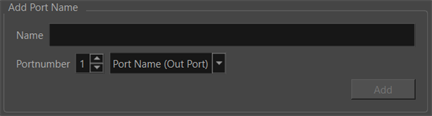
In the Add Port Name section, enter a name in the Name field.
-
Select a node that supplies an image output in the Node View.
-
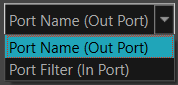
In the drop down menu select Port Name (Out Port).
-
Click Add.
A Port Name will now be applied to the selected Node's input port at the provided index.
-
Do one of the following:
In the top menu, select Windows > Port Names.
From any of the other views, click the Add View
button and select Port Names. -
In the Add Port Name section, enter a name in the Name field.
-
Select a node that supplies an image output node in the Node View.
-
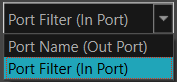
In the drop down menu select Filter (In Port).
-
Click Add.
A Port Filter will now be applied to the selected Node's input port at the provided index.
Another way to apply Port Names and Port Filters from the Port Names View is by using the Port number bar. By selecting your composite, the ports on the composite can be labeled for clarity or subdivision.
-
Do one of the following:
-
In the top menu, select Windows > Port Names.
-
From any of the other views, click the Add View button and select Port Names.
-
-
In the Add Port Name window, enter a name in the Name field.
-
In the Node View, select a composite node.
-
In the drop down menu select the Port Name (Out Port).
-
Click Add.
A Port Name will now be added to the selected node's output port at the provided index.
-
Do one of the following:
-
From the top menu, select Windows > Port Names.
-
From any of the other views, click the Add View button and select Port Names.
-
-
In the Add Port Name section, enter a name in the Name field.
-
In the Node View, select a composite node.
-
In the drop down menu select the Filter (In Port).
-
Do one of the following:
-
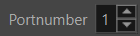
Adjust the Port number using the arrow keys.
-
Type the desired Port number in the Port number bar.
-
-
Click Add.
A Port Filter will now be applied to the selected node's input port at the provided index.
Applying Port Filtering Using the Port Names Toolbar
The Port Names Toolbar can be used to create a Port Filter, provided that a Port Name already exists. The Port Name needs to be created using one of the other methods listed above.

The Port Names Toolbar is synchronized to the Display menu. By changing the Port Name, the current display will be assigned a Port Filter based off the name in the Port Names Toolbar.
-
Add the Display Toolbar to the Toolbar.
-
Add the Port Names Toolbar to the Toolbar by right+clicking in the Toolbar and selecting Port Names.
-
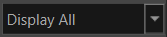
In the Display Toolbar, select the Display you would like to use.

-
In the Port Names Toolbar, select the Port Name to which the display should be filtered.
In the Node view, the Port Filter with the provided name will be generated on the current display. If that Display already had a Port Filter applied, it will be modified to the new value.
NOTE To get the Port Names Toolbar button, you will need to add it to the Toolbar in the Toolbar Manager. See Adding and Removing Toolbars.
In the example below, the Display is set to Vowel_Display. The current display does not have a Port Filter assigned to it.
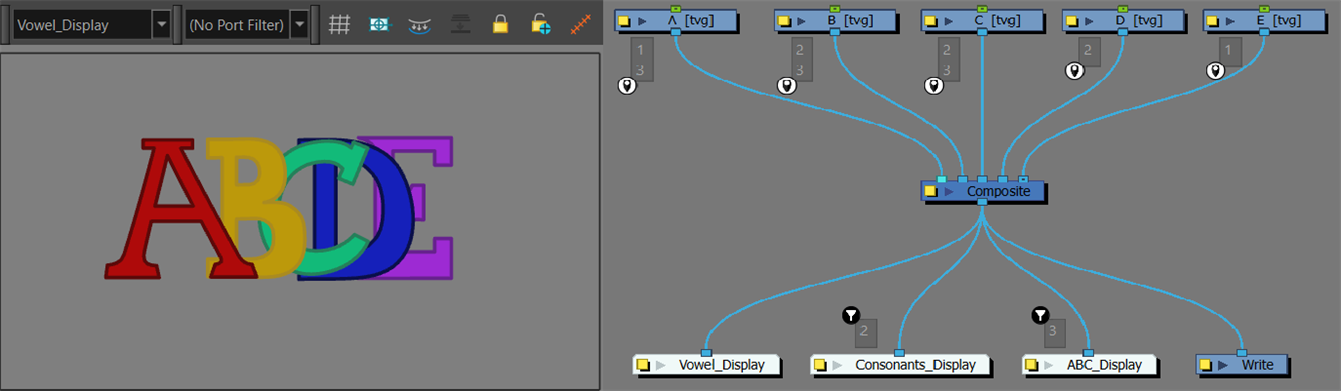
To isolate the vowels A and E, the Port Name in the Port Names Toolbar will need to be set to 1.
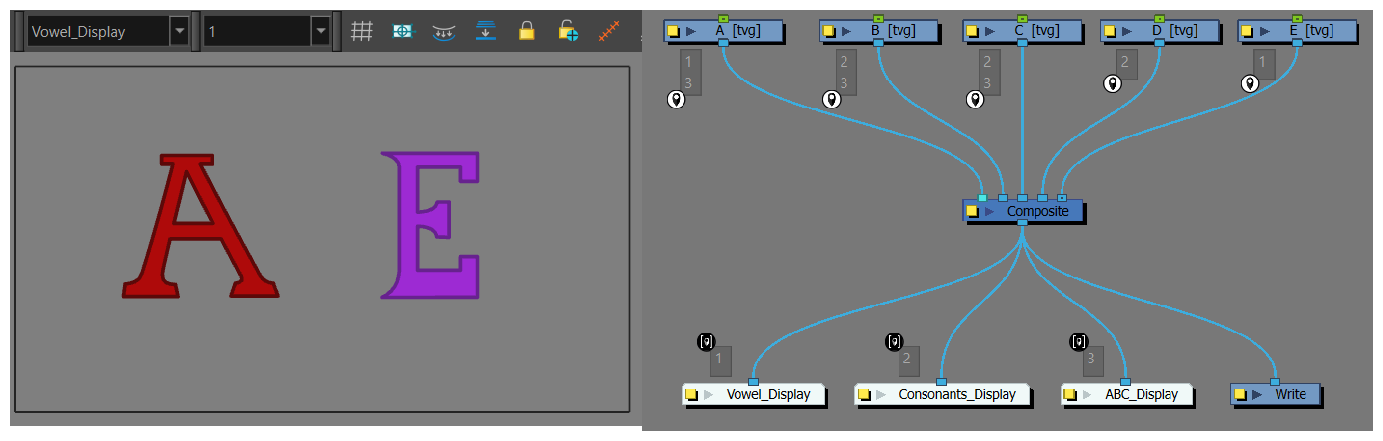
By scrolling through the Port Names Toolbar and changing the Port Name to 1, the current display Vowel_Display is assigned a Port Filter with the named 1.