In Toon Boom Studio, you use different colour swatches to paint your drawings rather than modifying the tint of one colour each time you want a different colour. A colour swatch can also be called a colour pot.
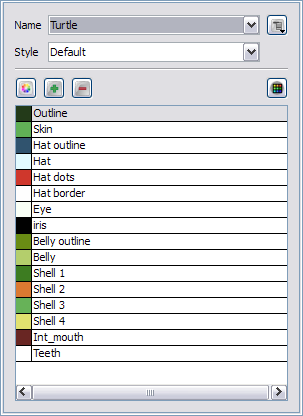
In the Colour Palette view, you choose a different colour swatch for each colour you want to paint in your drawing. You can add as many swatches as you want. You can also rename them or modify existing ones.
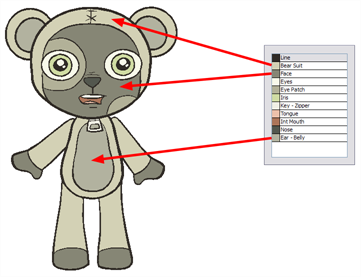
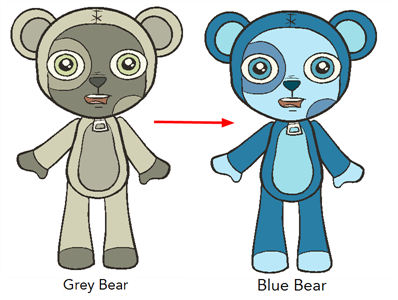
When you modify the colour of an existing swatch, it automatically updates all the zones painted with this swatch throughout the entire project. The colour swatch has a unique identification number that associates it with the painted zones. This way, you can change the look of your character anytime without having to repaint it!
This topic is divided as follows:
| • | Adding a Colour Swatch |
| • | Deleting a Colour Swatch |
You can create three different types of colour swatches:
| • | Solid Colour Swatch |
| • | Gradient Colour Swatch |
| • | Bitmap Texture Swatch |
To add or modify a solid colour swatch using Windows:
| 1. | Do one of the following: |
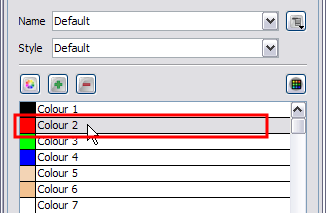
| ‣ | In the Colour Palette view, click the Add Colour  button. button. |
| ‣ | Click the Menu  button and select Colour > Add Colour. button and select Colour > Add Colour. |
| 2. | To edit your colour, click the Menu button and select Colour > Edit Colour. Or double-click the colour pot or click the Edit Colour  button. button. |
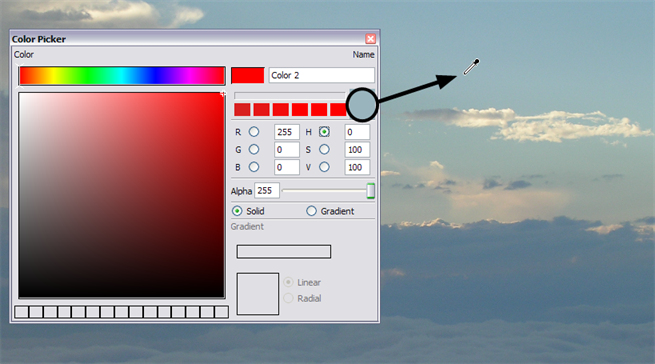
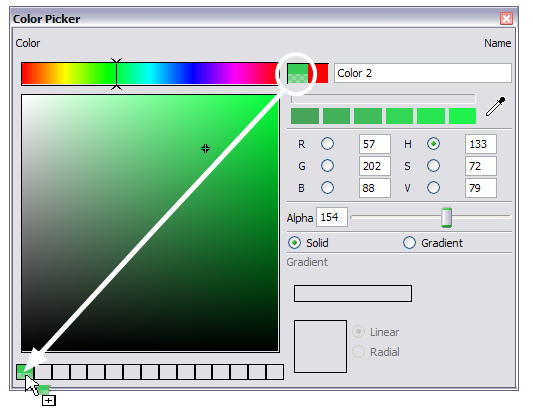
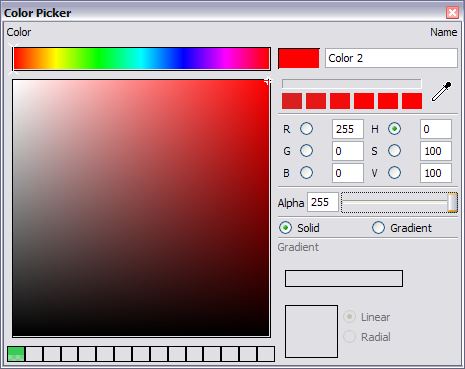
The Colour Picker window opens.

| 3. | To set your colour: |
| ‣ | Select the colour you want from the colour wheel. |
OR
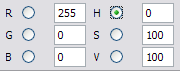
| ‣ | Type in the HSV or RGB value in the value fields. Click on the R,G,B,H,S or V radio buttons to change the look of the colour picking area. |
OR
| ‣ | Click the Dropper  button to select any colour on your screen. It can be from the Toon Boom Studio's interface, your operating system, or any other opened application. button to select any colour on your screen. It can be from the Toon Boom Studio's interface, your operating system, or any other opened application. |
| 4. | If needed, click the Shade Scale's swatches to modify the shade of the selected colour. |
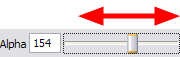
| 5. | If necessary, adjust the level of transparency with the Alpha slider, or type the value directly in the Alpha field. 0 = 100% transparent, 255 = 100% opaque. Any value between 0 and 255 gives a more-or-less semi-transparent colour. |
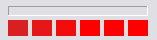
| 6. | If necessary, select the new colour from the Colour Display area and drag it to the Colour Storage Library, so you can quickly access it later. |
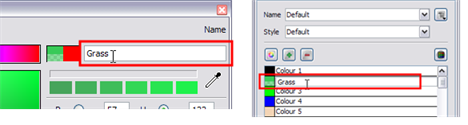
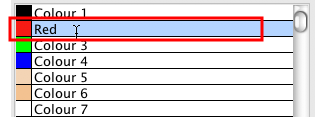
| 7. | You can rename the colour swatch in the Colour Picker window or directly in the colour list by double-clicking on its name. |
To add or modify a solid colour swatch using Mac OS X:
| 1. | In the Colour Palette view, click the Add Colour button. Or click the Menu button and select Colour > Add Colour. |
| 2. | To edit the colour, click the Menu button and select Colour > Edit Colour. Or double-click the colour pot or click the Edit Colour button. |
The Colour window opens.
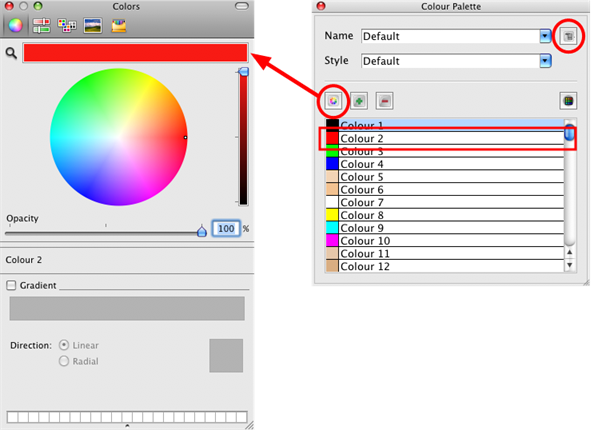
| 3. | Use the top buttons to select one of the five colour picker display modes: |
| ‣ |
 Colour Wheel Colour Wheel |
| ‣ |
 Colour Slider Colour Slider |
| ‣ |
 Colour Palettes Colour Palettes |
| ‣ |
 Image Palettes Image Palettes |
| ‣ |
 Crayons Crayons |
| 4. | To select a colour from the Colour Wheel display mode: |
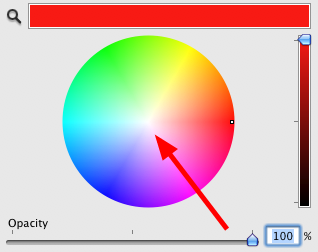
| ‣ | Pick the colour you want from the colour wheel. |
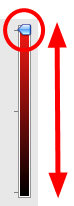
| ‣ | If needed, use the Shade Scale's slider to modify the shade of the selected colour. |
| 5. | To select a colour from the Colour Slider display mode: |
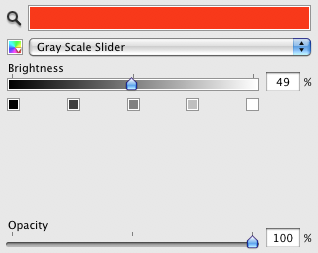
| ‣ | From the slider type drop-down list, select the type of slider you want to use: |

| • | Greyscale slider |

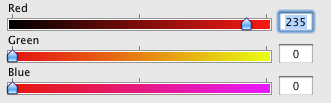
| • | RGB sliders |
| • | HSB sliders |
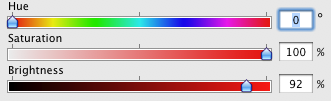
| ‣ | Use the sliders to select a colour. You can also type in the values directly into the fields. |
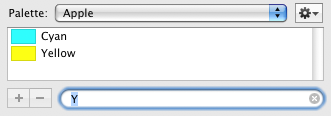
| 6. | To select a colour from the Colour Palettes display mode: |
| ‣ | Use the palette drop-down list to select a system palette to display. System palettes are not linked to Toon Boom Studio. |
| ‣ | From the Palette Menu  button, select one of the following: button, select one of the following: |
New to create a new system palette.
Open to open a system palette stored on your computer.
Rename to rename to current palette. Note that you can not rename an Apple default palette.
Remove to delete the current palette. Note that you can not remove an Apple default palette.
| ‣ | Use the plus button (+) to add a new colour swatch to a palette you created. Note that you can not add colours to one of Apple's default palettes. |
| ‣ | Use the minus button (-) to remove a colour swatch from a palette you created. Note that you can not remove colours from one of Apple's default palettes. |
| ‣ | Type a letter in the search field to narrow down the list to only swatch name containing this letter to help you find a particular colour from the current palette colour list. |
| 7. | To select a colour from the Image Palettes display mode: |

| ‣ | From the Image drop-down list, select the image you want to display in the main space. By default, only the Spectrum image is available. Once you start adding pictures, they will be added to the list. |
| ‣ | From the Palette drop-down menu, select one of the following: |
New from File to browse to a picture of your choice to be displayed in the main space.
Rename to rename the current picture. This is the name that appears in the Image drop-list. Note that you can not rename an Apple default picture.
Remove to remove the current picture. Note that you cannot remove an Apple default picture.
Copy to add the current image to your clipboard.
New from Clipboard to use a copied image file or a selection within an image, still stored in your clipboard.
| 8. | To select a colour from the Crayons display mode: |
| ‣ | Click a crayon from the image to select that colour. |
| 9. | In all of the colour picker display modes, you can also: |
| ‣ | Click the Magnifier to select any colour on your screen. It can be from the Toon Boom Studio's interface, your operating system or any other opened application. |

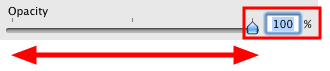
| ‣ | If necessary, adjust the level of transparency with the Opacity slider, or type the value directly in the percentage field. 0 = 100% transparent, 255 = 100% opaque. Any value between 0 and 255 gives a more-or-less semi-transparent colour. |
| 10. | You can rename the colour swatch in the Colour Palette view colour list by double-clicking on its name. |

To create a gradient colour swatch using Windows:
| 1. | In the Colour Palette view, select a colour to modify. |
| 2. | Click the Colour Palette Menu button and select Colour > Edit Colour. You can also double-click the colour swatch. |
The Colour Picker window opens.
| 3. | Select the Gradient option. |
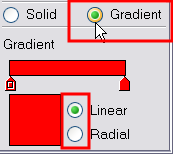
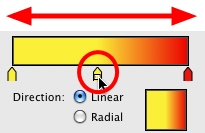
| 4. | Select the Linear or Radial option. |
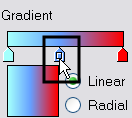
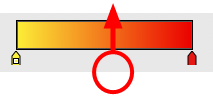
| 5. | Select the Gradient arrows to modify the colours. |
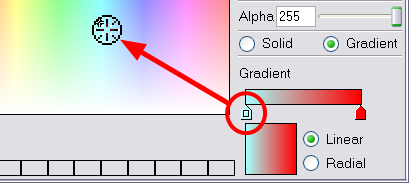
| ‣ | Click between the arrows to add extra colours. |
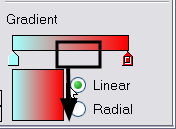
| ‣ | Pull down the arrows to remove them. |
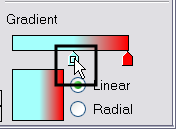
| ‣ | Move the arrows left and right to modify the gradient distance. |
To create a gradient colour swatch using Mac OS X.
| 1. | In the Colour Palette view, select the colour to be modified. |
| 2. | Click on the Colour Palette Menu button and select Colour > Edit Colour. You can also double-click on the colour swatch. |
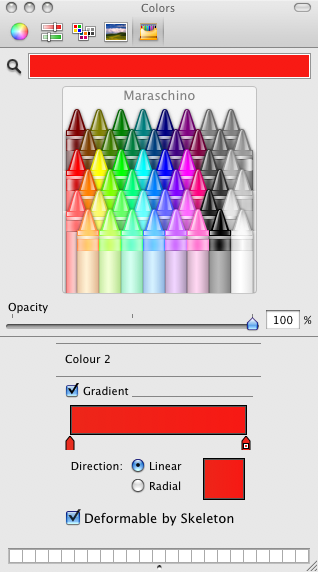
The Colours window opens.
| 3. | Select the Gradient option. |
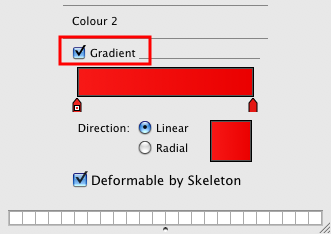
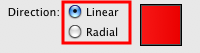
| 4. | Select the Linear or Radial option. |
| 5. | Select the Gradient arrows to modify the colours. |
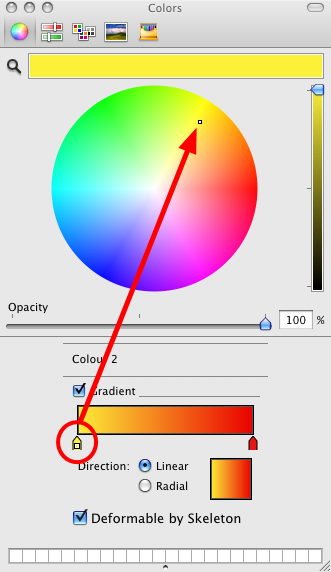
| ‣ | Click between the arrows to add extra colours. |
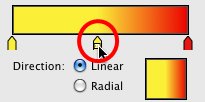
| ‣ | Pull up the arrows to remove them. |
| ‣ | Move the arrows left and right to modify the gradient distance. |
| 6. | By default the Deformable by Skeleton option is enabled. This means that when creating a skeleton puppet animation, the gradient will be deformed following the bones. You can disable this option if you want the gradient to stay as it is—see Bones to learn more about Skeletons and Bones. |

To create and edit a texture colour:
| 1. | In the Colour Palette view, click the Menu button and select Colour > Add Texture. |
| 2. | Browse for any bitmap file created in a third party software. |
| 3. | Click Open to create the colour swatch. |
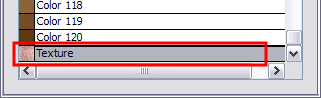
| 4. | In the Colour Palette view, select the texture swatch that you want to modify the texture of. |
| 5. | Double-click on the colour swatch to edit. |
The Texture Properties dialog box opens.
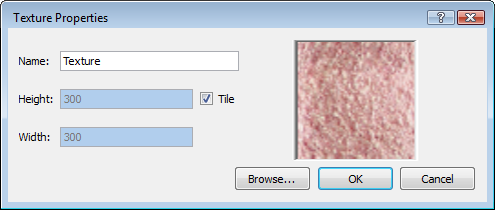
| 6. | To rename the colour swatch, type a new name in the Name field. |
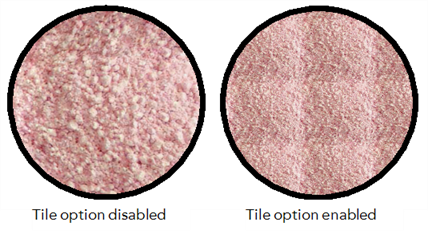
| 7. | Disable the Tile option if you want the texture to automatically scale up to the size of the painted zone. Enable the Tile option if you want your image to repeat over and over inside the drawing zone. |
| 8. | Click OK. |
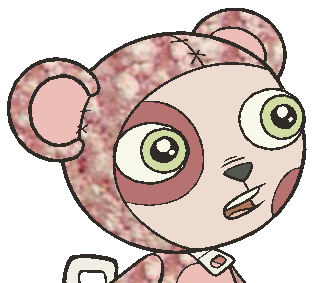
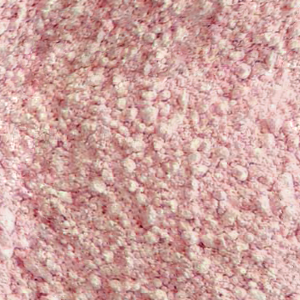
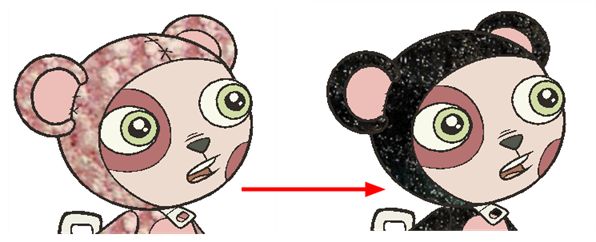
You can also replace a texture once it is painted. For instance, if you decide to make the character's suit a dark granite colour instead of pink cotton, just update the texture file in the swatch and the entire project updates. Any transformation previously applied to the texture's position in your drawings is kept.
| 1. | In the Colour Palette view, select the texture swatch you want to modify the texture of. |
| 2. | Double-click the colour swatch to edit. |
The Texture Properties dialog box opens.
| 3. | Click the Browse button. |
The Browse window opens.
| 4. | Browse for any bitmap file created in a third party software. |
| 5. | Click Open to update the colour swatch. |
| 6. | Click OK. |
If a colour is not needed in a project, you can delete it from the list to avoid having too many colour swatches in your Colour Palette view.
| 1. | In the Colour view, select the colour swatches to delete. |

| 2. | In the Colour Palette view, click the Delete Colour  button. You can also click the Menu button and select Colour > Delete Colour. button. You can also click the Menu button and select Colour > Delete Colour. |
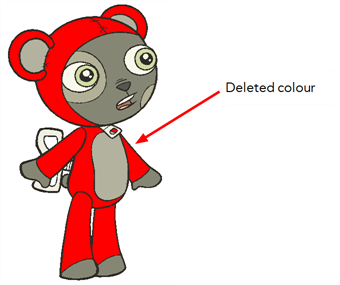
| ‣ | If you delete colour swatches already in use, the zones painted with them turn red so you can easily identify them. |