
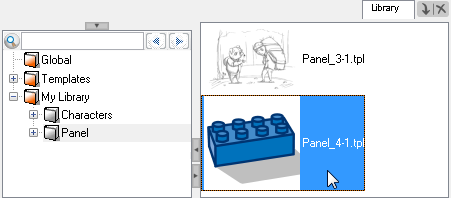
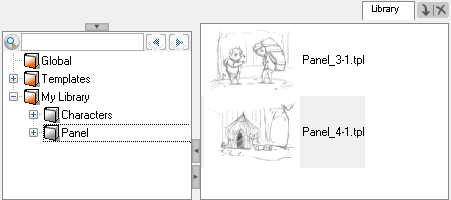
Structuring the Library
As you will probably create a large number of templates, they will need to be organized. You can create different libraries and subfolders so you easily access your assets. For example, create a different library for each project and divide it into several categories, such as:
| • | Characters |
| • | Props |
| • | Backgrounds |
| • | Panels |
| • | Sound clips |
| • | 3D objects |
This section includes the following topics:
| • | Creating a Library |
| • | Opening a Library |
| • | Closing a Library |
| • | Creating a Folder |
| • | Refreshing the Library |
| • | Generating Thumbnails |
Creating a Library
There are two ways to create Library folders.
| • | Using Storyboard Pro’s interface |
| • | Directly through your operating system |
To create a library using your operating system, create a new folder with a relevant name in the location where you want the library to be stored. This can be opened in Storyboard Pro when you require it—see Opening a Library.
To create a library from Storyboard Pro:
- In the Library view, right-click in the Library List section and select Open Library.
The Browser window opens.
- Browse for the location where you want to store your new library in your computer.
- Click Make New Folder.
- Name the new library with a relevant name and click OK.
The new library appears in the Library List section.
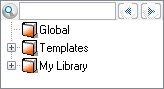
Opening a Library
You can open any folder on your hard drive or network as a library. Opening a library means linking the folder to your Library view. You only need to open the library once. The library folder is available every time you open the application until you decide to close the library and unlink it.
To open a library:
- In the Library view, right-click in the Library List section and select Open Library.
The Browser window opens.
- Browse to the location of the library folder.
- Select the folder and click OK.
The new library appears in the Library List section.
Closing a Library
You may not always require all of the library folders in the Library List. You can close the ones you do not need. Closing it does not delete the folder, it only unlinks it from the Library view. If you want to reopen it later, you only need to locate it on your hard drive or network and open it in the Library view.
To close a library:
- On the right side of the Library view, select a library folder to close.
- In the Library View menu, select Folders > Close Library.
Creating a Folder
Template libraries need to be organized. You can create different subfolders on your hard drive or directly in the Library view so that you can gain easy access to your assets.
See also:
| • | Renaming a Folder |
| • | Deleting a Folder |
To create a folder:
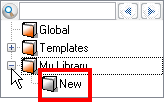
- In the Library view’s left side, select the library folder in which you want to create subfolders.
- Right-click on the selected library and select New Folder.
The new subfolder is added to the Library (although not immediately visible as it is collapsed in its parent folder). Click the root library folder containing the new folder and then click the plus (+) sign to expand it. The new subfolder appears.
Renaming a Folder
Once you add a folder, you can rename it. This also renames the folder on your hard drive.
To rename a folder:
- In the Library view’s left side, select the folder to rename.
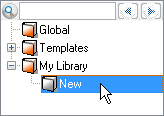
- Right-click on the selected library and select Rename Folder.
- Rename the selected folder.
- Press Enter/Return to validate the operation.
Deleting a Folder
You can delete a folder from the library if its contents are no longer needed.
To delete a folder:
- In the Library view’s left side, select the folder to delete.
- Right-click the selected library and select Delete Folder or press Delete.
A warning dialog box opens.
| ‣ | Click Yes to delete the folder. |
| ‣ | Click No to cancel. |
Refreshing the Library
If you update the content of your libraries through your operating system, you must refresh the library folders in the Library view.
To refresh a library:
| ‣ | In the Library view’s left side, right-click and select Refresh or press [F5]. |
Generating Thumbnails
When you display thumbnails in the Library view, the system generates a series of small images (thumbnails) for you. However, it is possible to generate template thumbnails manually—see Deleting Thumbnails.
To generate thumbnails:
- In the Library view’s right side, select the template that contains thumbnails you want to generate.
- Right-click and select Generate Thumbnails.
Deleting Thumbnails
You can delete the thumbnails files from the Library view.
To delete thumbnails:
| ‣ | In the Library view, right-click in the left section and select Delete Thumbnails. |