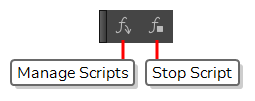
To use scripts in your regular workflow, you can add them as buttons to the Scripting toolbar. You can add buttons to the Scripting toolbar that are configured to run ax specific function in a script and, if you want, give these button a specific icon and tool tip.
-
Add the Scripting toolbar to your workspace by doing one of the following:
- From the top menu, select Windows > Toolbars > Scripting.
- Right-click on any toolbar and select Scripting.
The Scripting toolbar is added to your workspace.

-
In the Scripting toolbar, click the
Manage Scripts button.
The Scripts Manager dialog box opens and displays the available scripts.

-
In the Files list, select the script file containing the function you want to add to the toolbar.
The functions in the selected script appear in the Functions list.
- In the Functions list, select the function that you want to add to the toolbar.
-
Between the Functions and In Toolbar list, click on the
Right Arrow button.
The selected function is added to the In Toolbar list.
-
If you want to add a custom icon to the toolbar button for your script, click on the Customize Icon button and, in the Open dialog that appears, browse to and select the icon file that you want the button to have.
You can use
.png,.jpg,.xpmor .tvg files as toolbar icons.
-
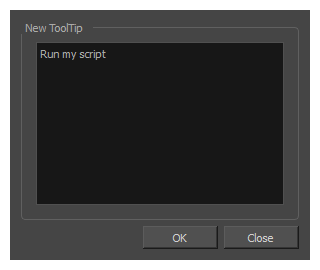
If you want to add a custom tooltip to the toolbar button for your script, click on the Customize Tooltip button and, in the dialog that appears, type in the tooltip for your toolbar button.

-
Click on OK.
A button for the selected function is added to the Scripting toolbar. If you click on this button, the function your selected will be executed.