T-SBANIM-004-003
You can move the camera’s position using the Camera tool.
You can also set up the Static Camera position using the Camera tool properties
- In the Timeline view, select a panel within the scene in which you want to adjust the camera.
- In the Tools toolbar, select the Camera
 tool.
tool.
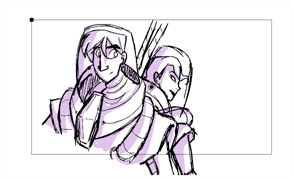
The camera frame is displayed. It is represented by a black box. The default camera frame is set to 12 fields.
- Do one of the following to modify the Static Camera:
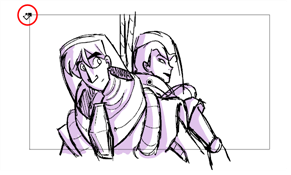
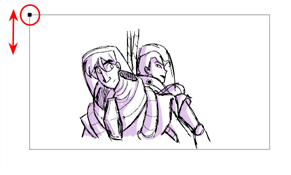
| ‣ | To position the selected panel along the Z-axis to create a truck in or truck out movement, drag the top-left corner of the camera frame up or down when you see the Truck  icon. To change the zoom level, change the Focal Length field in the Tool Properties view. icon. To change the zoom level, change the Focal Length field in the Tool Properties view. |


| ‣ | To rotate the Static Camera on the X and Y axes, drag when you see the Rotation |
| ‣ | To rotate the Static Camera on the Z axis, position the cursor outside one of the corners of the camera frame. When you see the Rotation |

| ‣ | To move the centre pivot point, position your the cursor over the centre point and when you see the drag icon, drag to move in the X or Y axis. Hold down the Alt key when dragging the center point to move it on the Z axis. The farther you drag the mouse, the faster the camera moves. icon, drag to move in the X or Y axis. Hold down the Alt key when dragging the center point to move it on the Z axis. The farther you drag the mouse, the faster the camera moves. |
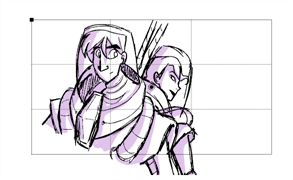
You can use the Proportion Grid to help you frame your shot. The grid will follow the Camera frame. To turn on the Proportion grid, click on its icon in the Camera view toolbar or from the top menu, select View > Extras > Proportion Grid.

By default, the grid is divided into 3 vertical and 3 horizontal sections so as to help follow the classic rule of thirds in composition. These divisions can be customized in the Camera tab of the Preferences dialog