In order to allow Harmony to render 3D models using Autodesk Maya or Blender, the original project file for the model must be provided. By default, the Render Batch node will search for a file within the Element Folder of the model being rendered. This project must be named the same as the element and should contain all of the required textures in the same folder. Alternatively, a path to an external project can be supplied to the Render Batch node by using its External Project Path attribute.

When rendering to an external 3D application, Harmony will supply the model’s overall transformations, subnode transformations and the camera’s position to the external rendering software. These transformations will be applied to the 3D models in the external application, and the rendered result should match the transformed content and view in the Harmony scene. To ensure that the externally rendered content matches the Harmony scene, the imported 3D model must be in the same size and position as the object in the Autodesk Maya or Blender project. However, it is possible to use a 3D object with lower resolution textures, no textures or less detail in the geometry to help with performance when manipulating the 3D object in Harmony. This will not affect the rendered image as the original Autodesk Maya or Blender project will be used to render the scene.
- In a file browser, locate and copy the original Autodesk Maya or Blender project file along with all its textures.
The extension for a Maya project file should either me .mb or .ma.
The extension for a Blender project file should be .blend
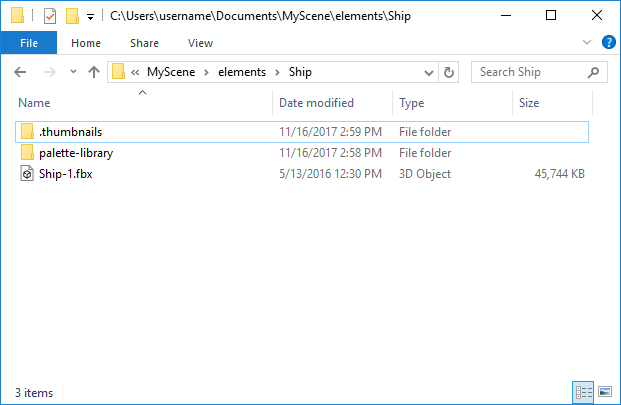
- Browse to the folder of the scene's element in which the 3D model was imported. This folder should be located in the scene's root folder, in the elements subfolder.
For example, if your scene is located in C:\Documents\MyScene and the element is named LR_ship, the element folder would be located in C:\Documents\MyScene\elements\Ship.
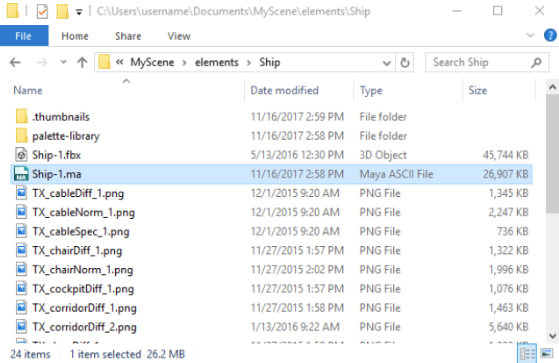
The 3D model that was imported in the Harmony scene should be located in this folder. See image below.

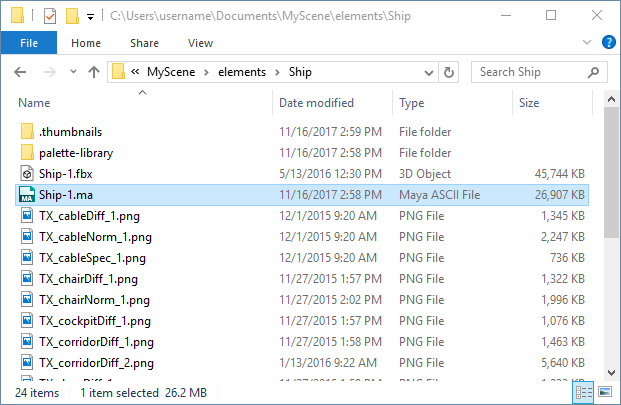
- Paste the Autodesk Maya or Blender project files and its textures in the element's folder.
- Rename the Autodesk Maya or Blender project file to have the same file name as the imported 3D model file, but preserve its file extension.
For example, if the imported 3D model is named Ship-1.fbx and your Autodesk Maya project file is named pirateship.ma, rename the Autodesk Maya project to Ship-1.ma.

- Harmony will now be able to use an Autodesk Maya or Blender project file when attempting to render the 3D model.
You are also able to source a 3D project file using the Render Maya Batch Node or Render Blender Batch Node. To do so you need to enter the path or relative path of the external 3D project file into the Render Batch Node’s Attributes window.
-
In the Node view, locate the Render Maya Batch Node or Render Blender Batch Node, and click on its Layer Properties button.
The Layer Properties dialog for the Render Maya Batch Node or Render Blender Batch Node appears.
-
Browse the location of the 3D Project. If using a relative path, the 3D model’s folder is located in the scene’s elements folder and named according to the rendering model’s name.
For example, if your scene is located in C:\Documents\MyScene and the element is named LR_ship, the element folder would be located in C:\Documents\MyScene\elements\Ship.

The 3D object that was imported in the Harmony scene should be located in this folder.
-
In the External Project File Path attribute of the Attributes tab, enter the full path to the 3D project file, or a path relative to the 3D Model’s element folder.

You can enter the project file name by either:
-
Manually typing in the path of the project file name into the field bar.
-
Copying and pasting the path of the project file name into the field bar.
This will then set the path to the Autodesk Maya or Blender file where the elements are present.
TIP If this attribute is not set, then it will search for the project file in the scene’s element folder. Paths can be relative to the rendering model’s folder, or to an absolute location on the disk. -