Setting the Display Colour Space
You can set the colour space in which to display the preview image in the Camera view.
The generation of the preview image works exactly the same as when you’re rendering your scene. You can select the colour space in which to display the preview image using the drop-down menu at the bottom of the Camera view. Furthermore, if you have several monitors and want to preview your scene in the respective colour space of each monitor, you can do so by adding several Camera views to your workspace, moving each Camera view to its own monitor and setting the colour space of each Camera view to its monitor’s colour space. The different Camera views will display in their own colour space.
If “Read Toon Boom Drawings Using sRGB Colour Space” option is disabled—see Setting the Working Colour Space for a Scene.
In OpenGL View mode, colour management is much more limited, in the following ways:
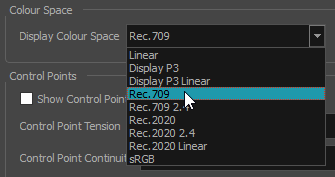
- The colour space used for the preview image cannot be selected individually for each Camera view. Hence, instead of using the drop-down at the bottom of the Camera view, it is selected in the Display Colour Space preference in the Camera tab of the Preferences dialog.
- The colours in the bitmap images in your scene are converted directly from their own colour space to the preview colour space, without getting converted to your scene’s working colour space first, and the colours in the drawing layers in your scene are not processed at all. Hence, in OpenGL View mode, the colours in the preview image are not faithful to those of the final rendered image.
- At the bottom of the Camera view, select
 Render View.
 -
In the drop-down right of the
Render View button, select the colour space in which you want the render preview to be.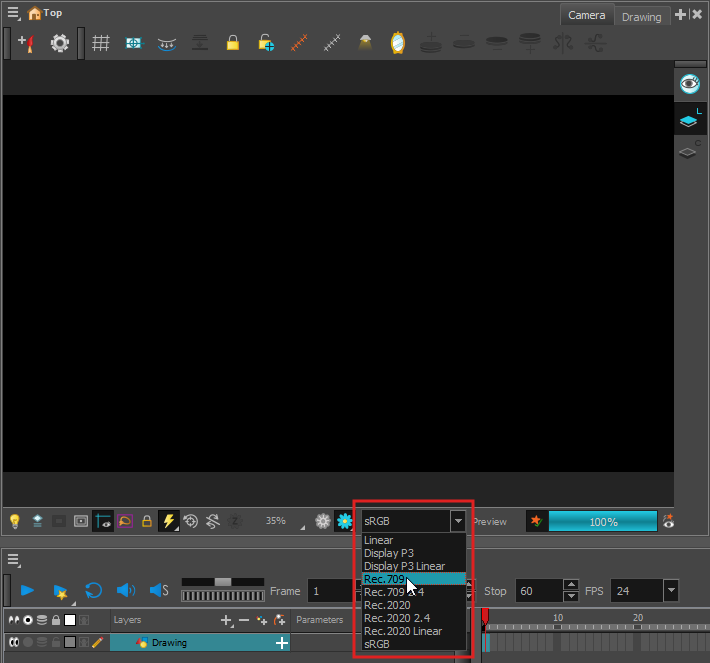
-
In the top menu, select Windows > Camera.
A floating Camera view appears over the Harmony user interface.
- Drag the floating Camera view to the monitor where you want it to display.
-
At the bottom of the Camera view, select
Render View. -
In the drop-down right of the
Render View button, select the colour space in which you want the render preview to be.
-
Do one of the following to open the Preferences dialog:
- Windows
- In the top menu, select Edit > Preferences.
- Press Ctrl + U.
- macOS:
- In the top menu, select Harmony Premium > Preferences.
- Press ⌘ + U.
- Windows
- Select the Camera tab.
-
In the Colour Space section, open the Display Colour Space drop-down and select the colour space in which you want the OpenGL preview to be.
- Click OK.