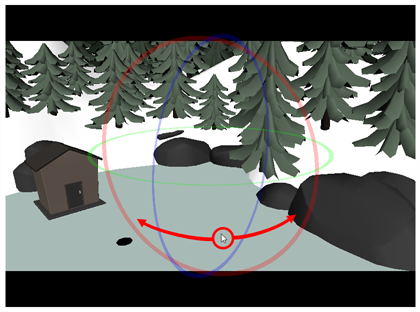
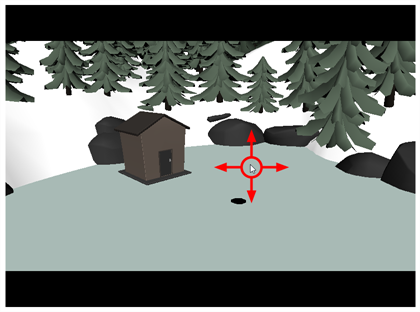
The Render 3D Model dialog box allows you to render a 3D model into a 2D bitmap layer. In this dialog, you can pick the point of view and angle from which the model is rendered, as well as apply geometrical transformations to the model before rendering it.
-
In Harmony, select File > Import > 3D Models.
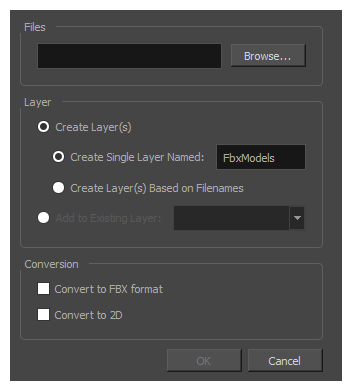
The Import 3D Models dialog box opens.
-
In the Files field, click on Browse.
An Open dialog appears.
-
Browse to an select your 3D model, then click on Open.
NOTE If you want to import a 3D model as a rendered 2D image, you can only import a single 3D model at a time.NOTE You can only import .osb, .3ds, .obj, .fbx, .abc and .dae type 3D models.
- In the Import 3D Models dialog, check the Convert to 2D checkbox.
-
Click on OK.
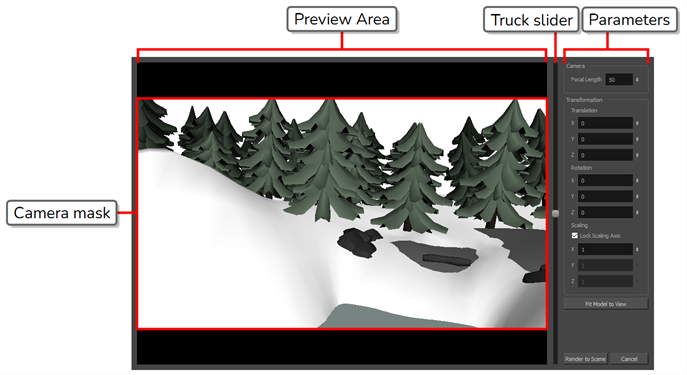
The Render 3D Model dialog appears.
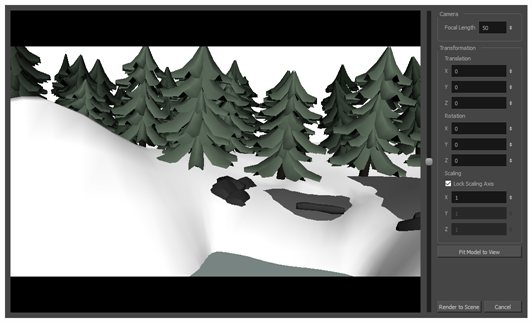
| Parameter | Description |
|---|---|
| Preview Area |
The preview area displays the 3D model as it will be rendered in the In this area, you can:
|
| Camera | |
|
Focal Length |
The angle of the camera cone used to render the 3D model. A wide angle will render the model with less perspective, and a narrow angler will render it with exaggerated perspective. NOTE Increasing this setting will also decrease the perceived size of the 3D model, and decreasing it will increase its perceived size. You must then adjust the camera's distance from the model or the model's scaling to compensate.
|
| Transformation | |
|
Translation |
The position of the 3D model relative to the center of the stage:
|
|
Rotation |
The angle of the 3D model relative to its default angle:
|
|
Scaling |
The size of the 3D model relative to its default size:
|
| Fit Model to View | Click on this button to automatically adjust the model's Truck, Translation X and Translation Y parameters so that the model fits inside the camera field and is positioned in its centre. |
| Render to Scene | Rasterize the 3D model into a bitmap layer and add it to the current panel. |
| Cancel | Dismiss this dialog and do not import the 3D model. |
