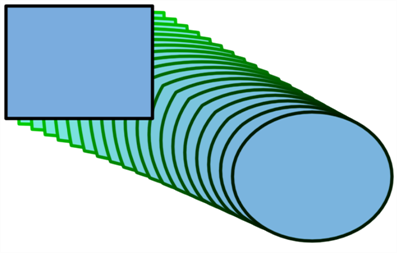
When it comes to morphing, you will need to practice and become at ease with it. Once you are familiar with the basic rules, you can start creating morphing sequences. To begin, start with simple elements. When you are confident with the morphing process, you can start to use complex and advanced morphing techniques, such as head rotations or full characters.

- In the Timeline toolbar, click the Add Drawing Layer
button to add a new layer to your project.
- Rename the new layer ( for example,
Morphing).
- In the Timeline or Xsheet view, select the first cell in the layer.

- Do one of the following:
- In the Tools toolbar, select the Rectangle
tool.
- Press Alt + 7.
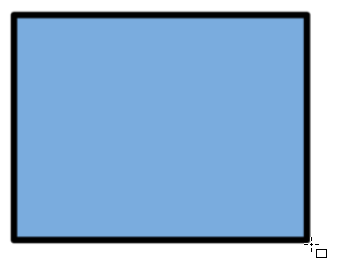
- In the Camera or Drawing view, draw a rectangle.
NOTE When drawing a rectangle or an ellipsis, you can hold down the Shift key to draw your shape with equal dimensions, so as to make a square or a circle instead. You can also hold down the Alt key to draw the shape from its center rather than from its corner.
- Paint your rectangle using the Paint tool.

- In the Xsheet or Timeline view, select the cell on which you want your morphing sequence to end.

- Do one of the following:
- In the Tools toolbar, select the Ellipse
tool.
- Press Alt + =.
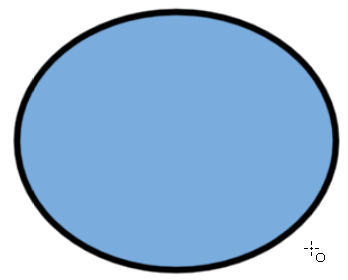
- Draw and paint the ellipse with the same outline and fill colours as the rectangle.

- In the Xsheet or Timeline view, select the range of frames going from your first drawing to your second drawing, including the frames containing the drawings.

- Do one of the following:
- From the top menu, select Animation > Morphing > Create Morphing.
- In the Xsheet or Timeline view, right-click and select Morphing > Create Morphing
- Press Alt + M.
Arrows going from the first key drawing to the second key drawing appear, indicating that computer-generated inbetweens have been created.
