


Preparation
To prepare for paperless animation with Harmony, you will need to complete the following tasks.
| • | Setting Up Your Workspace |
| • | Setting the Scene Resolution and Length |
| • | Importing the Layout, Storyboard and Animatic |
| • | Importing the Background Elements |
| • | Creating the Drawing Elements |
Setting Up Your Workspace
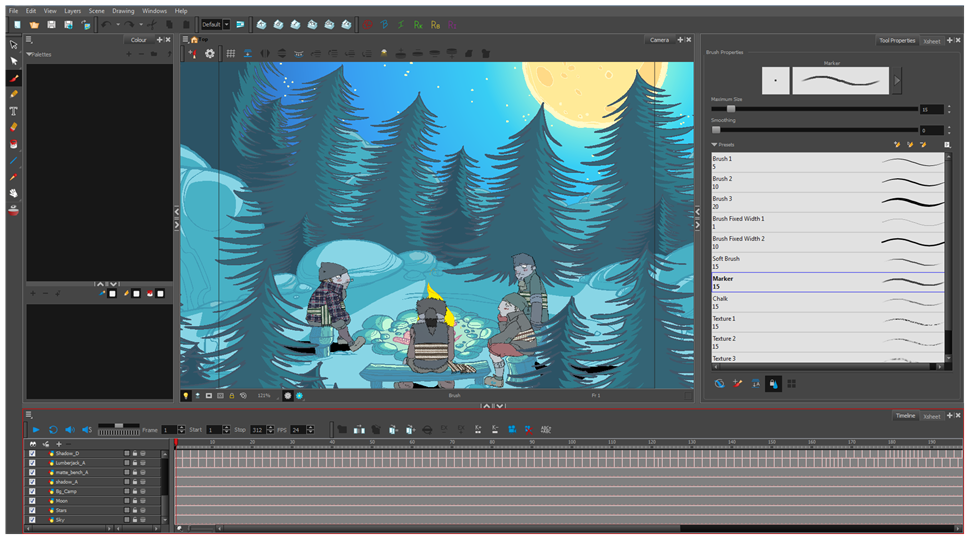
To sketch the animation directly in Harmony, you will mostly frequently need the Camera or Drawing view, the Xsheet or Timeline view, and the Tool Properties and Colour views.
While drawing and animating paperless animation, you can use the Workspace Manager to save a frequently used layout and name it Paperless Animation, for example.
For more information on setting up your workspace, refer to Chapter 2: Interface in the Fundmentals Guide.
Setting the Scene Resolution and Length
If the scene resolution was not already set by the digital layout artist or by a Toon Boom Storyboard Pro import, it is the next step to be accomplished. The layout artist, scene planner or animator will often take care of this task prior to the animation when working with paperless and cut-out animation.
| 1. | From the top menu, select Scene > Scene Settings. |
The Scene Settings dialog box opens.
| 2. | Choose a resolution from the list or enter a new one. |
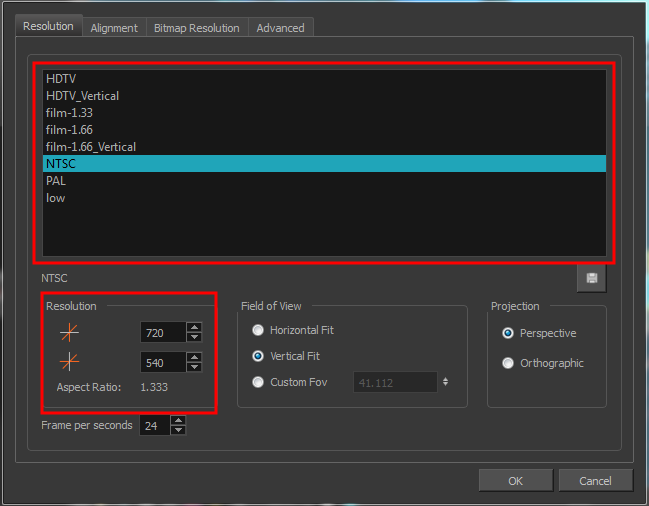
| 3. | Set your frame rate. |

| 4. | Click OK. |
Once you have set the resolution and frame rate, you must set the scene length by adding the right number of frames to the scene. You can set the scene length from the top menu. If you do not yet know the number of frames that will be needed, simply add some frames so you can draw different poses. However, if you only need to draw a background and one pose, you do not need to add more frames.
| 1. | From the top menu, select Scene > Scene Length. |
The Set Scene Length dialog box opens.
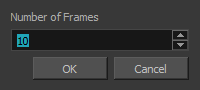
| 2. | Type the scene duration in the Number of Frames field. |
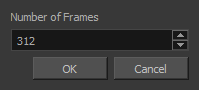
| 3. | Click OK. |
Importing the Layout, Storyboard and Animatic
To animate a scene, you need to import your layout, storyboard or animatic, depending on which technique you are using. The most popular method is the animatic.
If you created a digital layout prior to the scene animation, you will animate directly in that scene. In this case, there is no need to import references since they are already there.
Importing the Animatic
If you have an animatic available, you can import it. The animatic will give you the right timing to expose your animation poses.
There are three ways to import an animatic in a scene.
Toon Boom lets you import QuickTime movie files in the scene, cut them as image sequences and import the sound as an independent soundtrack.
| 1. | From the top menu, select File > Import > Movie. |
The Select QuickTime Movie window opens.
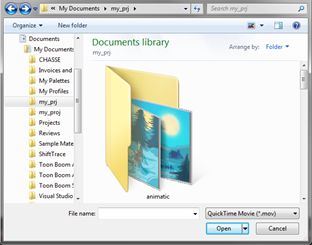
| 2. | Browse to your animatic. |
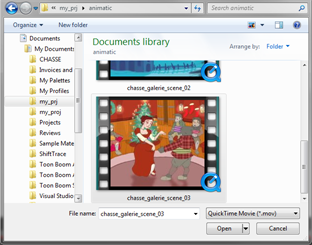
| 3. | Click Open. |
| 4. | The Import Movie window displays the conversion progress. |
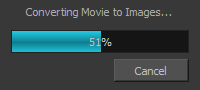
When the conversion is complete, the Import Images dialog box opens.
| 5. | Click OK. |
You can also import an animatic composed of a sequence of bitmap images that were created in a third-party software by using the Import Images feature.
Use the same technique to import layouts and poses that were created on paper and scanned in third-party software.
| 1. | From the top menu, select Import > Images. |
| 2. | The Import Images dialog box opens. |
| 3. | Click OK. |
If the animatic was created with Toon Boom Storyboard Pro, you need to create an Export to Toon Boom function from that software. This will create your scenes and import your layout and posing and camera moves. This must be done at the beginning of the production. When you work in Harmony, use the same technique as you would in any QuickTime animatic.
If your project was created using Toon Boom Storyboard Pro, the animatic and camera moves are already set in your scene and you can go ahead and import the background elements.
Importing the Background Elements
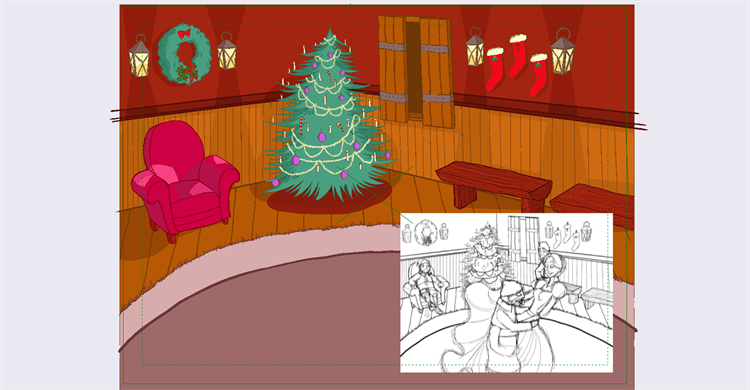
Once the layout or animatic is set, you can import the background elements.
There are two types of background elements you can import: bitmap and vector-based.
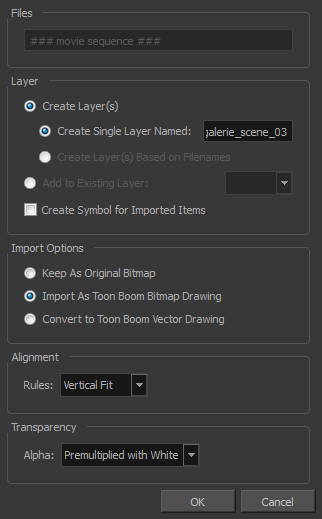
You can import external bitmap background elements to your scene using the Import Images dialog box. Be sure to deselect the Convert to Toon Boom Vector Drawing option to retain your elements as bitmaps and preserve your colours.
To import a bitmap background, follow the procedure to import an image sequence animatic—see Importing the Animatic. For in-depth information on importing bitmap images, refer to Chapter 7: How to Import Bitmap Images in the Getting Started Guide.
Creating the Drawing Elements
Before beginning to draw in the Camera view, you must add a drawing element to the Xsheet or Timeline view. You will also need to select the appropriate cell in your drawing element.
| 1. | Do one of the following: |
| ‣ | In the Timeline View menu, select Insert > Drawing. |
| ‣ | In the Timeline view toolbar, click the Add Layers |
| ‣ |
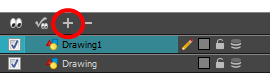
|
| ‣ | Press Ctrl + R (Windows/Linux) or ⌘ + R (Mac OS X). |
The Add Drawing Layer dialog box opens.
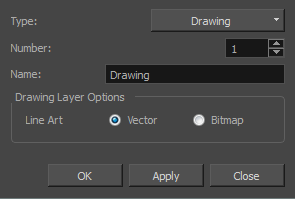
| 2. | In the Name field, enter a relevant element name. |

| 3. | Do one of the following: |
| ‣ | Click OK to add the layer and close the dialog box. |
| ‣ | Click Apply to add the layer and keep the dialog box open to add another layer. |
| ‣ | Click Close to cancel the operation. |
The new drawing element appears in the
| 1. | In the Timeline view or Xsheet view, select the cell in the drawing element that you plan to animate. |
| 2. | Do one of the following: |
| ‣ | From the Colour view menu, select Palettes > Link. |
| ‣ | Click the Link Palette |
The Palette Browser window opens.
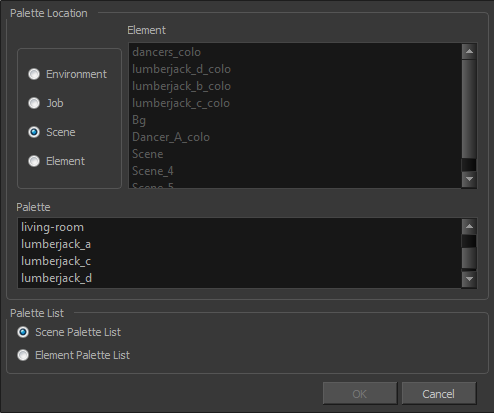
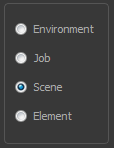
| 3. | Select the level in which the palette file is stored (usually Element or Scene). |
| 4. | Select the palette from the list. |
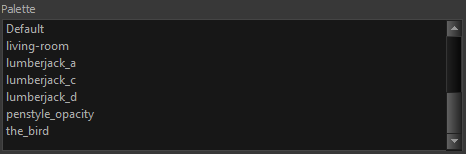
| 5. | Click OK. |
Creating the Drawings
Once your drawing elements have been created and your palettes are loaded, you are ready to create drawings for your animation. But before creating the drawings, you should familiarize yourself with the following operations.
There are two different ways to create drawings. You can create drawings automatically by letting Harmony do it for you or by typing names (Typing mode) in the Xsheet cells.
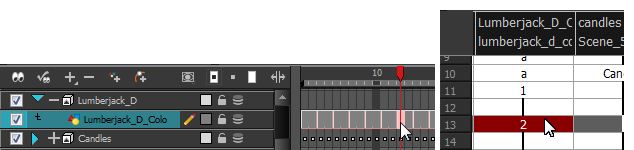
| 1. | From the Timeline or Xsheet view, select the appropriate cell and start drawing in the Camera view. |
Harmony creates the drawing and names it using the next available number. If there is no existing drawing, then it will be named "1", then "2" and so on—see Paperless Animation Preferences to learn more about the Use Current Frame As Drawing Name option.
| 1. | To insert a drawing name in a column cell, double-click on the cell and type the name using alphanumeric values: 0-9, a-z, underscore (_) and dash (-). By default, if you press the Enter/Return key, the cursor will move on to the next cell. If you press the Esc key, it will quit the typing mode and return to normal mode—see Typing Exposure to learn more about the Typing mode. |
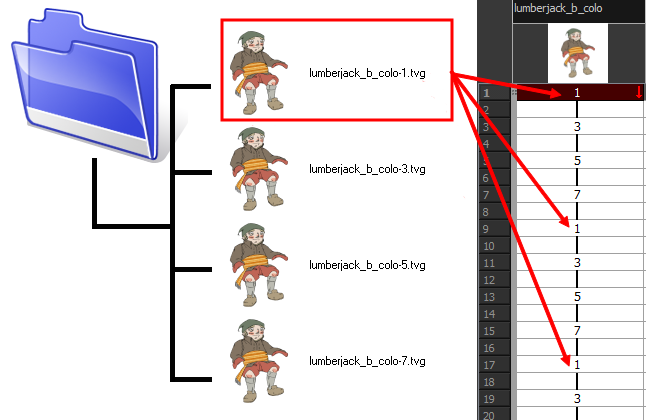
When you add a drawing element to your scene, a folder is automatically added to the scene directory. This folder is named the same as the drawing element. Its purpose is to store all the drawings related to this drawing element. For example, when working with cut-out animation, a character can have many hands available. All of these hand drawings will be contained in this folder even if they are not exposed in the Timeline or Xsheet view. In other words, there is always a drawing container associated with a drawing element (layer, column).
All the drawings that were scanned in or created directly in Harmony will be saved in this directory. This means that when a value or drawing name is entered in the column, the Harmony will search the directory for the corresponding drawing to display. If it is unable to find it, a new drawing will be created. The column cells are not storage places, but simply links to the corresponding directory. If you remove a drawing from the column exposure, it will not be deleted; it is simply not displayed. You can always access it again.
When you create a drawing cycle, all repeated drawings are linked to the same original files. So when you modify, repaint or correct drawing 1, the entire cycle will be updated; every time drawing 1 appears, it is accessed from a single file.
When you want to rename a drawing, use the Rename Drawing command. Do not double-click on the frame and write a new name, as this will create a new drawing and hide your actual drawing. Note that your drawing will not be deleted; it is still contained inside the element folder. Simply re-enter the name and it will reappear.