Adding New Drawing Elements
There are different ways to add a drawing layer to your project. By default, when you create a new scene there is one Drawing column in the Xsheet view and one corresponding Drawing layer in the Timeline view.
You can add an element for each drawing and it will appear as a column in the Xsheet view, a layer in the Timeline view, and a module in the Network view.
 How to add a drawing element from the Timeline view
|
1.
|
Do one of the following: |
|
‣
|
In the Timeline View menu, select Insert > Drawing. |
|
‣
|
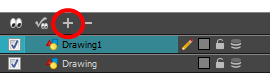
In the Timeline view toolbar, click the Add Layers  button. button. |
|
‣
|
|
|
‣
|
Press Ctrl + R (Windows/Linux) or ⌘ + R (Mac OS X). |
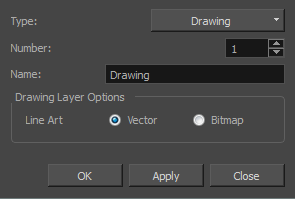
The Add Drawing Layer dialog box opens.
|
2.
|
In the Name field, enter a relevant element name. |

|
3.
|
Do one of the following: |
|
‣
|
Click OK to add the layer and close the dialog box. |
|
‣
|
Click Apply to add the layer and keep the dialog box open to add another layer. |
|
‣
|
Click Close to cancel the operation. |
The new drawing element appears in the Timeline and Xsheet Views.
How to add a drawing element from the Xsheet view
|
1.
|
Do one of the following: |
|
‣
|
In the Xsheet view menu, select Columns > Add Columns. |
|
‣
|
Click the Add Columns  button. button. |
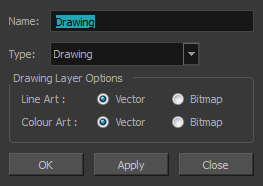
The Add Column dialog box opens.
|
2.
|
In the Name field, type a relevant element name. |

|
3.
|
In the Type field, select Drawing. |

|
4.
|
To complete the operation: |
|
‣
|
Click OK to add your new layers and close the dialog box. |
|
‣
|
Click Apply to add your new layers and keep the dialog box open to add column. |
|
‣
|
Click Close to cancel the operation. |
The new drawing element appears in the Timeline and Xsheet Views—see Layer and Column Types.


