
Download Documentation
Export Movie
The format and settings that you decide upon when wanting to export your animation often depends on what you intend to do with it next. Do you plan to bring your project into a third-party software for post-production editing or put it up on the web?
To export your movie:
|
1.
|
Select File > Export to Movie. |
The Export dialog box appears.

|
2.
|
In the Save As section, click on the Browse button at the end of the path field and browse for the location where you intend to save your rendering. |
|
3.
|
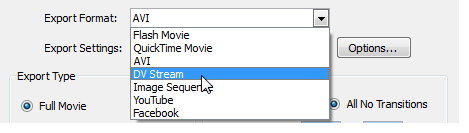
In the Export Format list, select a format. The Export Settings Options changes depending on the format selected from this section. |
|
4.
|
Click Options to customize the format settings. |
|
5.
|
In the Export Type section, choose from the following options: |
|
‣
|
Full Movie: Renders all scenes and all layers that are enabled, from the first to last frame, including all effects. |
|
‣
|
Current Scene: Camera View: Renders all layers that are enabled in that specific scene that can be seen in the Camera view with the option to choose a frame range. |
|
‣
|
Current Scene: Drawing View: Renders only what exists on a single layer in that specific scene. This can be a good option for running tests on a specific character or object's motion, or to bring one animated element into a third party software. |
|
6.
|
From the Export Range Section, choose from the following options: |
|
‣
|
All: Renders your entire project. |
|
‣
|
All No Transitions: Renders the entire project without transitions. |
|
‣
|
Frame Range: Allows you to select a specific section of your project to render by frame number. |
|
‣
|
Selection: Renders whichever layer or element that you selected before starting the export process. |
|
1.
|
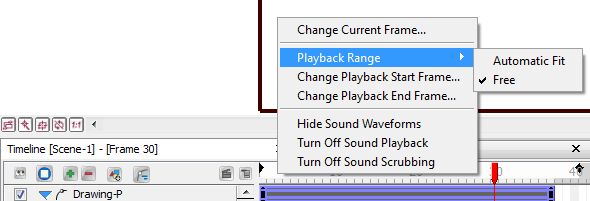
Free Playback Range: In the Timeline view, right-click on the timeline ruler (top) and select Playback Range > Free. Two black diamonds appear at the start and finish of your project. Drag these markers to select a range. Note: This must be done before you open the Export Dialog window. |
|
2.
|
Select or deselect the Launch Player After Export option. |
|
3.
|
Click Publishing Options. |
The Publishing dialog box appears.
|
4.
|
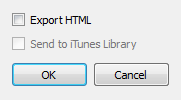
From the Publishing dialog box, select the option to Export to HTML if your project is destined for the web and/or if you would like to send a copy to your iTunes Library. |
|
5.
|
When you are finished, click OK. |
|
6.
|
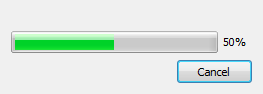
In the Export dialog box, when you are through, click OK. |
A progress bar appears.
|
7.
|
Browse to the location on your computer where you saved your movie and double-click on the file to view your export. |