
If you animate a sunrise, a distant object moving closer to the camera or something appearing and disappearing etc., you can use the Colour Transform effect to animate a colour or transparency change.
With the Colour Transform effect, you can change the overall colour or transparency of an element and set keys on different frames. Toon Boom Studio will animate the colour change between these frames. This way, while the sun rises, you can change the colour of the sky from apple green to azure blue, or change a ghost transparency level from fully transparent to completely opaque.
To create a Colour Transform effect:
| 1. | In the Special Effects toolbar, click the Colour Transform Effect  button. button. |
You can also add the Colour Transform effect from the Timeline View toolbar.
| ‣ | In the Timeline view, click the Add New Element  button. button. |
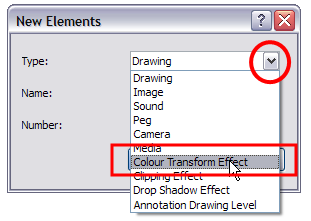
The New Elements dialog box opens.
| ‣ | From the Type list, select Colour Transform Effect. |
| ‣ | In the Name field, rename the effect appropriately. |
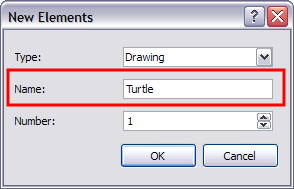
| ‣ | Click OK. |
A new Colour Transform layer appears in the Timeline view. By default, the effect has a 20 frame transition with two keyframes, one at the beginning and one at the end. No values are entered in these keyframes.
| 2. | In the Timeline view, select the layers you want to apply the colour transformation on and drag them ONTO the Colour Transformation layer. |
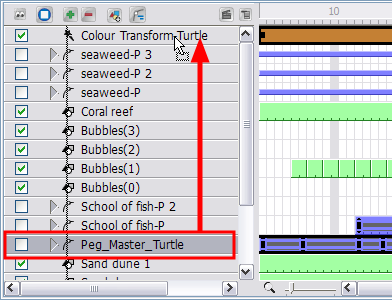
| 3. | If you do not want the colour transformation to start at the first frame, you can select the transition cells and drag them to the starting frame you want. |

| 4. | If you want the transition to be shorter or longer, select the end of the transition, wait until you get the double arrow cursor and pull or push on it. |

| 5. | In the Timeline view, go to the frame containing your transition first keyframe and select the Colour Transform layer. |

| 6. | In the Properties view, adjust the colour parameters either using the Additive or the Multiplicative settings. You can adjust the red (R), green (G), blue (B) and alpha (transparency) parameters. |
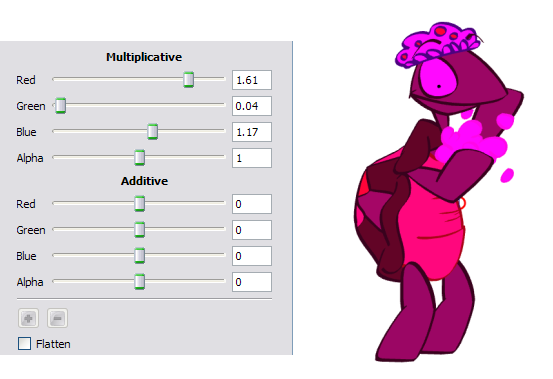
| ‣ | The more you increase the Multiplicative values, the more washed-out your colours will be. The more you decrease it, the darker your colours will be. |
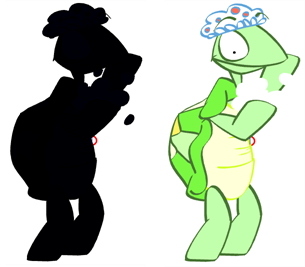
| ‣ | The more you increase the Additive values, the more red, green or blue will be mixed in your original colours. The more you decrease the Additive values the more red, green or blue will be removed from your colours. You can end up with a white, black, red, green, yellow or blue drawing using these parameters. |
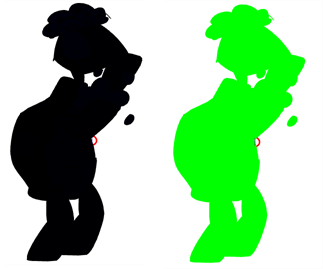
| 7. | In the Timeline view, go to the last frame of your transition and select the Colour Transform layer. |

| 8. | In the Properties view, adjust the colour parameters for your second colour keyframe. |
| 9. | If you want to add a new keyframe in your Colour Transformation effect, in the Timeline view, go to the desired frame and select the Colour Transform layer. |

| 10. | In the Properties view, click the Add Keyframe  button. button. |
| ‣ | You can use the Delete Keyframe  button to remove a keyframe you may have added earlier. Note that you cannot delete the first and last keyframe. button to remove a keyframe you may have added earlier. Note that you cannot delete the first and last keyframe. |
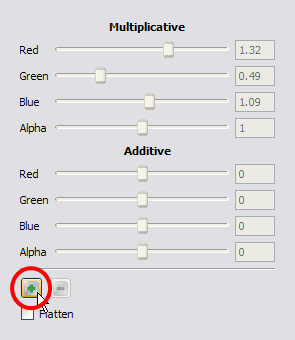
In the Properties view, adjust the colour parameters.
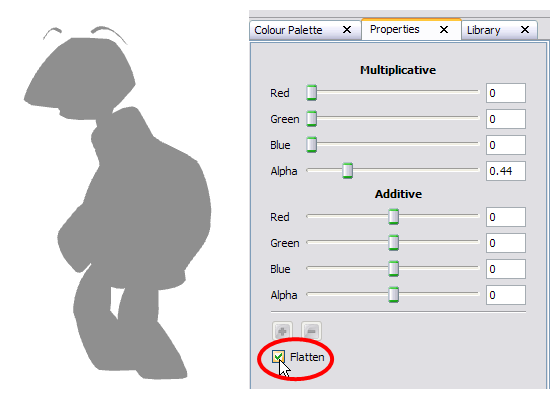
| 11. | If you are creating your own custom drop shadow effect or any other effect involving transparency and several drawing layers, you may want to flatten the final result. |
| 12. | Because the shapes become semi-transparent, the zone becomes darker when two drawings overlap. |
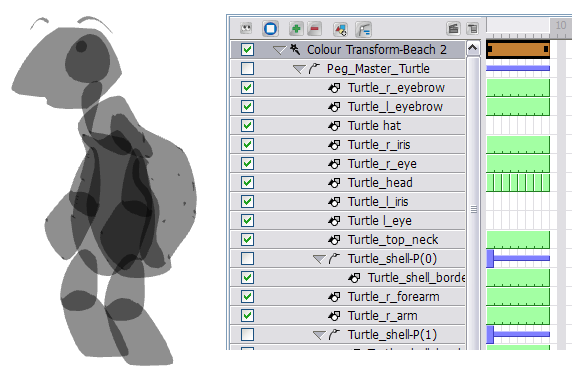
| ‣ | In the Properties view, select the Flatten option to get a uniform result. |
| 13. | Play back your scene to see the final result. |