This is the easiest part of the stop-motion animation process. Once you start capturing, your images are recorded on an Image Capture layer as a string of frames on the Timeline.
To perform an image capture:
| 1. | If it is not already open, select Acquire > From Capture Device from the File menu to open the Image Capture window. |
| 2. | Set up your first pose. Use the preview window and the recording device viewfinder to make sure that it is correctly framed. |
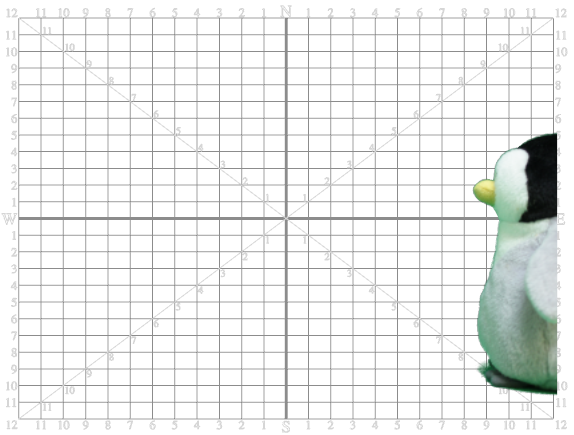
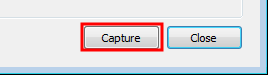
| 3. | When you are ready, click Capture. |
| 4. | Reposition your character and/or other elements on the stage. The smaller the movement, the smoother the animation. |
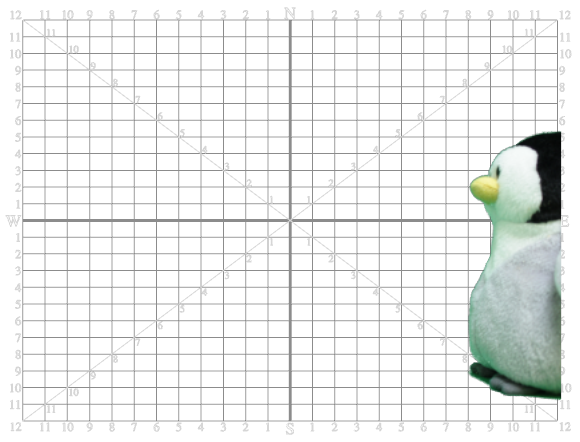
| 5. | Click Capture. |
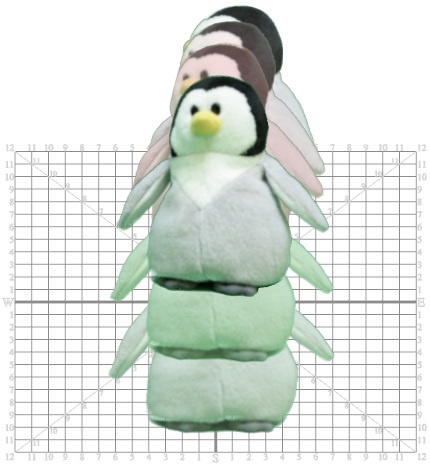
At this point, the Timeline view looks something like this. Each frame represents an image capture.

| 6. | Repeat this process until you have completed your motion sequence. |
| 7. | When you are finished, click Close. |
Instead of recording all the images that you need in one session, you may decide to divide the action sequences into different recording sessions. However, if you do this, you may notice that each time you close the Capture window and start it again, the software automatically creates a new Image Capture layer.
To add image captures onto an existing layer:
| 1. | In the Timeline or Exposure Sheet view, right-click on the empty cell where you would like the new captures to begin and select Import and Vectorize > From Capture Device. |
The Capture window opens.
| 2. | Continue with the capture process. |