Before you start, be sure your image recording device is plugged into your computer and turned on. Follow the camera manufacturer's instructions on how to connect the camera to a computer. It is recommended for the stop-motion image capture process that you support your camera in a fixed position by using a tripod or some other mounting system. The camera must be rigidly fixed because any movement of the camera, such as shaking or vibration, affects the captured images. The only items that move are the items on the stage.
To set up for image capture:
| 1. | From the File menu, select Acquire > From Capture Device. |
The Image Capture window appears.
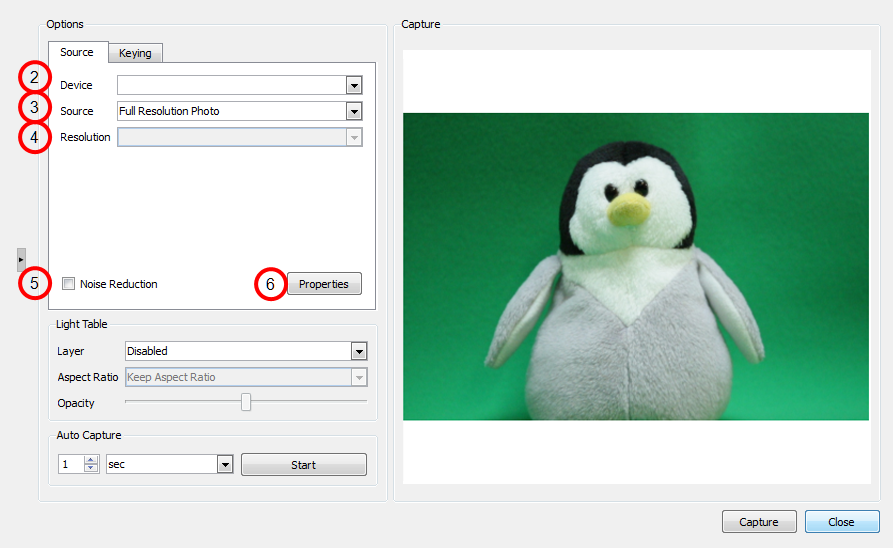
| 2. | In the Options section, select the Source tab. Find and select your recording device from the Device list. |
| 3. | From the Source list, select Full-Resolution Photo if it is available for your recording device (some devices, such as webcams may not allow for this option). Otherwise, select Live Preview if you prefer to take faster, lighter images for a rough test. |
The Capture window can be used to capture more than just live physical models with a recording device. You can also "capture" hand-drawn images with the use of a scanner.
To learn more about scanning from TWAIN, see Importing Artwork.
| 4. | If you are using a scanner with a WIA driver (Windows Image Acquisition), the Resolution list will be enabled. From the list, select the resolution at which you want to scan your images. |
| 5. | If you want to smooth out some of your colours, select the Noise Reduction option. If you want to capture more detail, leave this option deselected. |
| 6. | Click Properties. |
The Camera Properties window appears.
This is an example of a typical Camera Properties window.
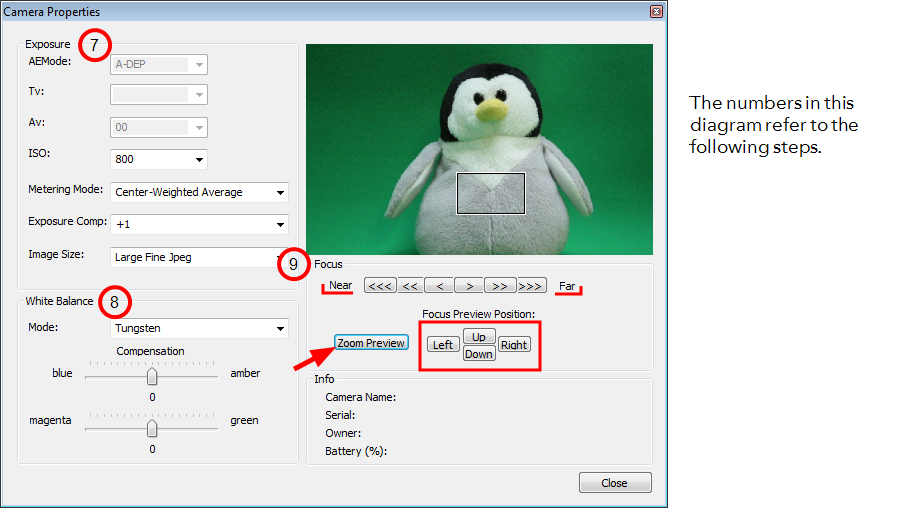
| 7. | Most of the settings that you see in the Exposure section are set manually on your camera. If you change a setting in the software, such as the ISO, it is changed on your camera. If you change a setting on your camera, it is also changed in the software. |
| 8. | In the White Balance section, play with the options from the Mode list and select the one relating to your lighting set up, or until the colours in the preview window displays evenly balanced colours. Make fine adjustments with the colour sliders. |
| 9. | In the Focus section, use the Near and Far increments to bring the preview image into focus. For greater focal detail, use the Left, Right, Up and Down buttons to move around the Zoom Preview rectangle in the preview window. When you find a good section to examine, such as an area of high contrast, click Zoom Preview to view that section in detail. Use the Near and Far increments to make finer adjustments. |
| 10. | Click Close. |
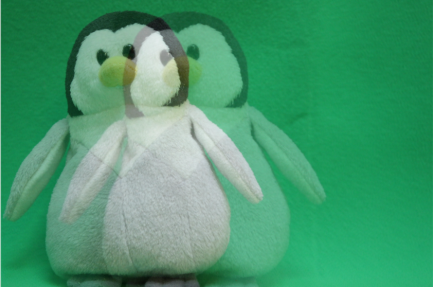
The Light Table feature for stop-motion image capture can be used in two different ways: as a light table or as an onion skin option. As a light table, it can be used to display a series of images, such as JPEGs of a walk-cycle, behind the live image in the preview window. This can be useful if you want to use a template for the stop-motion poses you need. As an onion skin option, the preview window displays the live image with the one that was captured just moments before.
The different uses of the light table are based on the layer selected in the Layer list. Choosing the same layer as the one you are capturing the images on enables the Onion Skin option. Selecting any other layer serves as a reference when capturing images for the stop-motion. Only image (bitmap) layers, as opposed to drawing (vector) layers, appear in the list.
To use the Light Table feature:
| 1. | From the Layer list, select the layer that you want to see in the preview window.  |
| 2. | If the images you are capturing do not have the same ratio as your Toon Boom Studio 8 Online Help project (for example 16:9 instead of 3:4) the Aspect Ratio list is enabled. Select the ratio option that suits your needs. |
| 3. | Use the Opacity slider to control the transparency of the image being seen through the light table or onion skin. |
To use the Light Table feature as an Onion Skin option:
| 1. | Capture the first image without specifying the Layer to be used as a reference (in the Light Table section, the Layer list is set to Disabled). |

| 2. | Once the first image is captured, go to the Layer list and select the layer on which the image has been captured. |
| 3. | If the images that you are capturing do not have the same ratio as your Studio project (for example 16:9 instead of 3:4), the Aspect Ratio list is enabled. Select the ratio option that suits your needs. |
| 4. | Use the Opacity slider to control the transparency of the image being seen through the light table or onion skin. |
Although some motions are easy to record by posing and reposing a figure while taking snapshots between each movement, others are not. The Auto Capture feature allows you to automatically record movement when it is not practical to manually press the record button in succession. For example, capturing a ball dropping, or an event which takes place over an extended period of time, such as a time-lapse recording of a sunset.
To use the Auto Capture feature:

| 1. | In the Auto Capture section, select a number of increments from the first drop-list. |
| 2. | From the second drop-list, select the units (msec, sec, min, hour, day). |
| 3. | When ready, click Start. |
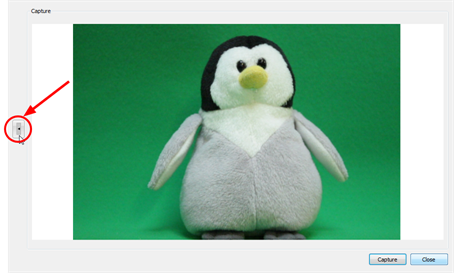
You can expand the preview window in the Image Capture window if it is not large enough for you to see all the details of the elements in your scene. Click the Show/Hide Capture Options  button to expand this window.