With Instant Motion, creating animation could not be easier. First, you create a drawing and then you translate, scale, or rotate it. As you manipulate your drawing, small dots are created, representing keyframes. The slower the movement, the more dots are created.
Once you release the pointer, your animation is created. It is represented on the Timeline view as a path. Your animation can be as long or as short as you like. As you continue to move your drawing, by default, the path is automatically extended. You can create more motion paths, one after the other. Each one is automatically added to the end of the last one.

To create instant motion:
| 1. | Create a drawing |
| 2. | In the Animation toolbar, click the Instant Motion  button. button. |
A bounding box with control points and a rotation handle appear around your drawing, and the Instant Motion box opens.

| 3. | Do one of the following to animate your drawing (only one single transformation type is possible per motion recording): |
| ‣ | Translate: To move the drawing, position the pointer over your drawing and drag it to a new location on the screen. |
![]()
| ‣ | Scale: Position the pointer at one of the bounding box points, and drag to scale your drawing. |

| ‣ | Rotate: Position the pointer on the rotation handle or rotation point at a corner of your drawing. Drag to rotate the drawing. |

As you translate, scale, or rotate your drawing, small dots are created to represent the keyframes of your animation. When you release the pointer, the speed path of your animation is recorded.

| 4. | Click the Play  button to view your animation. button to view your animation. |
| 5. | If you want to combine different motions such as a rotation and a scale, you can record the motions separately using parented pegs. The first peg can be used for the rotation and the second one for the scale. In the Timeline view, select your drawing layer and click on the Add Parent Peg button to attach a peg to it. Select that peg and move it around with the Instant Motion tool like you did previously for your drawing layer. You can add as many parented pegs as you want to decompose your motions. It is always better to have the main translation (trajectory) as the top parent peg to avoid a conflict with rotation and scaling motion that you affect your entire trajectory rather than the drawing only. |

The Instant Motion box lets you set the speed at which keyframes are created (the capture speed) and decide if you want to automatically extend the drawing exposure. By default, drawing movements are always recorded.
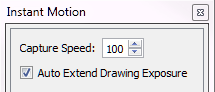
| • | Capture Speed: The speed at which keyframes are created as you manipulate your drawing. The default value is 100. The higher the number, the faster movement recording occurs in the viewer, as indicated by the numbers of dots in the viewer. |
| • | Auto Extend Drawing Exposure: By default, this option is on. This option automatically extends the drawing exposure. This means you do not have to extend your existing drawings once the motion is created. |
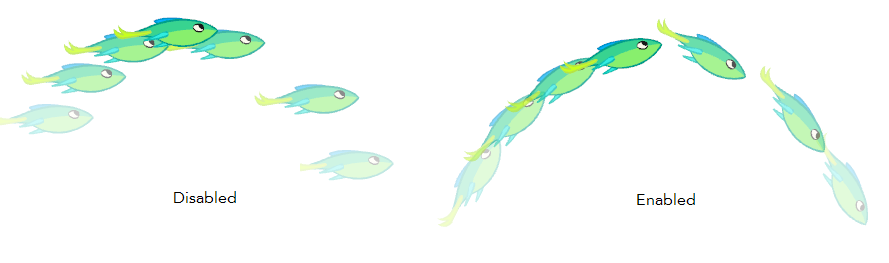
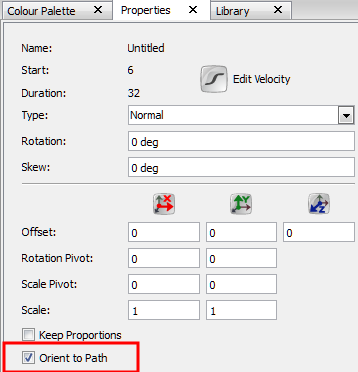
Once you have created your animation, you can orient the drawing to the motion path. The Orient to Path option is available in the Properties view.
In this example, the default setting shows the fish keeping its original orientation throughout the motion path. However, when the Orient to Path option is enabled, the fish follows the motion path.
To orient your animation on a path:
| 1. | Create a drawing. |
| 2. | Use Instant Motion to create the motion path. |
| 3. | In the Properties view, select the Orient to Path option. |