Toon Boom Studio has integrated several features to make adding notes and making visual corrections easy.
| • | Annotation Elements |
| • | Notes |
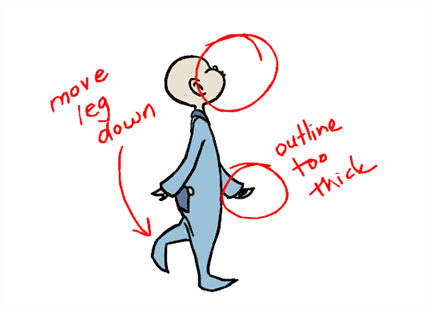
It does not matter if you want to place notes, suggestions or corrections to the anatomy of a drawing, you will find the annotation levels are invaluable.
To create an annotation element:
| 1. | Do one of the following: |
| ‣ | From the Timeline view's contextual  menu, select New > Annotation menu, select New > Annotation |
| ‣ | Select Element > Add > Annotation. |
| ‣ | In the Exposure Sheet View toolbar, click the Add Annotation  button. button. |
The Annotation element appears in the Timeline and Exposure Sheet view.

| 2. | Draw or make notes on this layer. |
You can also select an existing Drawing element and convert it to an Annotation element.
To set a Drawing element as an Annotation element:
| 1. | In the Timeline view, select a Drawing element. |
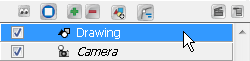
| 2. | From the Timeline view's the contextual menu, select Annotation Elements > Set As Annotation Element or select View >Annotation Elements > Set As Annotation Element. |
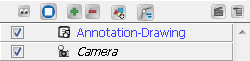
The colour of the element name changes from black to blue and the prefix Annotation is added to it.
After the animator has made all the requested changes, it is possible to view the full animation without seeing all the red marks and arrows.
To hide an annotation element:
| 1. | In the Timeline view, select the annotation element. |
| 2. | From the Timeline view's the contextual menu, select Annotation Elements > Hide All Annotation Elements or select View > Annotation Elements > Hide All Annotation Elements. |
Another way to write small reminders to yourself or for others is by writing a layer/element note.
To write a layer/element note:
| 1. | In the Timeline view, right-click on a layer and select Add Element Note or select Element > Add Element Note. |
The Note dialog box appears.
| 2. | Type in a message, either to remind yourself about something concerning this layer, or for the next person you are passing this project on to. |
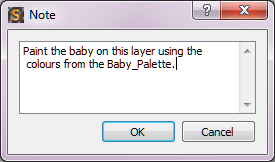
| 3. | When you are finished typing your message, click OK. |
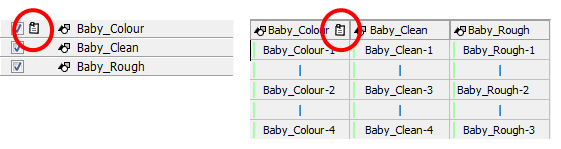
The existence of the message is indicated by a small note icon on the respective element in both the Timeline and Exposure Sheet views.
Later on, if you want to edit or reread your own message, or access the message of another person, simply double-click on the icon or from the top menu, select Element > Update Element Note and the Note box reappears.
To go into greater detail or to make notes more specific, you can also create notes for an individual cell or frame.
To create a cell note:
| 1. | In the Exposure Sheet view, select the cell you want to make notes on. |
| 2. | Right-click and select Add Cell Note or select Element > Cell > Add Cell Note. |
The Note dialog box opens.
| 3. | Compose a message about that specific cell or a drawing on that cell. |
| 4. | When you are finished composing your message, click OK. |
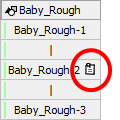
The existence of the cell note is indicated by a small note icon on the respective cell in the Exposure Sheet view.
Later on, if you want to edit or reread your own message, or access the message of another person, right-click on the cell and select Update Cell Note or select Element > Cell > Update Cell Note.