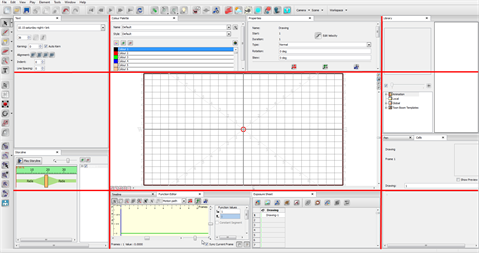
The Toon Boom Studio user interface is composed of different views, each one designed for a specific purpose.
This section explains how you can modify the location and accessibility of the views by adding a new view as a tab or as a window. You can also swap the view locations around.
This section covers the following topics:
| • | Adding a New View |
| • | Closing a View |
| • | Swapping Views |
| • | Resizing a View |
| • | Showing and Hiding the Status Bar |
| • | Extending the Side Panel |
To add a view:
| 1. | Select the view you want to add from Window > the desired view. |
| 2. | If your view appears as a floating window and you want to dock it to your workspace, drag the window's tab onto one of the workspace's views. |
| ‣ | To insert your view into an existing area, wait until the zone is highlighted (Windows), then drop it. |
| ‣ | To insert your window between existing views, drag your window to the border of an existing view and wait for a new space to slide open before dropping it. |
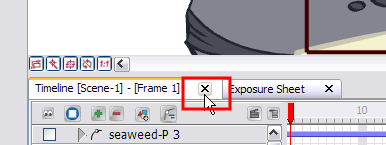
To close a view:
| 1. | Click the X (close view) button. |
In Toon Boom Studio you can rapidly dock, undock, or move windows and views around the interface and your desktop. This makes it easier for you to organise your workspace and obtain the maximum use from the available desktop real estate.
In fact, if you have a dual monitor setup, you can drag it away from the Studio interface and place it on the second monitor's desktop.
To undock a window or view from the Toon Boom Studio interface, do the following:
| 1. | Double-click on the window or view's name tab. 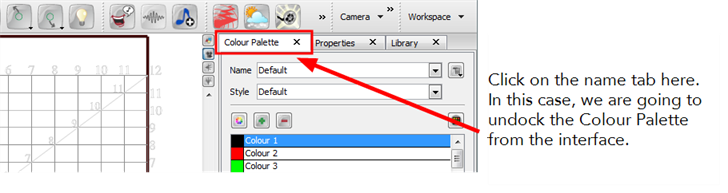 |
The window detaches automatically from its docked position and appears floating in the interface.
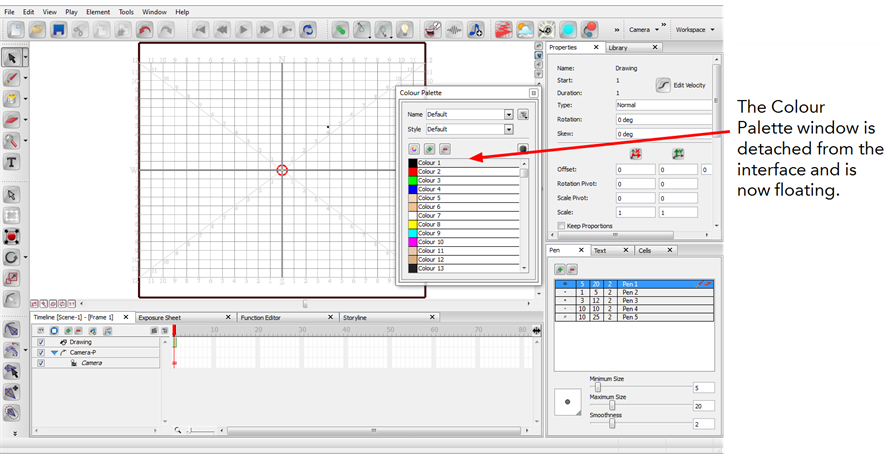
| 2. | Once you have detached the window, you can resize it to fit your work needs. |
To return the floating window to its docked location, do the following:
| 1. | Double-click on the floating window's title bar. The window returns automatically to the docked location.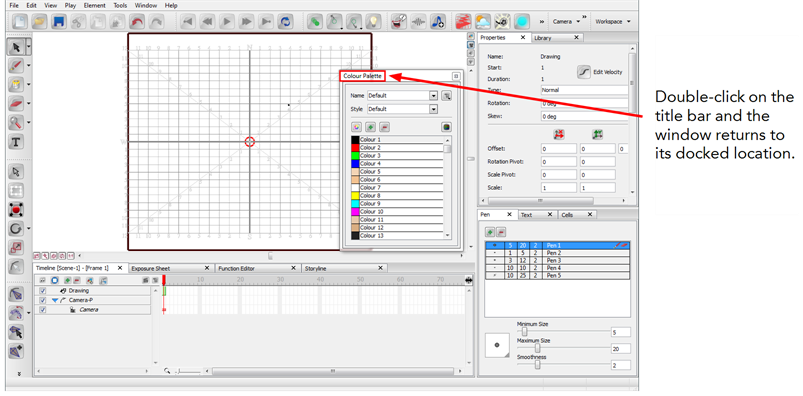 |
Next time you double-click on that window's name tab, it undocks and returns to its last location on your desktop.
After the window is undocked, you can move it around and position it anywhere on your desktop.
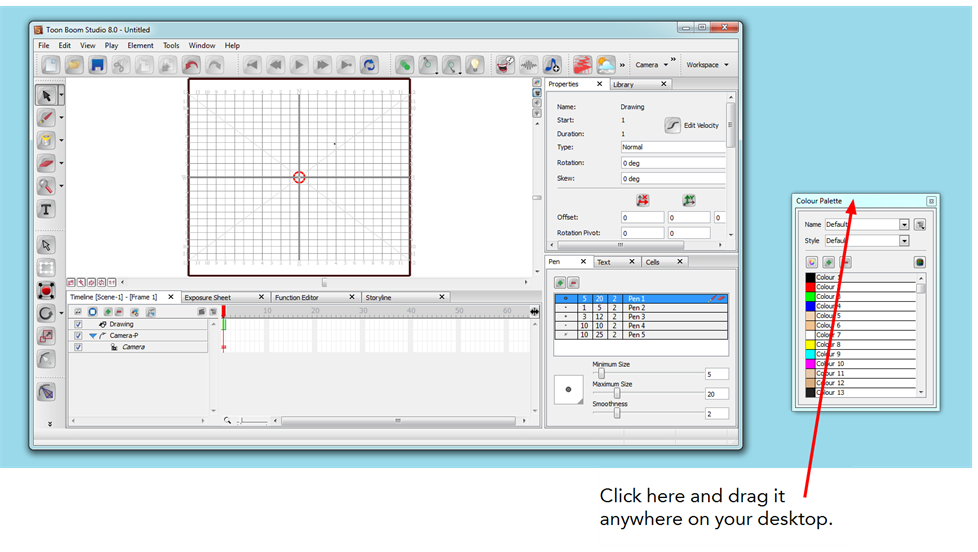
To move the floating window around the desktop:
| 1. | Click on the window's title bar, hold the mouse button down and drag the window to the new location. |
Next time you double-click on that window's name tab, it undocks and returns to its last location on your desktop.
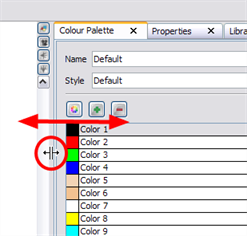
To swap views around:
| 1. | Select the view tab and drag it onto one of the view's separators, top area or onto another view. |
| 2. | When a darker zone appears showing an available location for the view, release the mouse button and drop the view into position. |
You can drop views on either side, above and below the Camera view. Your layout can have one columns on the left, one column on the right, one column on top and one below the Camera view. You cannot have two columns on either side.
To change the width and height of the views in the workspace, drag the side of the view.
To resize a view:
| 1. | In the interface, position your cursor on the edge of the view you want to resize. |
| 2. | When you see the Resizing cursor, click and drag the side of the window to the desired width or height. |
Toon Boom Studio has a Status bar located at the bottom of its user interface. This displays information related to the tool or feature the mouse is passing over. You can show and hide this bar. Windows and Mac OS X do not show the same information.
To show or hide the Status bar:
| 1. | Select Window > Show/Hide Status Bar. |
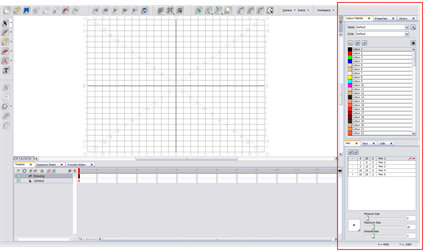
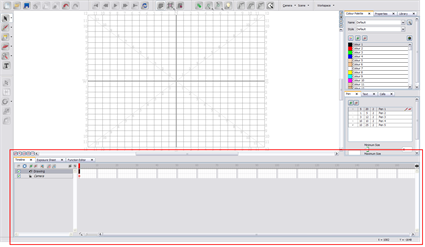
In Toon Boom Studio's Default workspace, the utility views such as the Colour Palette and the Pen views are located to the right side of the interface. At the bottom of the workspace, there is the Timeline. Some users prefer to have their timeline take the full width of the workspace and some other prefer to have the utility views take the full height. You can toggle between the two options using the Extend Side Panel option.
To extend the side panel:
| 1. | Select Window > Extend Side Panel. |