New Features Guide > Lip-sync View

Download Documentation
Lip-sync View
The Lip-sync view is where you can create and map mouth charts, as well as import mouth templates for your characters.
To open the Lip-sync view:
|
1.
|
Select a sound layer from the Timeline view or a cell in the Exposure Sheet view. |
|
2.
|
Do one of the following: |
|
‣
|
From the Sound toolbar (Top toolbar on Mac OS X), click the Lip-sync  button. button. |
|
‣
|
In the Properties panel, click the Lip-sync button. |
Creating a Lip-sync Using a Mouth Template
Studio comes with a variety of mouth templates that you can play and experiment with on your characters. You can create a lip-sync and use an existing sound layer or create the lip-sync and then import the sound.
To create a lip-sync using a mouth template:
|
1.
|
From the Sound toolbar, click the Lip-sync button (Top toolbar on Mac OS X). |
|
2.
|
Do one of the following to add sound: |
|
‣
|
Click the Import Sound  button. From the Open dialog box, select a sound file and click Open. button. From the Open dialog box, select a sound file and click Open. |
|
‣
|
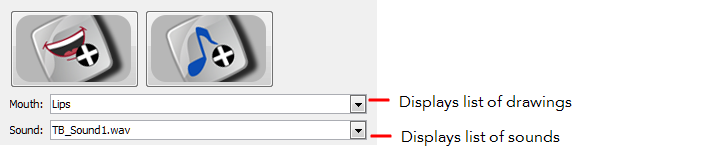
From the Sound list, select a sound file you have already imported. |
|
3.
|
If needed, edit the sound by clicking the Edit Sound  button and making any adjustments in the Sound Element Editor. button and making any adjustments in the Sound Element Editor. |
|
4.
|
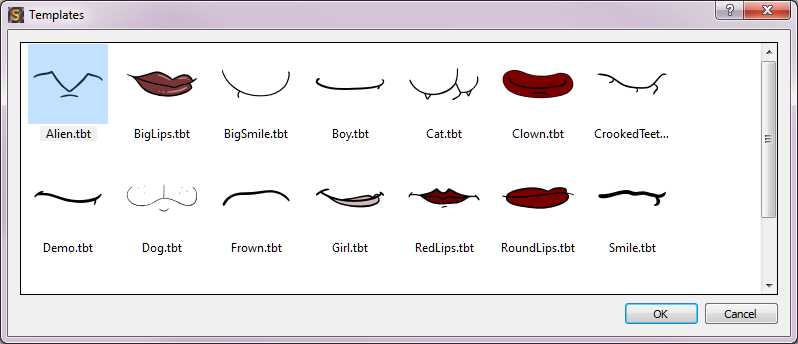
Click the Import Template  button. button. |
The template dialog box opens to display the mouth templates.
|
5.
|
Select a mouth template and click OK. |
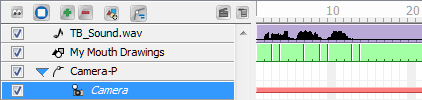
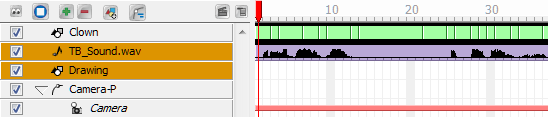
In the Timeline view, a Drawing layer is created containing eight mouth drawings.

|
6.
|
In the Lip-Sync view, click Apply to generate the lip-sync with the sound file. |
The mouth shapes are synced with the sound file.
|
7.
|
In the Drawing view, use the Select tool  in the Animation Tools toolbar to scale the mouth drawings on the layer. in the Animation Tools toolbar to scale the mouth drawings on the layer. |
|
8.
|
In the Camera view, place the mouth at the correct location on your character. |
Creating a Lip-Sync Using Your Own Drawings
You can use your own drawings to generate a lip-sync.
To create a lip-sync using your own drawings:
|
1.
|
In the Timeline view, select the drawing layer that contains your eight mouth drawings. |
|
2.
|
From the Sound toolbar (Top toolbar on Mac OS X), click the Lip-sync button. |
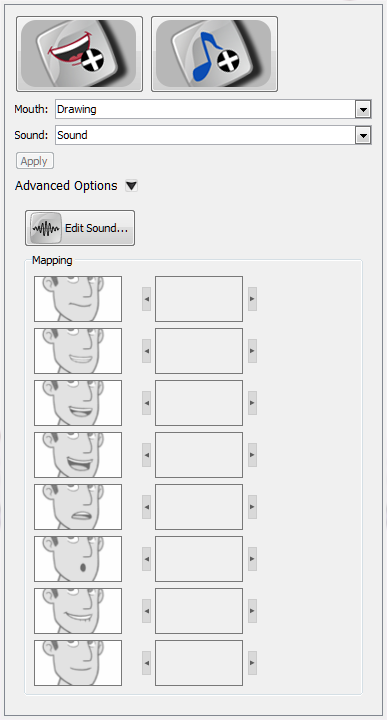
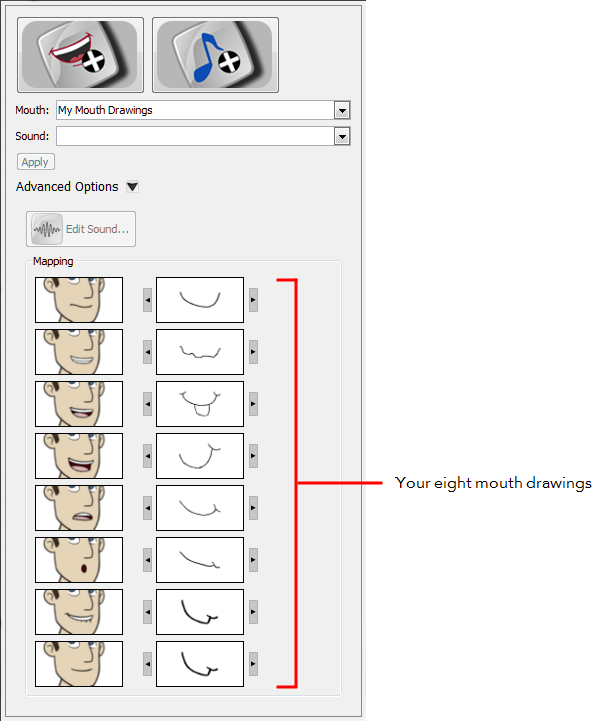
The Lip-sync view displays. Your eight mouth drawings are automatically mapped with the animation phonemes.
|
3.
|
Do one of the following to add sound: |
|
‣
|
Click the Import Sound button. From the Open dialog box, select a sound file and click Open. |
|
‣
|
From the Sound list, select a sound file you have previously imported. |
|
4.
|
If needed, edit the sound by clicking the Edit Sound button and making any adjustments in the Sound Element Editor. |
|
5.
|
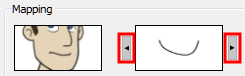
If needed, you can adjust the mouth mapping by clicking the Previous Drawing and Next Drawing arrows beside any of the mouths. |
|
6.
|
Click Apply to generate the lip-sync with the sound file. |
The mouth shapes are synced with the sound file.