
This chapter is divided as follows:
| • | Positioning Elements |
| • | Duplicating Layers |
| • | Animating Objects |
| • | Animating the Camera |
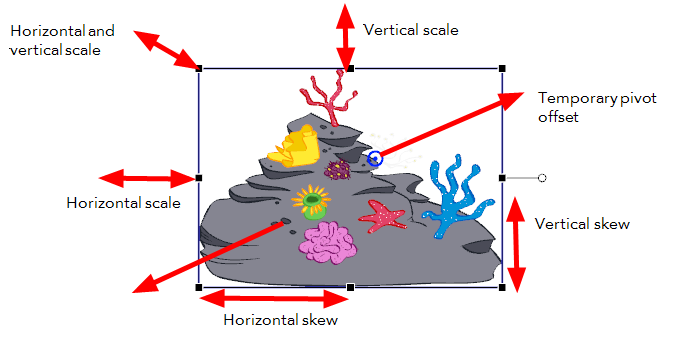
Using the Select ![]() tool, you can position, scale, rotate, and skew elements directly in the Camera view without creating a keyframe.
tool, you can position, scale, rotate, and skew elements directly in the Camera view without creating a keyframe.
To use the Select tool:
| 1. | In the |
| 2. | In the Camera or Timeline view, select the element you want to position. |
| 3. | Use one of the bounding box handles to position and transform your element. |
| ‣ | Hold down the [Shift] key as you scale to keep the ratio when using the corner handles. |
| ‣ | Hold down the [Shift] key as you rotate to lock the rotation every 15 degrees. |

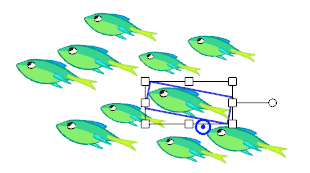
Duplicating a layer provides you with an independent copy of the drawings and their exposure. You can modify anything you want in the duplicated layer without affecting the original one.
You can use duplicated layers if, for example, you want to reuse an animation of a fish to create a school of fish but you still want to modify some of them to give them their own personality.
To duplicate a layer:
| 1. | In the Timeline view, click the layer you want to duplicate. |
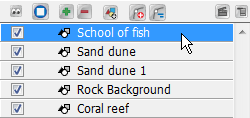
| 2. | In the Timeline View menu, select Duplicate Element or in the top menu select Element > Duplicated Element or right-click the row header and select Duplicate Element. |
The duplicated layer appears in the Timeline view. In the Camera view, an identical element appears at the same exact place as the original one.
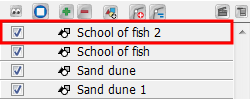
| 3. | Repeat step 2 until you have all the duplicated layers you need. |
| 4. | In the Camera view, you can reposition and transform your duplicated layers by using the |
| 5. | In the Drawing view, modify your drawings if needed |

This section describes the basics of animating objects on a layer. Studio's wide range of features let you produce accurate trajectories. However, before reaching this level you must learn how to create a simple motion.
To animate a layer:
| 1. | In the Animation Tools toolbar, select the Transform |
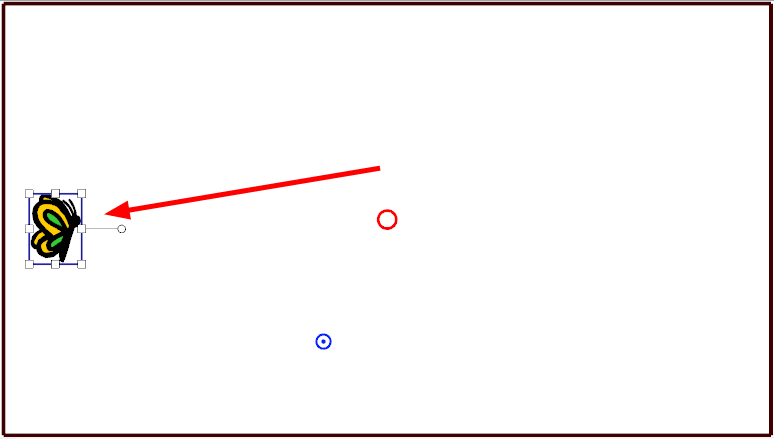
| 2. | In the Timeline view, go to the first frame. |
| 3. | In the Camera view, select the element to animate and move it to its first position. |
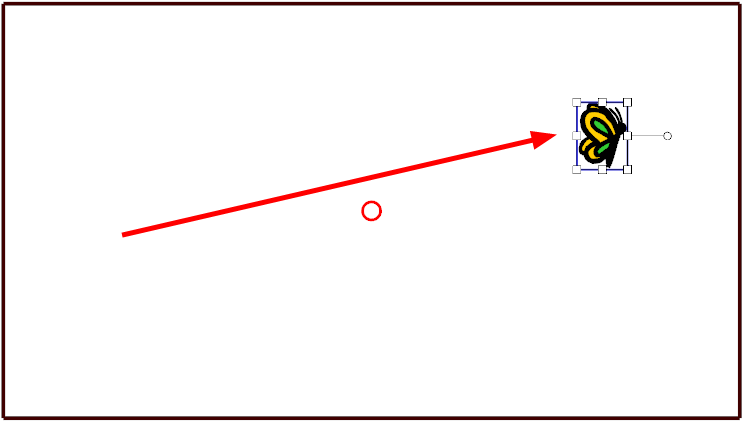
| 4. | In the Timeline view, go to the frame on which you want to set the second position. |

| 5. | In the Camera view, move the selected element to its new position. |
| 6. | In the Playback toolbar, click the Play |
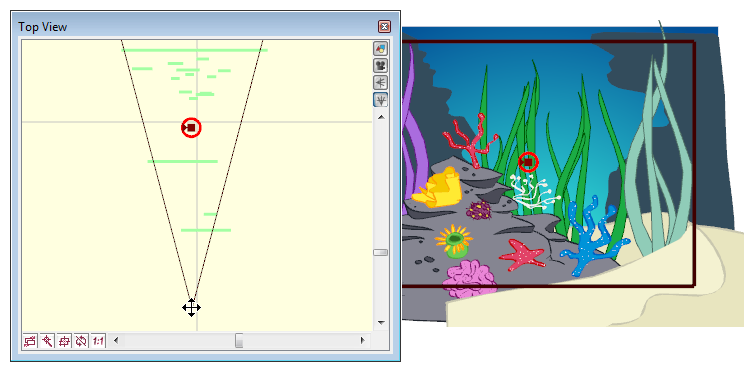
To animate your camera:
| 1. | In the  tool. tool. |
| 2. | In the Timeline view, select the camera peg layer on the first frame of the scene. |

| 3. | In the Top view, select the camera and move it to the desired position. You can refer back to the Camera view to see how this camera moves the frames in your scene. |
| 4. | In the Timeline view, click on a cell in the Camera Peg layer where you want the camera move to begin. |

| 5. | Right-click and select Add Keyframe or press [l]. |
A keyframe appears in that cell. Any frames preceding this keyframe cell have the same camera position as this keyframe.

| 6. | Click on another cell where you want the camera move to end. |

| 7. | In the Top view, select the camera and move it to the desired position. |
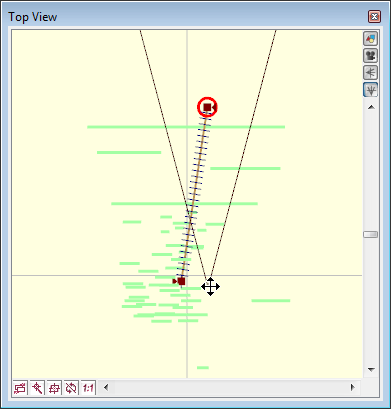
A second keyframe appears and a line is created between the two frames to indicate that Studio created a non-constant segment, meaning that it will automatically interpolate the movement.
