Relative Sizes of Characters and Props

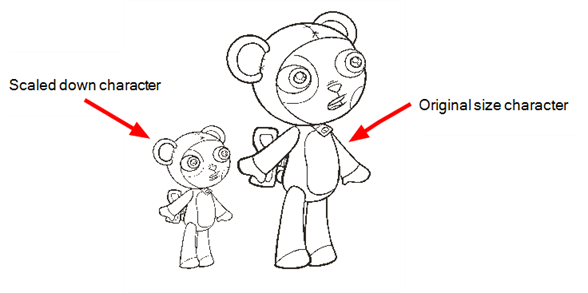
Your project can contain many characters and props. When characters are placed together in a scene, notice that they may be various sizes; some will be too tall or too small, the character's size may vary from one scene to the next. You may also find that when a character is scaled down using the Animation tools, its outline is thinner. Sometimes, the outline may be so thin that the difference between the resized character's outline and the outline of the original un-resized character is quite noticeable.

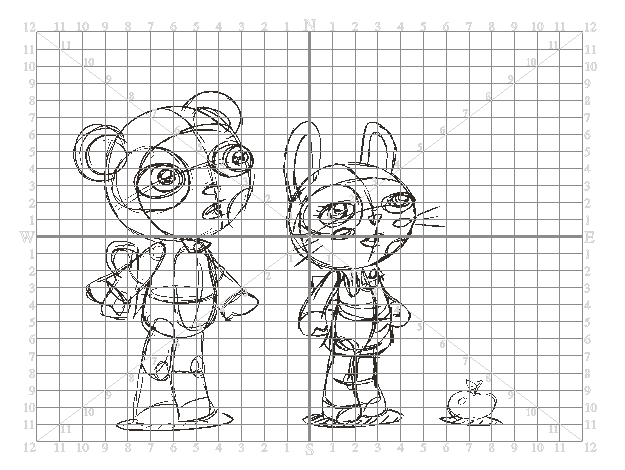
When you design characters or props, keep in mind how they will look together. The grid can be displayed in the Camera or Drawing views. This is useful when determining the proportions between characters and props in a scene.
To display the grid when working in the Camera or Drawing view:
| ‣ | From the Grid Control toolbar, click the Show Grid  button or select View > Grid > Show Grid. button or select View > Grid > Show Grid. |
To select the grid units when working in the Camera or Drawing view:
With the grid displayed, click and hold the grid unit button in the Grid Control toolbar to display the other grid unit options and choose one of the following:
| ‣ |
 Normal: Sets the grid units to squares. You can also select View > Grid > Normal. Normal: Sets the grid units to squares. You can also select View > Grid > Normal. |
| ‣ |
 12 Field: Sets the grid units to rectangles for a 12 field grid. You can also select View > Grid > 12 Field. 12 Field: Sets the grid units to rectangles for a 12 field grid. You can also select View > Grid > 12 Field. |
| ‣ |
 16 Field: Sets the grid units to rectangles for a 16 field grid. You can also select View > Grid > 16 Field. 16 Field: Sets the grid units to rectangles for a 16 field grid. You can also select View > Grid > 16 Field. |
By default, the grid is displayed as an underlay so it appears behind the drawings. If you prefer it to appear in front of the drawings, you can display it as an overlay.
To display the grid as an overlay:
| 1. | In the Grid Control toolbar, click the Overlay  button or select View > Grid > Overlay. When the button appears pushed in, the grid is displayed as an overlay. button or select View > Grid > Overlay. When the button appears pushed in, the grid is displayed as an overlay. |
| 2. | In the Grid Control toolbar, click the pushed-in Overlay  button or select View > Grid > Underlay to switch back to the underlay grid display mode. button or select View > Grid > Underlay to switch back to the underlay grid display mode. |