How to Animate Layers
By default, layers in Storyboard Pro are static, but they can be animated.
A layer is animated by setting it in different positions, angles or sizes at two different frames in the timeline, then letting Storyboard Pro calculate the position, angle and size of the layer for each frame between those two frames. The frames at the beginning and end of an animation are referred to as keyframes.
You can animate a layer by enabling animation on it, which will create a keyframe for it in its current position, at the current frame. From there, you can just go to another frame and change its position, which will automatically create another keyframe at the current frame. At this point, the layer is already animated from its original position to the position you just moved it to.
- In the Timeline view, select the panel with the layer you want to animate.
- Move the Timeline cursor to the exact time where you want to create the first keyframe for your animation.
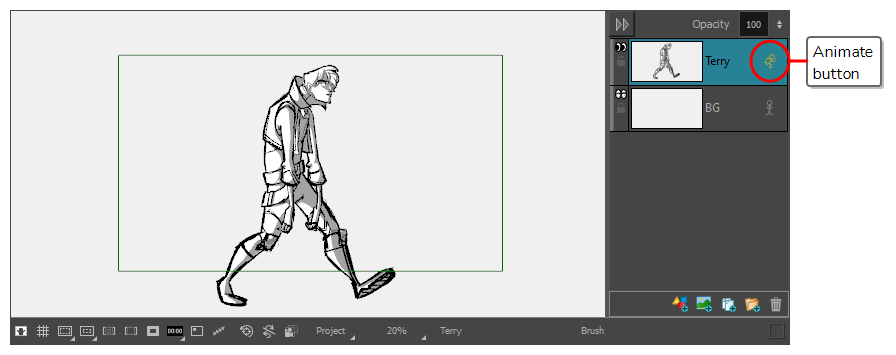
- In the Layer panel of the Stage or Camera view, click on the
 Animate button of the 3D object you wish to animate.
The  Animate button turns yellow and changes shape.
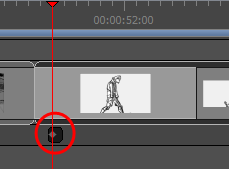
In the Layer Animation track of the Timeline view, a keyframe is created at the current frame. This keyframe stores the position, angle and size of the layer at the current frame.
- In the Tools toolbar, select the
Layer Transform tool.
In the Stage or Camera view, the controls of the Layer Transform tool appear around the selected drawing layer.
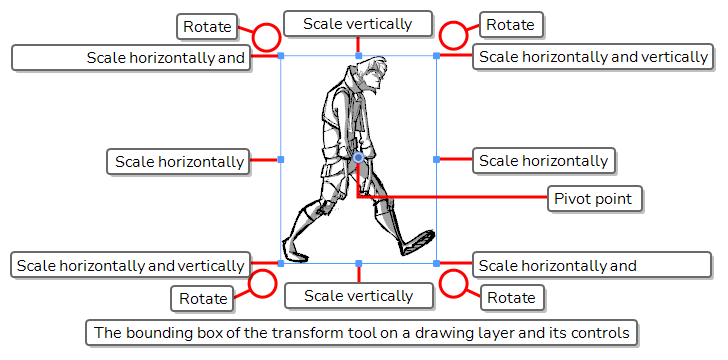
- Using the manipulator box, transform the layer so that it is in the position, angle and size you want it to be at the beginning of the animation:
- To move the layer, either click on its artwork or on the blue point in the centre, then drag it to the desired position.
- If you are having trouble dragging the layer by its artwork, you can also click and drag on the
 blue point in the centre. However, this point may be obstructed by the layer's
  pivot point . If that is the case, you can click and drag on the pivot point to move it out of the way, then click and drag on the centre point to move the layer.
 - You can also nudge the selection by using the arrow keys on your keyboard.
- You can also enter specific coordinates in the
Horizontal Offset and
Vertical Offset fields in the Tool Properties view.
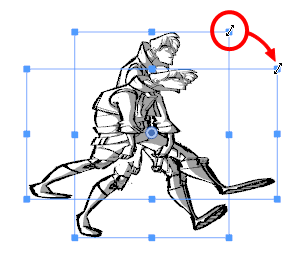
- To scale the layer, click on one of the squares at the edges or corners of the manipulator box and drag them to stretch or shrink the drawing.
- You can preserve the horizontal and vertical proportions of the selection by holding the Shift key.
- You can also enter specific scale percentages in the
Horizontal Scale and
Vertical Scale fields in the Tool Properties view.
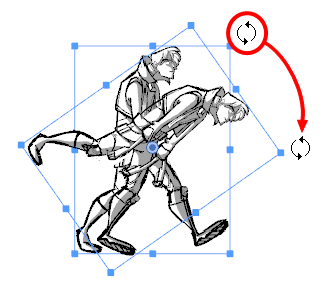
- To rotate the layer, move the cursor just outside of one of the corners of the manipulator box until the mouse cursor becomes
 . Then, click and drag in either direction to rotate the layer clockwise or counterclockwise.
 - You can rotate the artwork in 15° increments by hold the Shift key.
- You can also enter a specific angle in degrees in the
Angle field of the Tool Properties view.
- You can also rotate the clip in 90° increments by clicking on the
Rotate 90 CW button in the Tool Properties view to rotate it 90° clockwise, or on the
Rotate 90 CCW button to rotate it 90° counterclockwise.
- To flip the layer horizontally, click on the
Flip Horizontally button in the Tool Properties view.
- To flip the layer vertically, click on the
Flip Vertically button in the Tool Properties view.
- To reset a layer to its original position, scale and angle, do one of the following:
- Select Layer > Reset Transform.
- Press Ctrl + R (Windows) or ⌘ + R (macOS).
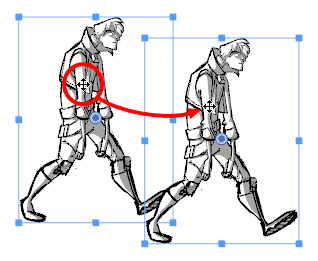
- In the Timeline view, move the cursor to the frame where you want to create your second keyframe.
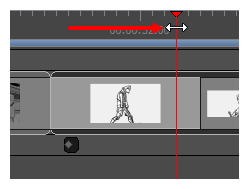
- In the Stage or Camera view, use the manipulator box to transform the layer so that it is in the position, angle and size you want it to be at the end of the animation.
A keyframe is created at the current frame as soon as you make the first transformation.
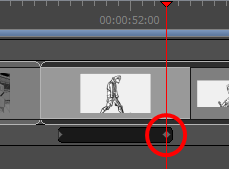
- Move the timeline cursor back to the beginning of the panel.
- In the Playback toolbar, click on the
Play button to preview the animation.