Creating Sequences
T-SBADV-004-012
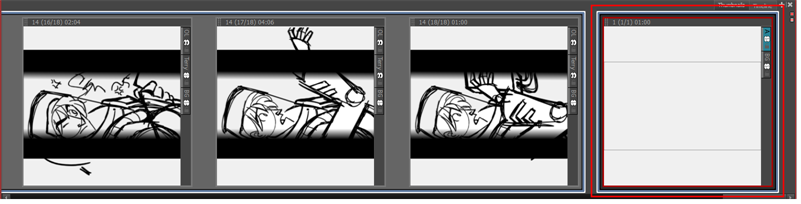
By default, when you start building a storyboard, the scenes you create are not part of a sequence. If you want to start adding sequences to your project, you must use the New Sequence button for every new scene beginning a new sequence. This will add a new scene to your project and show the sequence markers in the Thumbnails and Timeline views.
You can also start adding sequences to your project at anytime, using the New Sequence from Selection command, and manipulate them using the different commands in the following topics.
By default, new storyboard projects are created without sequences. You can change this, so that new projects are automatically created with a sequence.
- Do one of the following:
| ‣ | In the Storyboard toolbar, click the New Sequence |
| ‣ | Select Storyboard > New > New Sequence. |
A new scene is added to your project and is now the starting point of a new sequence. If this is the first sequence you add to a project, all scenes prior to it will be combined as a sequence as well. The sequence markers will also become visible in both the Thumbnails and Timeline views.
- In the Thumbnails or Timeline view, select one or many scenes to combine as a sequence.

- Select Storyboard > New > New Sequence from Selection.
Your selection becomes a new sequence. If this is the first sequence added to your project, all scenes before or next to it will be combined as sequences as well, and the sequence markers will be displayed in the Thumbnails or Timeline views. If your selection was part of an existing sequence, it will be split accordingly.

- Do one of the following:
| ‣ | Select Edit > Preferences (Windows) or Storyboard Pro > Preferences (macOS). |
| ‣ | Press Ctrl + U (Windows) or ⌘ + , (Mac OS X). |
- In the Preferences dialog box, click the General tab.
- In the General section, select the Automatically Create New Sequence option.