Animating Layers
T-SBFND-009-008
By default, layers are not animated. To animate a layer, begin by setting a keyframe on the desired position. You can then use the Transform tool to move the layer and set as many keyframes as needed for your animation. You can then edit the keyframes and timing using the layer track controls in the Timeline view.
If you decide to delete the keyframes from a layer, you can clear all of them by clicking the Animate button. Once cleared the keyframes are cleared, the layer remains at the position of the current frame.
- In the Timeline or Thumbnails view, select the panel with the layer you want to animate.
In the Stage view, the layer is highlighted in blue.
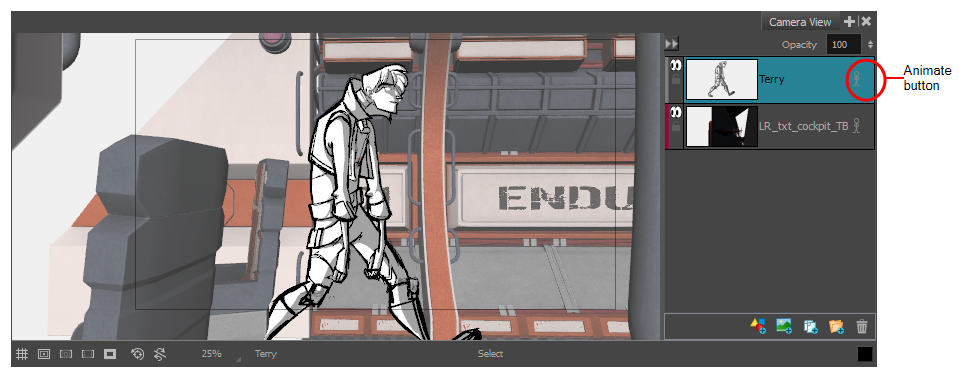
- In the Stage or Camera view, select a layer to animate and click its Animate
 button.
The Animate button turns yellow and changes shape:  .
.
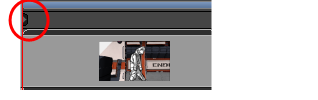
In the Timeline view, the current frame becomes the first frame of the current panel.
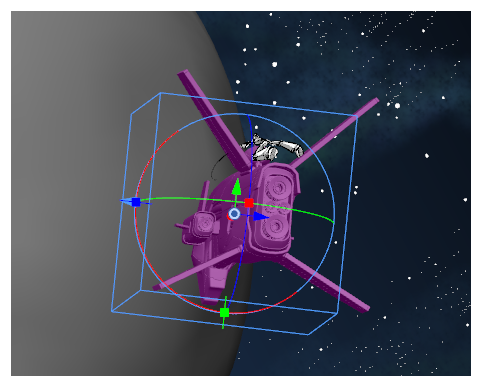
- From the Tools toolbar, click the Layer Transform
 button.
The 3D manipulators are displayed, letting you rotate and position the 2D layer within the 3D space
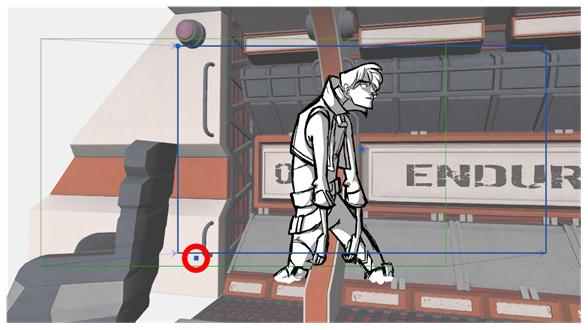
- Select an element in the scene and place it in its initial state. Use the transformation handles to scale, rotate and move the layer.
- In the Layer Transform tool properties, click the Add Keyframe button
 to set a keyframe.
A keyframe is added at the current frame.
- Select the same element and place it in its next state. Keep setting keyframes until your animation is complete.
- Click the Play
 button to see the animation of the element.
- Select a layer that contains animation. This is indicated by the yellow Animate icon.
- Click the Animate icon.
The following message appears when turning off the Animate mode.
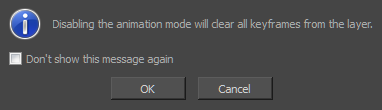
- Click OK.
All keyframes are cleared and the layer remains at the position of the current frame. The Animate icon on the layer turns grey to indicate that it does not contain animation.