Preferences
When preparing your animatic in Storyboard Pro, there are preferences you can set to help you work more efficiently.
To open the Preferences dialog box:
- Do one of the following:
|
‣
|
Select Edit > Preferences (Windows) or > Preferences (Mac OS X). |
|
‣
|
Press [Ctrl] + [U] (Windows) or [⌘] + [,] (Mac OS X). |
This section includes the following topics:
Global UI

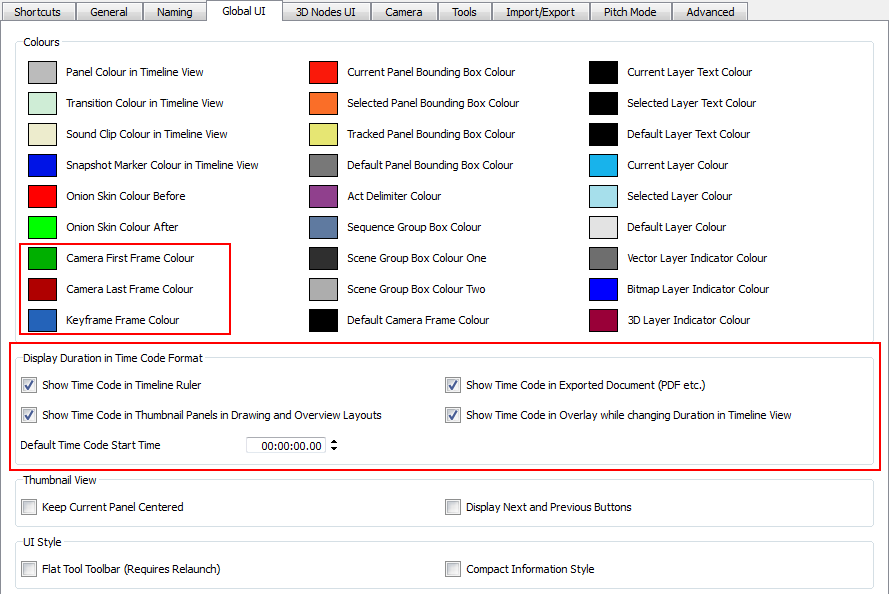
Display Duration in Time Code Format
|
•
|
Show Time Code in Timeline Ruler: Displays the duration, in timecode format, in the Timeline ruler. When turned off the duration is displayed in frames. |
|
•
|
Show Time Code in Thumbnail Panels in Drawing and Overview Layouts: Displays the duration, in timecode format, in the Thumbnail panel headers. When turned off the duration is displayed in frames. |
|
•
|
Show Time Code in Overlay while changing Duration in Timeline View: Displays the duration, in time code format, when adjusting the length of a panel in the Timeline view. When turned off the duration is displayed in frames. |
|
•
|
Show Time Code in Exported Document (PDF etc.): Displays the duration of each panel in timecode format on the PDF export of the storyboard. Disable this preference to display the duration in frames. |
|
•
|
Default Time Code Start Time: Use this field to set up the starting timecode value of your storyboard project. By default the timecode start time is set to 00:00:00.00. |
Colours
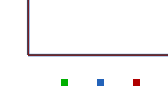
By default, the first camera frame display colour is set to green, the last is set to red, and the in-between keyframes are set to blue. You can customize these display colours—see Animating the Camera.

To customize the display colour:
- In the GlobalUI tab, click the colour swatch for one of the following:
|
‣
|
Camera First Frame Colour |
|
‣
|
Camera Last Frame Colour |
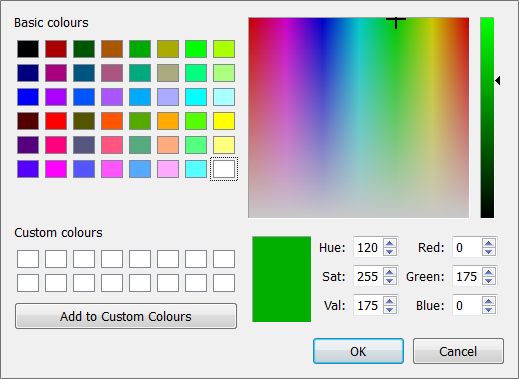
The Select Colour dialog box opens.
- Select a new colour—see Adding Colour.
NOTE: Note that these colours also affect the different export formats of your storyboard.

Camera

Options
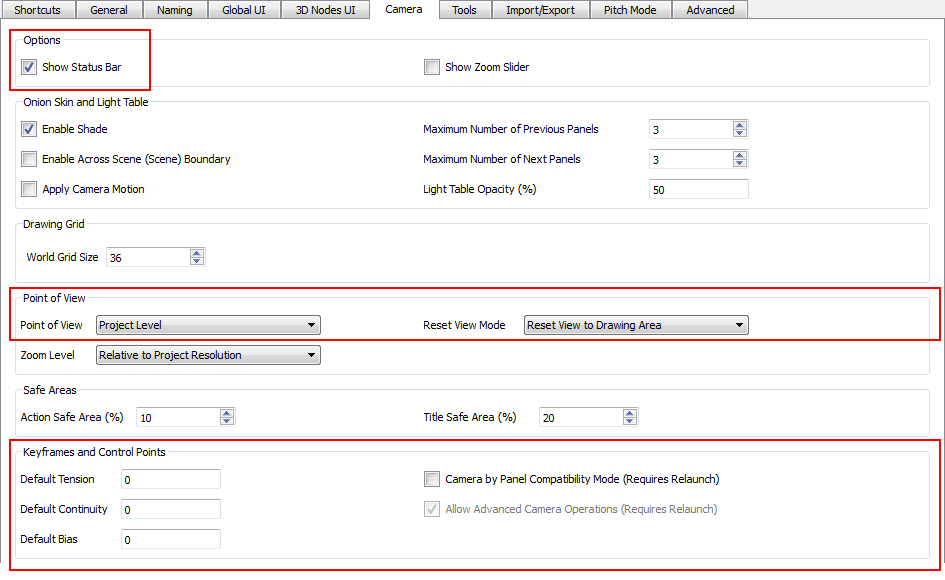
Show Status Bar: Displays the handy status bar at the bottom of the Stage view.
Point of View
Point of View: Choose how your artwork is framed in the Stage view when you go from one panel or scene to the next. The point of view refers to the zoom level, rotation, and transformation of your camera view, not your actual camera keyframes.
|
•
|
Project Level: One global point of view for the entire project. |
|
•
|
Scene Level: One point of view per scene. |
|
•
|
Panel Level: One point of view per scene. |
Reset View Mode: Choose the behaviour of Storyboard Pro when you use the Reset View command in the Stage view. These options only affect your project if you are working in Panel Point of View mode.
|
•
|
Reset View to Drawing area: Resets the view to include the original drawing area. |
|
•
|
Reset View to Camera Overview: Resets the view to include an overview of the camera movement in the panel. |
|
•
|
Reset View to Camera Start: Resets the view to frame the in position of your camera. |
|
•
|
Reset View to Camera End: Resets the view to frame the out position of your camera. |
|
•
|
Reset View to Current Panel Overview: Resets the view to include all camera move information in the frame. |
Keyframes and Control Points
|
•
|
Default Tension: Continuity controls the smoothness of a transition between the segments joined by a point. Enter a value between -1 and 1 to be used as the default for keyframes and control points. |
|
•
|
Default Continuity: Tension controls how sharply the path bends as it passes through a control point or keyframe. Enter a value between -1 and 1 to be used as the default for keyframes and control points. |
|
•
|
Default Bias: Bias controls the slope of the path so that it flows towards one side of the motion point or the other. Enter a value between -1 and 1 to be used as the default for keyframes and control points. |
Tools

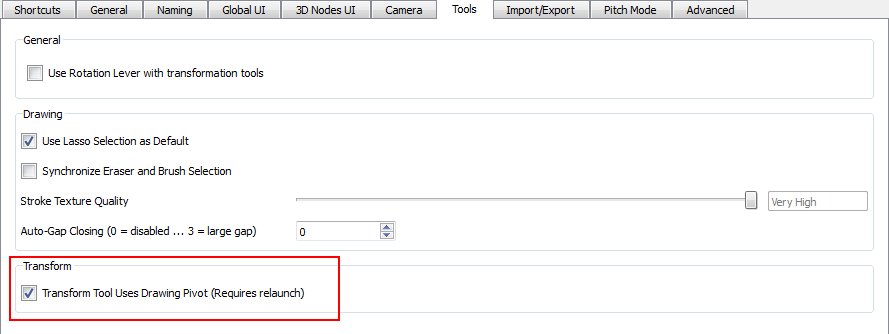
Transform
|
•
|
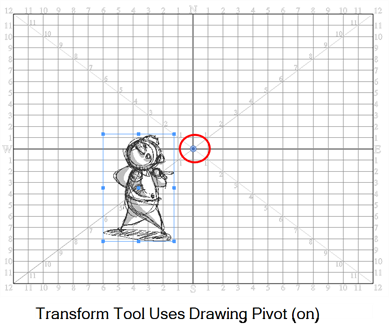
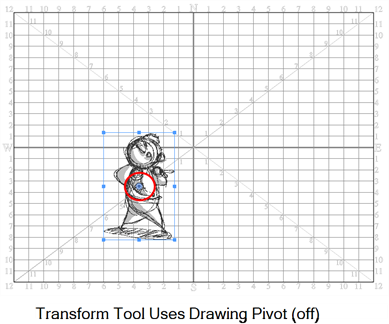
Transform Tool Uses Drawing Pivot (Requires relaunch): Places the Layer Transformation tool’s pivot at the centre of the selected layer’s frame. When deselected, the Last Frame Transformation and First Frame Transformation tools’ pivot is at the centre of the selected layer’s bounding box.
|


Import/Export

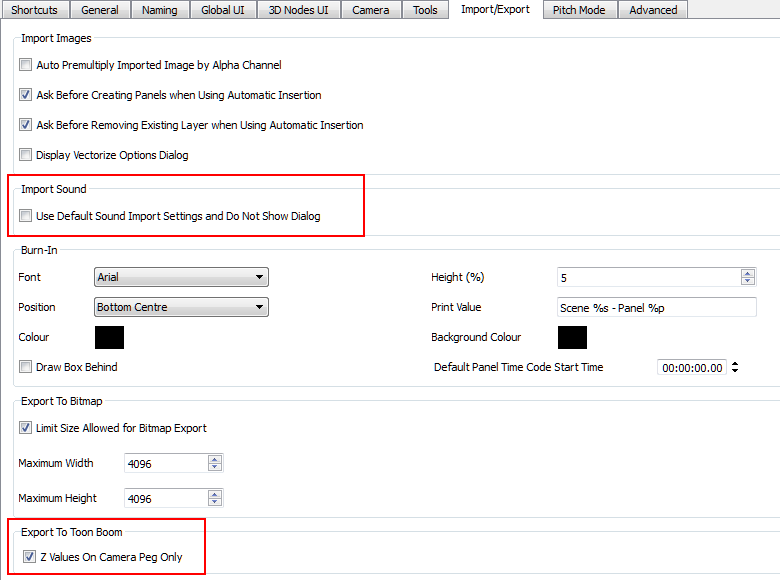
Import Sound
|
•
|
Use Default Sound Import Settings and Do Not Show Dialog: Prevents or allows the opening of the import sound file settings dialog box when importing a sound file. When selected, the settings dialog will not open, and default settings will be used. When deselected, the settings dialog box will open every time, and allow you to adjust settings every time. |
Export to Toon Boom
|
•
|
Z Depth on Camera Peg Only:Exports the camera with a Z depth value of 0; Z depth values are on the peg. This makes it easier to see the camera field value in the Xsheet. It is recommended to enable this preference if you will be editing camera moves from the Xsheet. |
