T-SBFND-009-019
Once a scene marker is created, you can modify the duration of the marker, modify its colour, apply a note to identify it, or move it.
There is also a new option to Ripple Markers in the Timeline view when editing panels. When enabled, operations that cause the overall project duration to change will shift and ripple the markers to follow the panels.
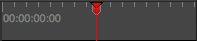
The following image is an example of an edited marker:

- In the Timeline view, select a marker.
- Do one of the following:
- Select Storyboard > Markers > Edit Marker.
- Double-click on the marker.
- Right click in the ruler at the top of the timeline, and select Edit Marker.
The Marker dialog box opens.
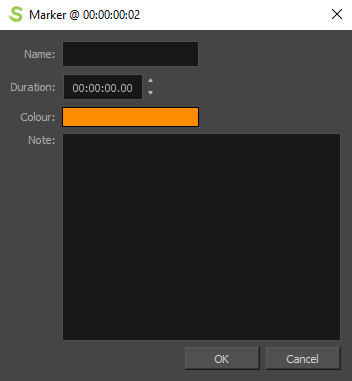
- Make your changes.
NOTE For more information on the Marker dialog box parameters, see Marker Dialog Box.
- Click OK.
- Click Colour.
A list of predefined colours will display to select. You can still assign a custom colour using the Custom option at the bottom of the colour list.
- Click OK.
- In the Timeline view, select a marker.
- Do one of the following:
- Select Storyboard > Markers > Ripple Markers.
- Right-click in the frame counter area and select Ripple Markers.