Keyframing Effects
Similar to how you can create keyframes for motion, you can create a keyframe for both sound effects and the Volume Envelope. This will allow for an interpolation between two effect values upon playback. You can do this in the Effect Stack view.
-
Access the Effect Stack view by doing one of the following:
-
Select Windows > Effect Stack.
-
Click the Add View
 button and select Effect Stack.
-
-
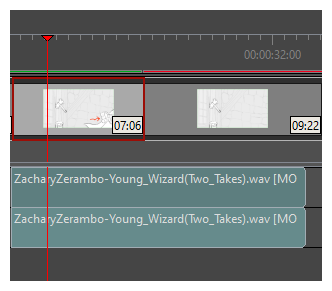
Move the playhead to the location where you would like to add a sound effect keyframe.
-
In the Effect Stack view, select the plus
 sign to the right of the effect value to add the first keyframe.
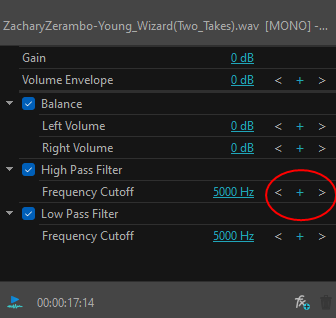
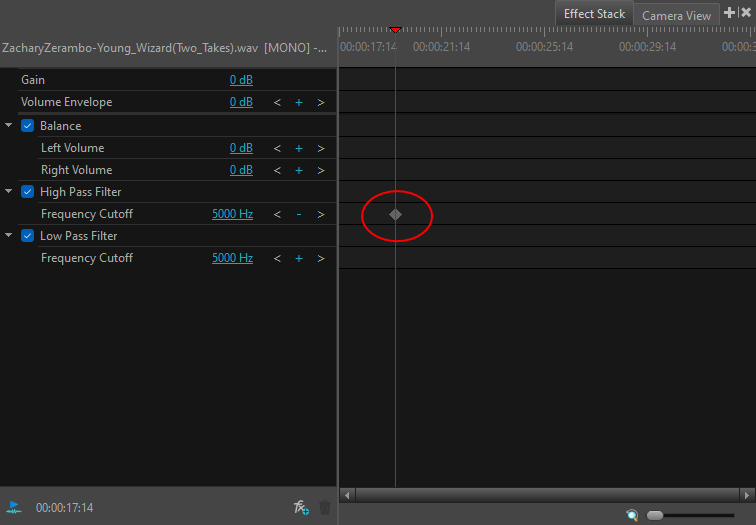
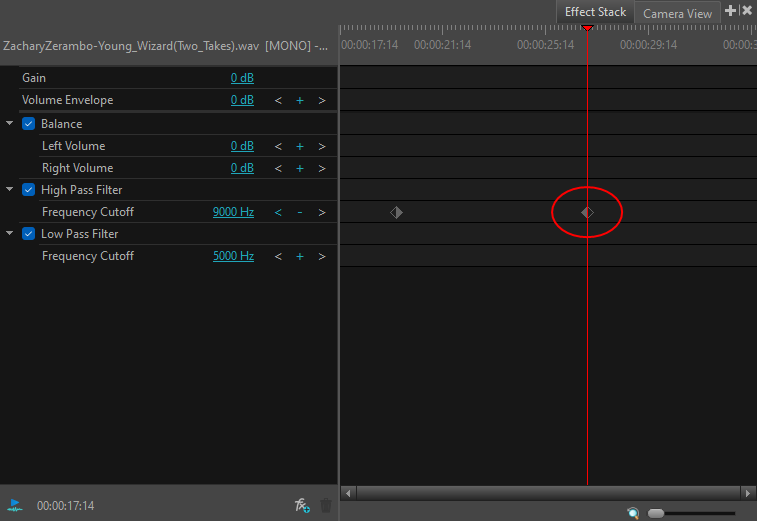
A keyframe is added and will be visible in the Effect Stack view.
 NOTE To add an effect to the Effect Stack view, select Add Effect.
 -
In either the Effect Stack view or the Timeline view, move the playhead to the location where you would like to add the second keyframe.
-
Select the plus icon to the right of the effect value to add a second keyframe.
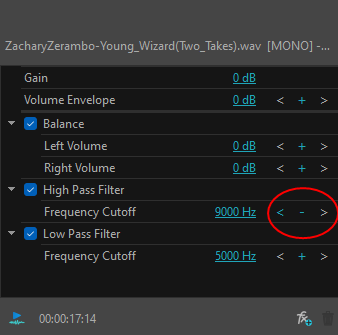 NOTE Selecting the left and right arrows will allow you to shift between keyframes.
 -
In the Effect Stack view, enter sound effect parameters for your second keyframe by clicking the numerical value to the right of each effect and entering a new value.
 NOTE Moving the playhead to a new location and changing the effect value will create a keyframe automatically.
When you play back your storyboard, the effect value will interpolate from the value of the first keyframe to the value of the second keyframe.
-
The zoom slider in the lower-right corner of the view allows you to scale the timeline. You may use the horizontal scrollbar to focus on a certain region.
-
You may perform scrubbing by dragging the playhead in the both the Effect Stack view and the Timeline view