The Import Images dialog box lets you import an image into your project as layers or scenes. The imported image will be vectorized in colour and fit the camera frame
- Do one of the following to open the Preferences dialog:
- Windows:
- In the top menu, select Edit > Preferences.
- Press Ctrl + U.
- macOS:
- In the top menu, select Storyboard Pro 24 > Preferences.
- Press ⌘ + U.
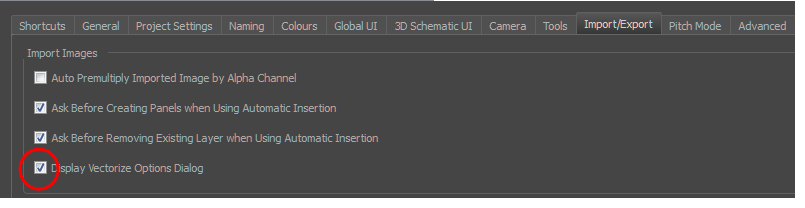
- In the User Preferences dialog box, select the Import/Export tab.
- Select the Display Vectorize Options Dialog option.
- Select File > Import > Images as Layers.
- In the browser that opens, select an image to import.
The Import Images dialog box opens.

The preview area displays the original image on the left and the resulting image on the right. The preview of the resulting image automatically updates each time you modify a parameter.
| Parameter | Description |
|
Import Options |
|
|
As Bitmap Layer |
Preserves the exact look of the imported images and imports it in a bitmap layer. |
|
Colour to Vector Layer |
Preserves the exact look of the imported images and imports it in a vector layer. |
|
Gray Scale to Vector Layer |
Imports the selected images as a gray scale in a vector layer. |
|
Black and White to Vector Layer |
Imports the images as black line art. |
|
Threshold (%): Filters out noise in your images. Noise can be dirt or faint smudges on your scanned images. For example, if your value is set to 70%, all colour values below 70% are converted to white and ignored in the final image. If your value is set to 100%, only completely black lines will be kept. |
|
|
Expand: Enter a value between 1 and 100 to thicken lines or the outer edges of the bitmap. Use this option if your line art is too fine or pale so that their visibility is increased in the software. |
|
|
Smooth: Enter a value between 1 and 5 to set the smoothness level. Greater smoothness equals less jaggedness and imperfections, but at a greater loss to detail. |
|
|
Resampling Options |
|
|
Original Size |
The original dimensions of the imported image. |
|
Maxiumum Size |
Enter a specific maximum size for your imported image to be scaled down to. The original ratio of the image will be preserved during the operation. You can see the final values resulting from the scaling process in the Scale Size fields. Note that you can not use these fields to scale up an image. |
|
Scaled Size |
Displays the final size the image will be scaled after it is imported in your project. |
|
Source |
Displays the source image you imported. |
|
Preview |
Displays a preview of the image when adjusting its parameters. |
|
Save as default |
Saves the current settings. Every time you open this dialog box, the new default parameters will automatically be set. The import images commands will still use this new default even if you deselect the Display Vectorize Options Dialog preferences. |
|
Do not show this dialog again |
Deselects the Display Vectorize Options dialog option in the Preferences dialog box directly from here. |