You can create a custom resolution from the Welcome screen or New Project window. Your new resolution will appear in the Camera Size menu of both the New Project window and Welcome screen.
If you no longer need a custom resolution, you can easily remove it. However, you cannot delete the factory resolutions that come with Storyboard Pro.
-
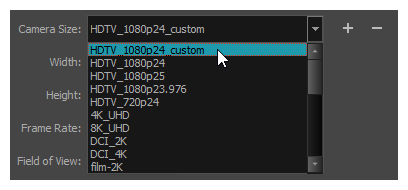
In the Welcome screen or New Project window, click the
 Add button right of the Camera Size drop-down to add a new resolution to the list.
The New Resolution dialog box appears.
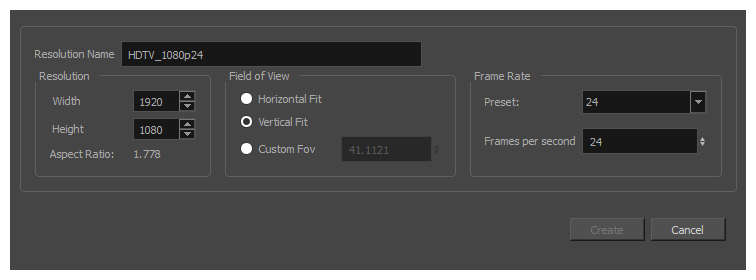
- Resolution Name: Type a name for your new resolution.
- Width/Height: Enter the resolution width and height in pixels.
- Field of View: Set the field of view to use the horizontal or vertical resolution, or enter a custom field of view.
- Frame Rate: Type the scene’s frame rate per second.
- In the Welcome screen or New Project window, select a custom resolution from the Camera Size menu.
- Click the
 Remove button.
The selected custom resolution is deleted from the list.